Automated Indoor Greenhouse
Click to see an Associated Press article that discusses this project and was featured in over 100 news outlets including the Washington Post and New York Times, or click here to see an article from Rice University about this project.
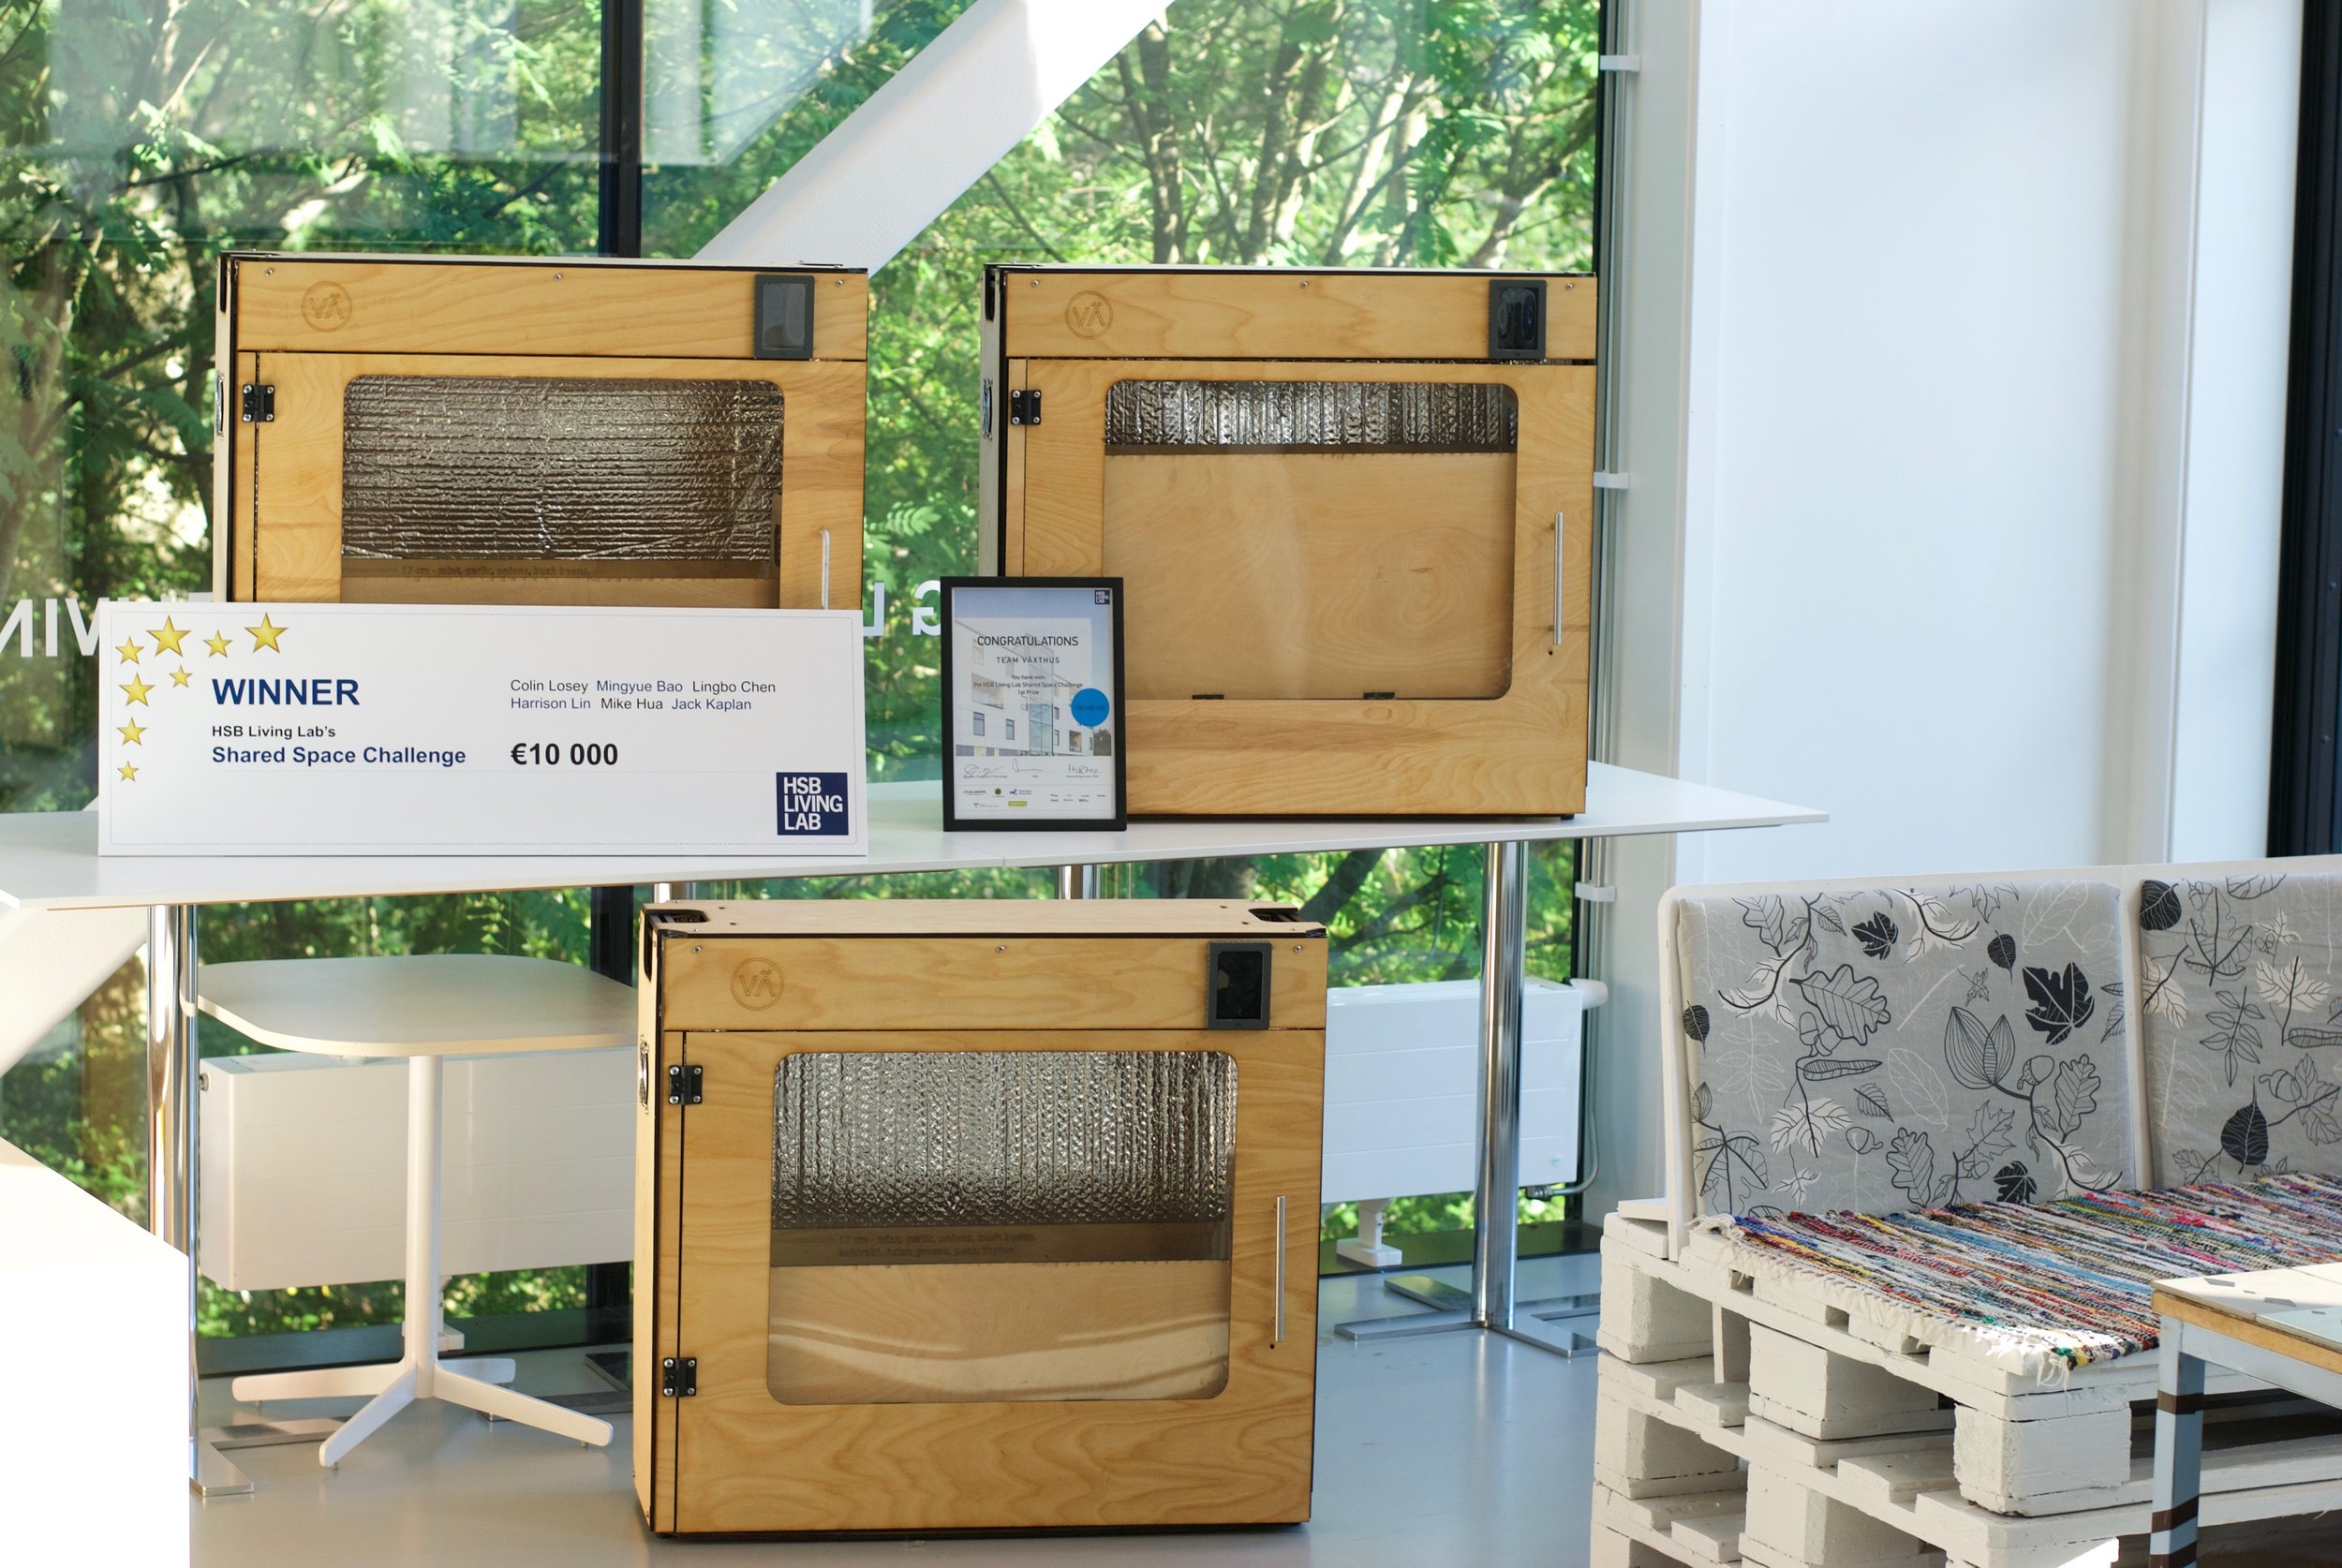
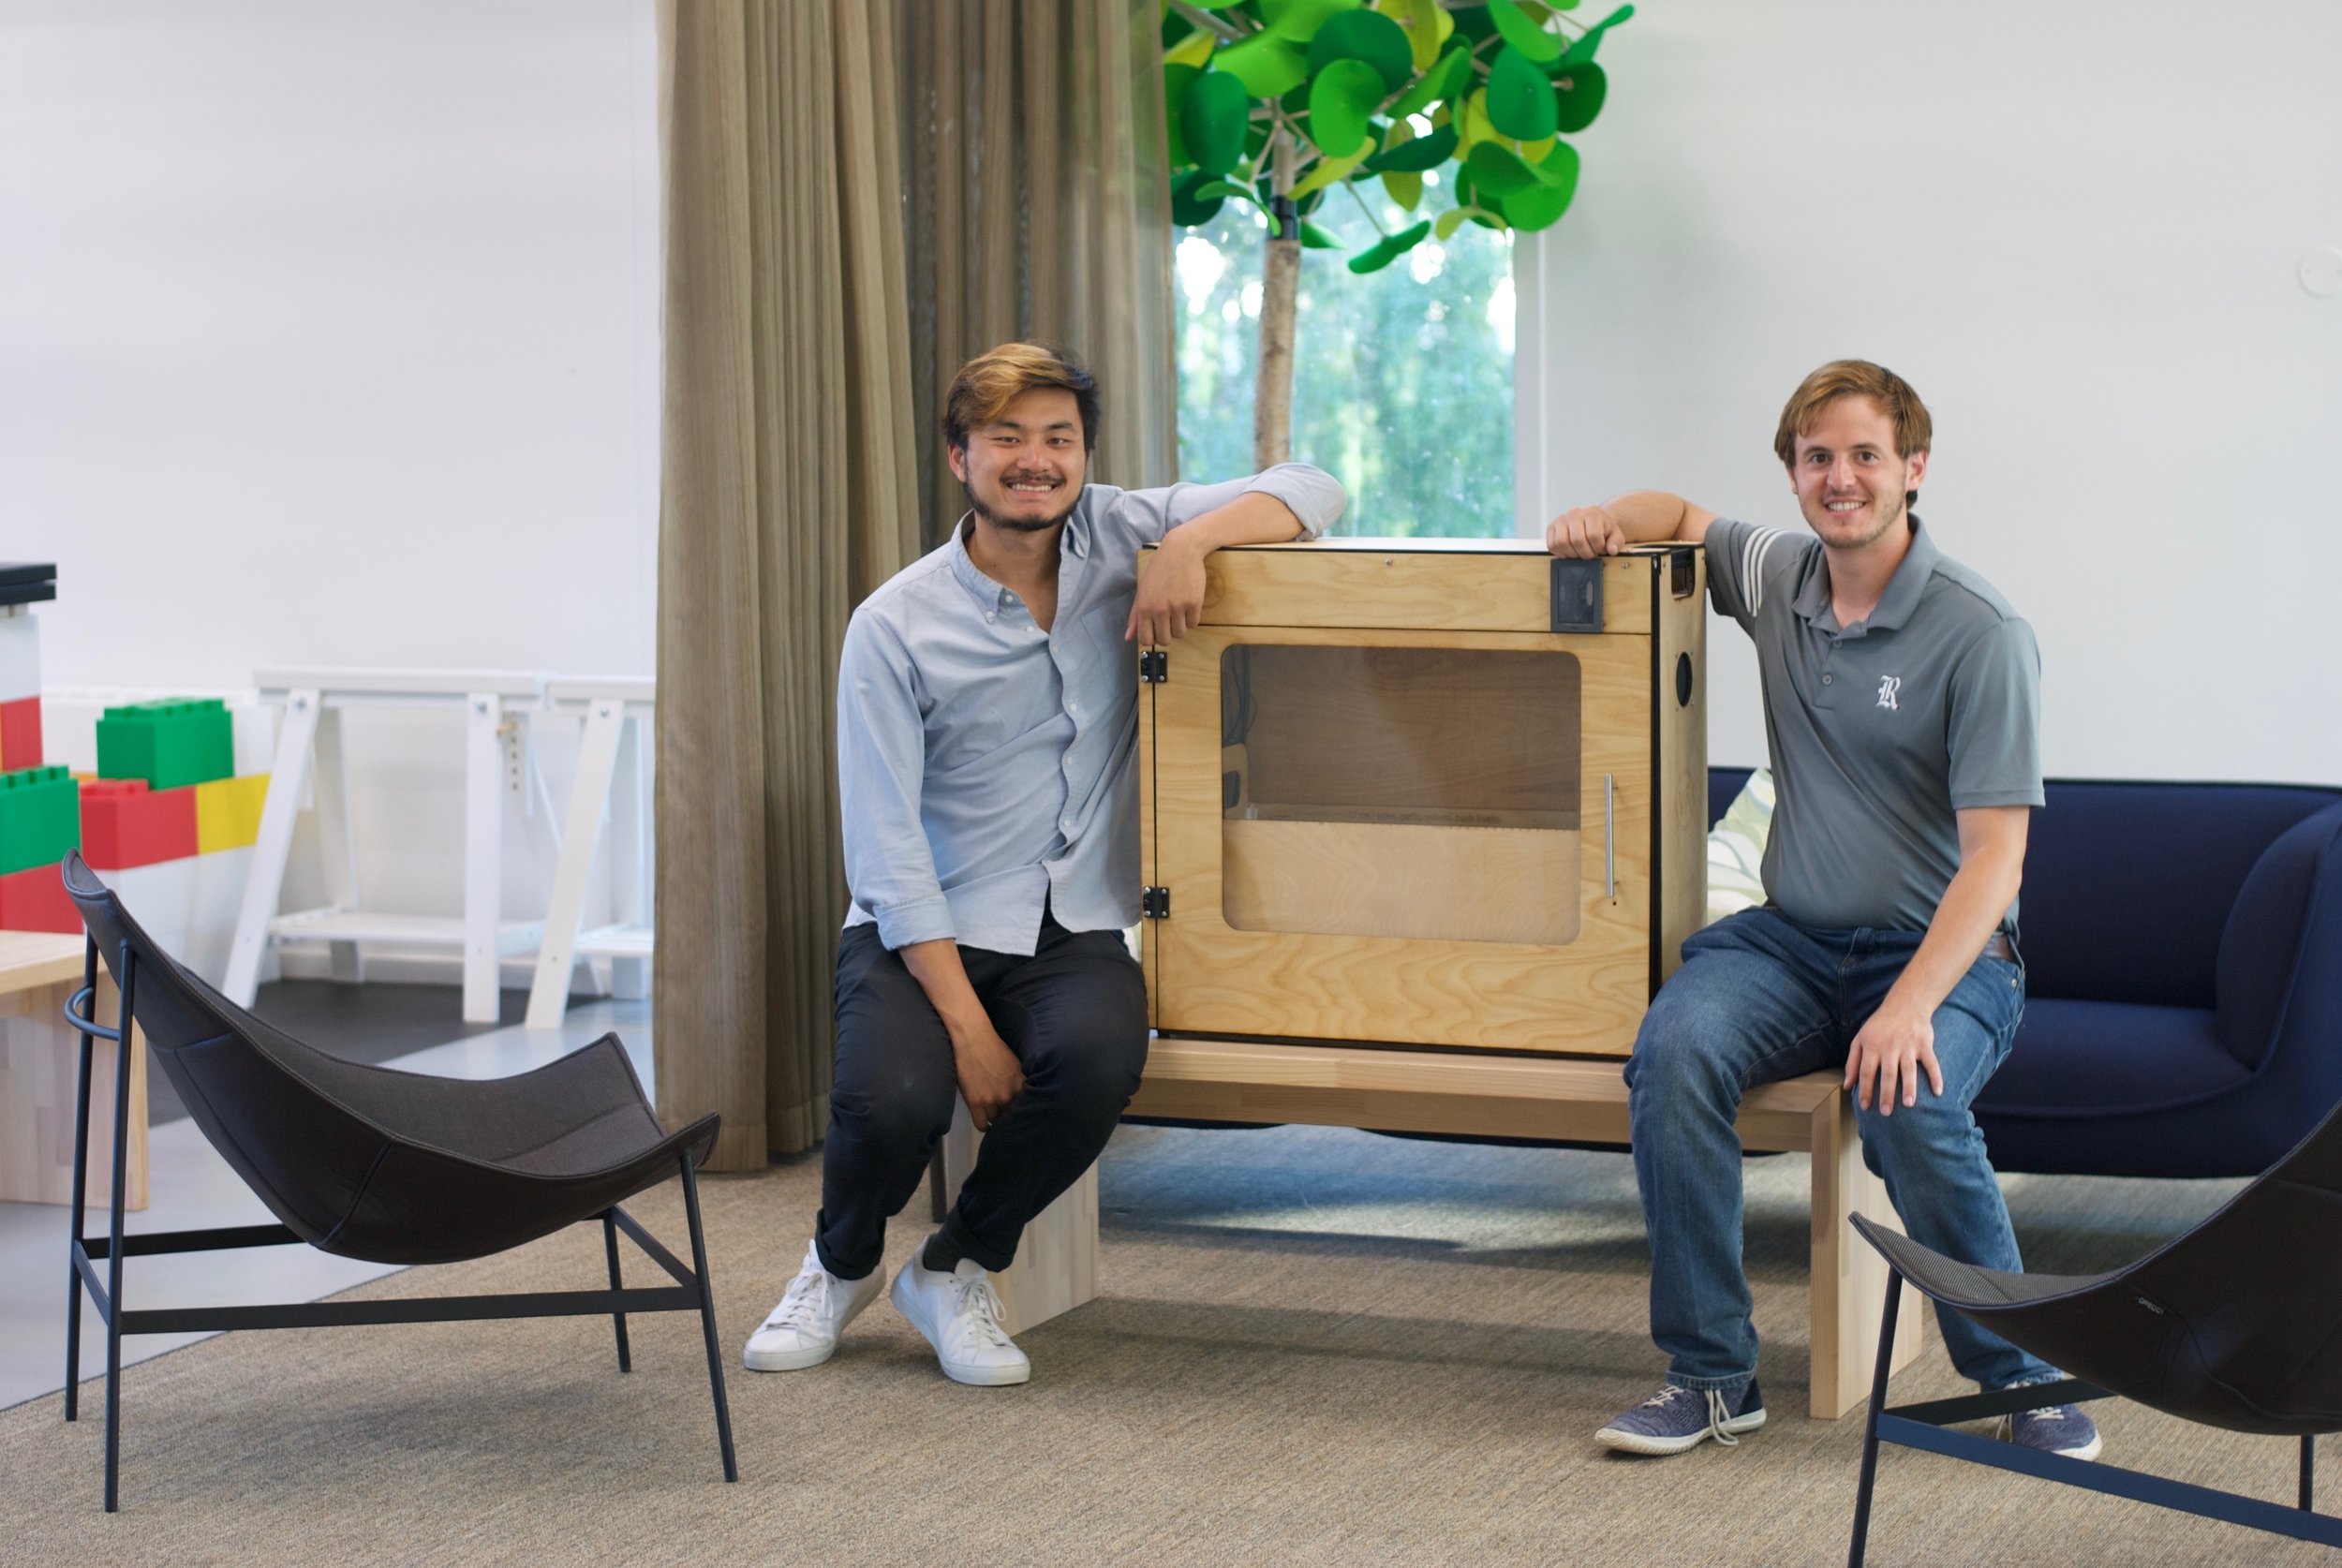
The capstone of my mechanical engineering education at Rice University was a yearlong project to design and build an apartment-scale automated greenhouse. My six-member team developed a prototype which won the HSB Living Lab Shared Spaces Challenge. The prize provided the funding to build three prototypes and travel to Chalmers University in Gothenburg, Sweden for a formal presentation.
The design required multiple systems working together seamlessly. Although integrating these systems seemed relatively straightforward during high-level planning, trying to do so in practice proved challenging.
Determining how the different systems would interface with each other had a large impact on the design and required meticulous planning. We took care to ensure that fixing a bug in one system did not cause a problem in another. Even so, we could always not avoid cascading failures. When this unfortunate scenario occurred, multiple systems had to be redesigned to fix what originally appeared to be a small problem.
Throughout the design process, we learned to rely on each other’s respective strengths. Without a formal organizational structure, we collectively delegated assignments based upon respective strengths. Our electrical engineer had the most software expertise so he created our user interface. Three of us—myself included—had previous product design and prototype fabrication experience and we did the bulk of the design and fabrication of the prototypes. The two aspiring lawyers were charged with writing the project documentation.
This division of labor did not always work well: we were sometimes so siloed that we lacked the ability to help each other. In retrospect, we should have spent more time at the beginning to ensure everyone had the basic skills for all tasks. As much as the project was about engineering and design, it would not have been a success without an equal measure of human relations and team building skills. In the end we succeeded although the path to success was far from linear and often humbling.
Scroll down for a more detailed description of the design process for this project!
Idea Generation and Selection
Conducting research into indoor growing systems already on the market gave us insight into the essential capabilities consumers expected and what features could differentiate our product.

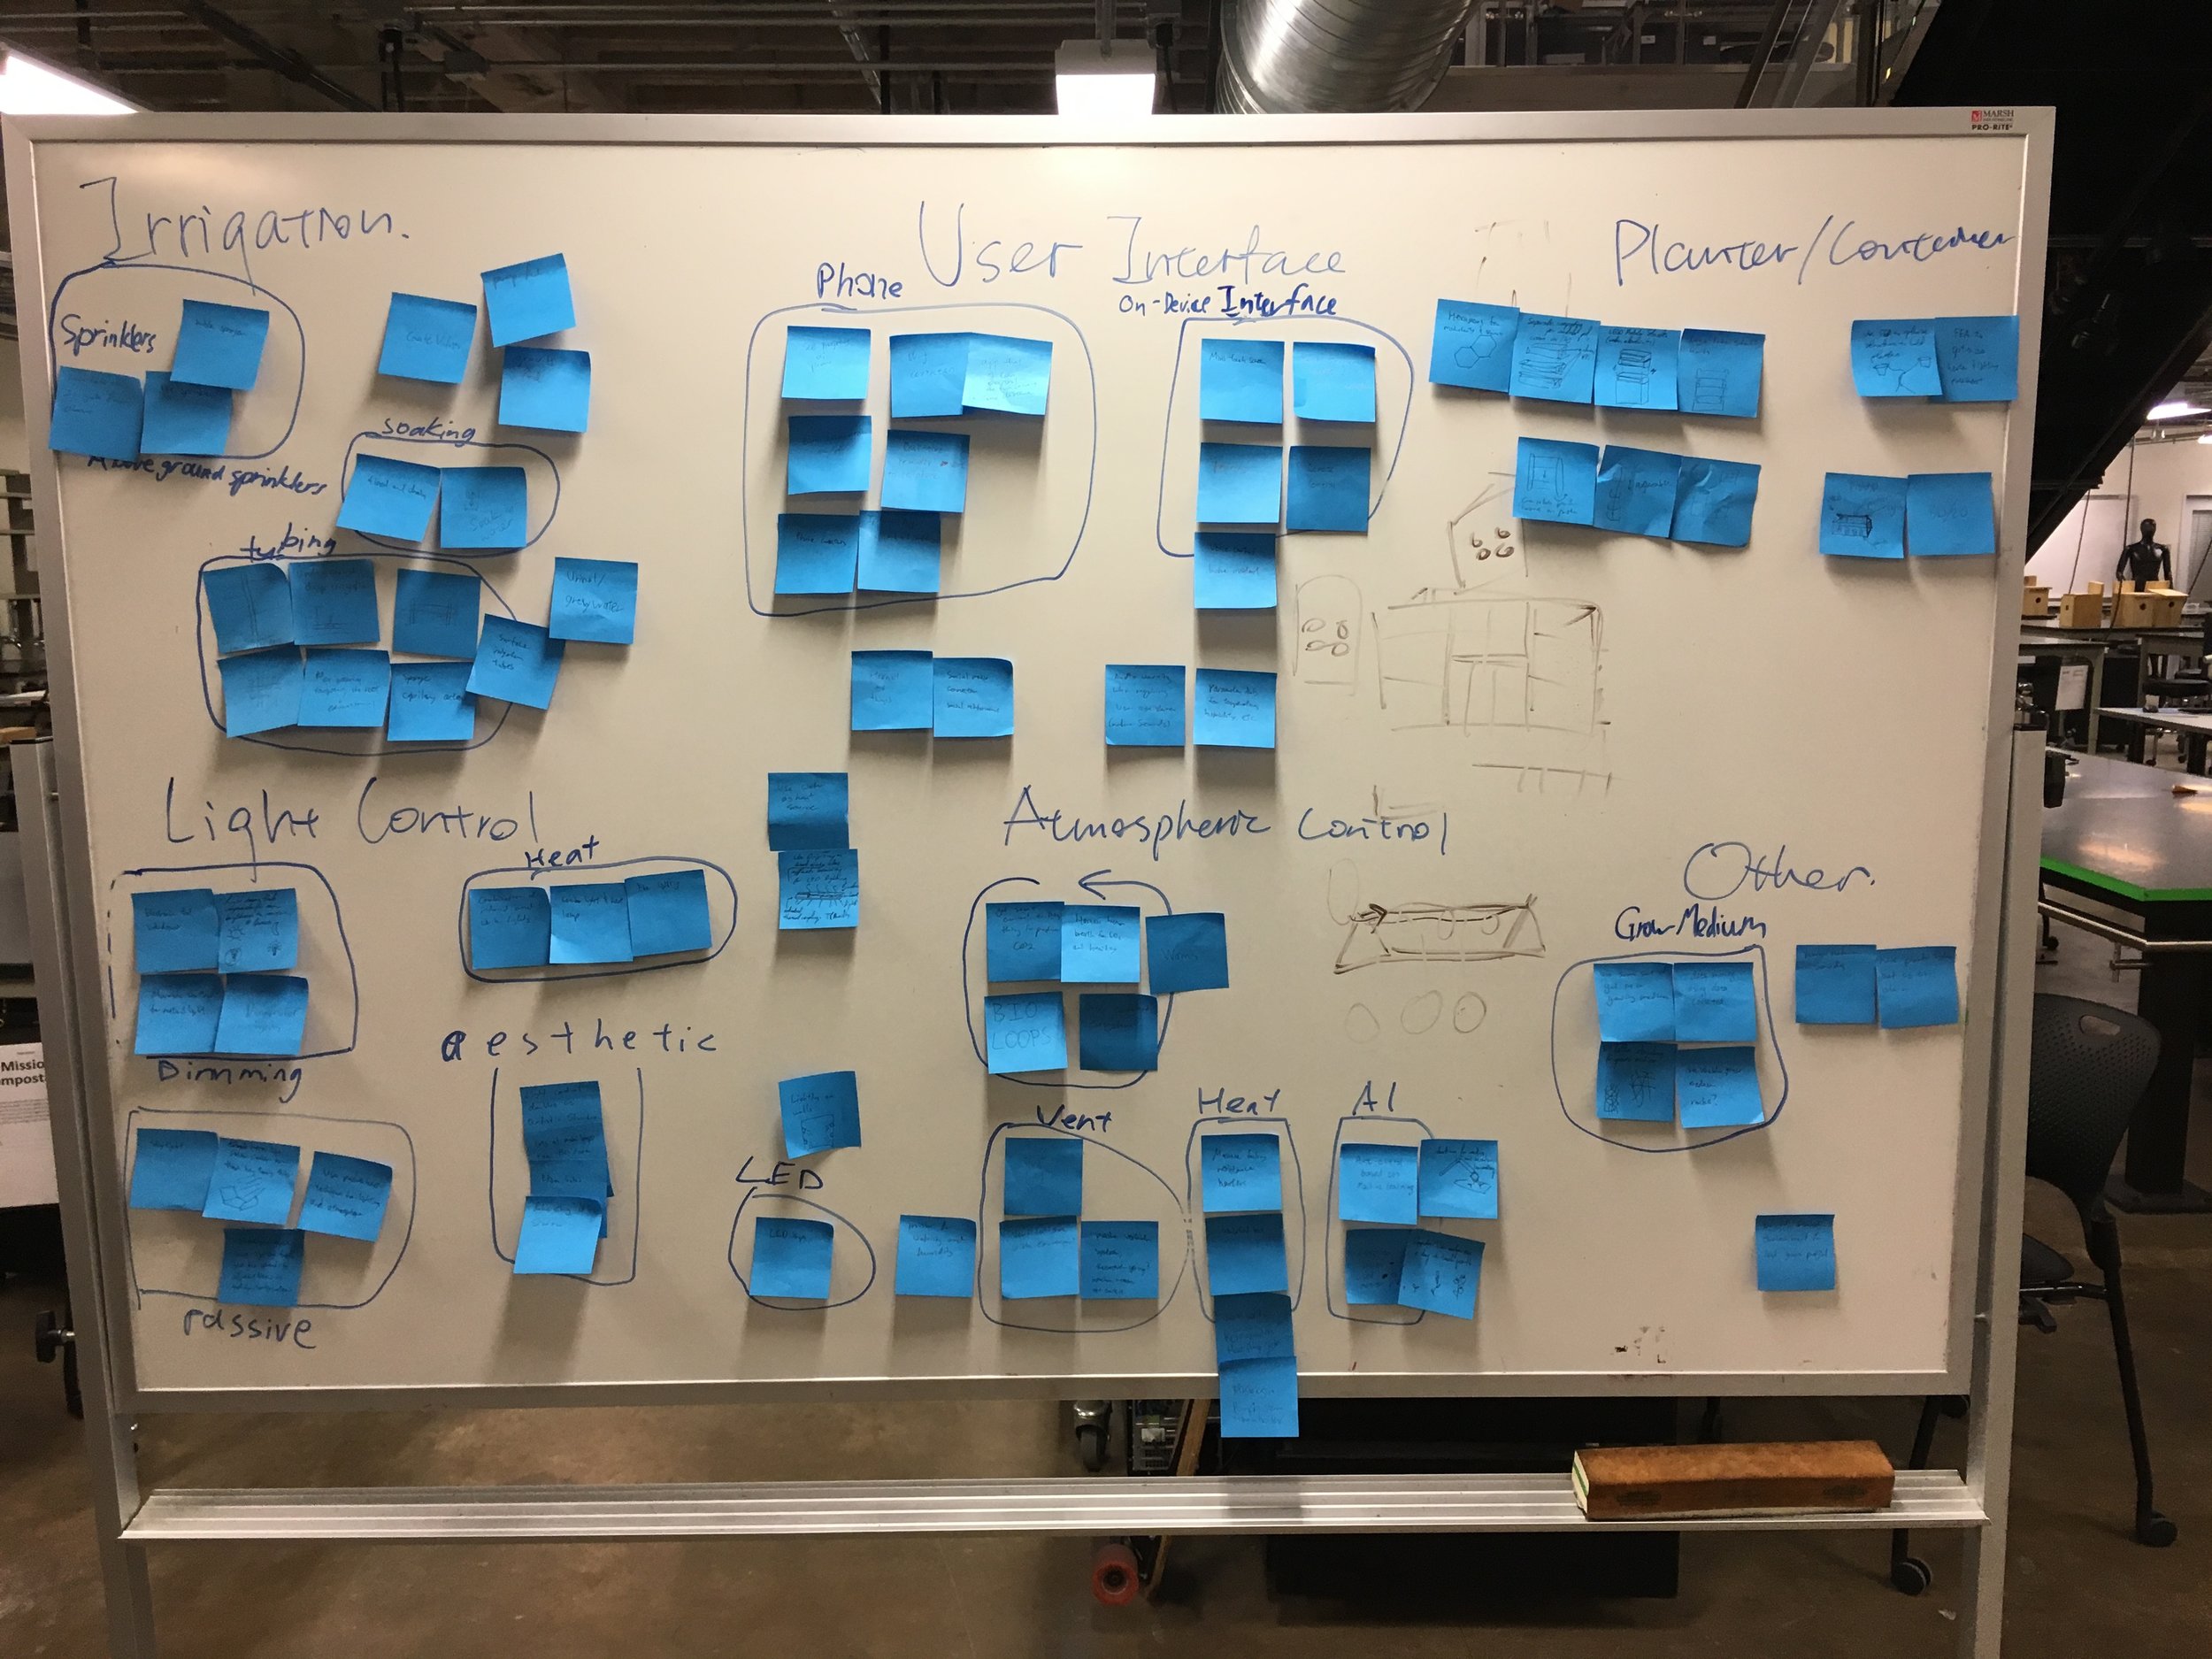
With this information, we locked ourselves in a conference room for an afternoon of brainstorming session. The process began with team members jotting down any ideas they had, no matter how outlandish. Quantity of ideas rather than quality was the goal; groundbreaking ideas can seem bizarre at first glance. Everyone then walked around trying to glean inspiration from their teammates’ proposals. Brainstorming ended like it had started with another round of idea generation. After this final session, the ideas were organized on a dry-erase board where five main areas of focus emerged: irrigation, light control, atmospheric control, physical structure, and user interface.
Design Considerations
The process of sorting through the various ideas to finalize the design brought us to the conclusion that there were often multiple ways to achieve a certain functionality. This realization meant that whenever we had an option between two effective solutions, we had the freedom to consider non-technical aspects that were nonetheless crucial to a successful final product.
Of utmost importance was our conviction to make everything as easy and intuitive for the user as possible. This guiding principle took manifested itself in two ways. The first of these was a focus on the aesthetic of the product. We wanted our device to have a more natural feel than the overly metallic and sterile look of products already on the market. One of the many ways in which this aesthetic influenced our design was in our decision to use soil rather than hydroponics. A soil-based system gave us the dual benefit of maintaining our desired aesthetic while simultaneously differentiating our product from the hydroponic systems on the market.
The second manifestation of this guiding principle was a focus on human factors. A key part of this approach involved trying to foresee how a user might interact with our device in unintended ways. A user might, for example, water the plants manually despite our automatic irrigation system. Given that overwatering is one of the most common ways amateur gardeners kill plants, we designed our system to allow excess water to flow out the bottom of the planter into a tank.
Low and Medium Fidelity Prototypes
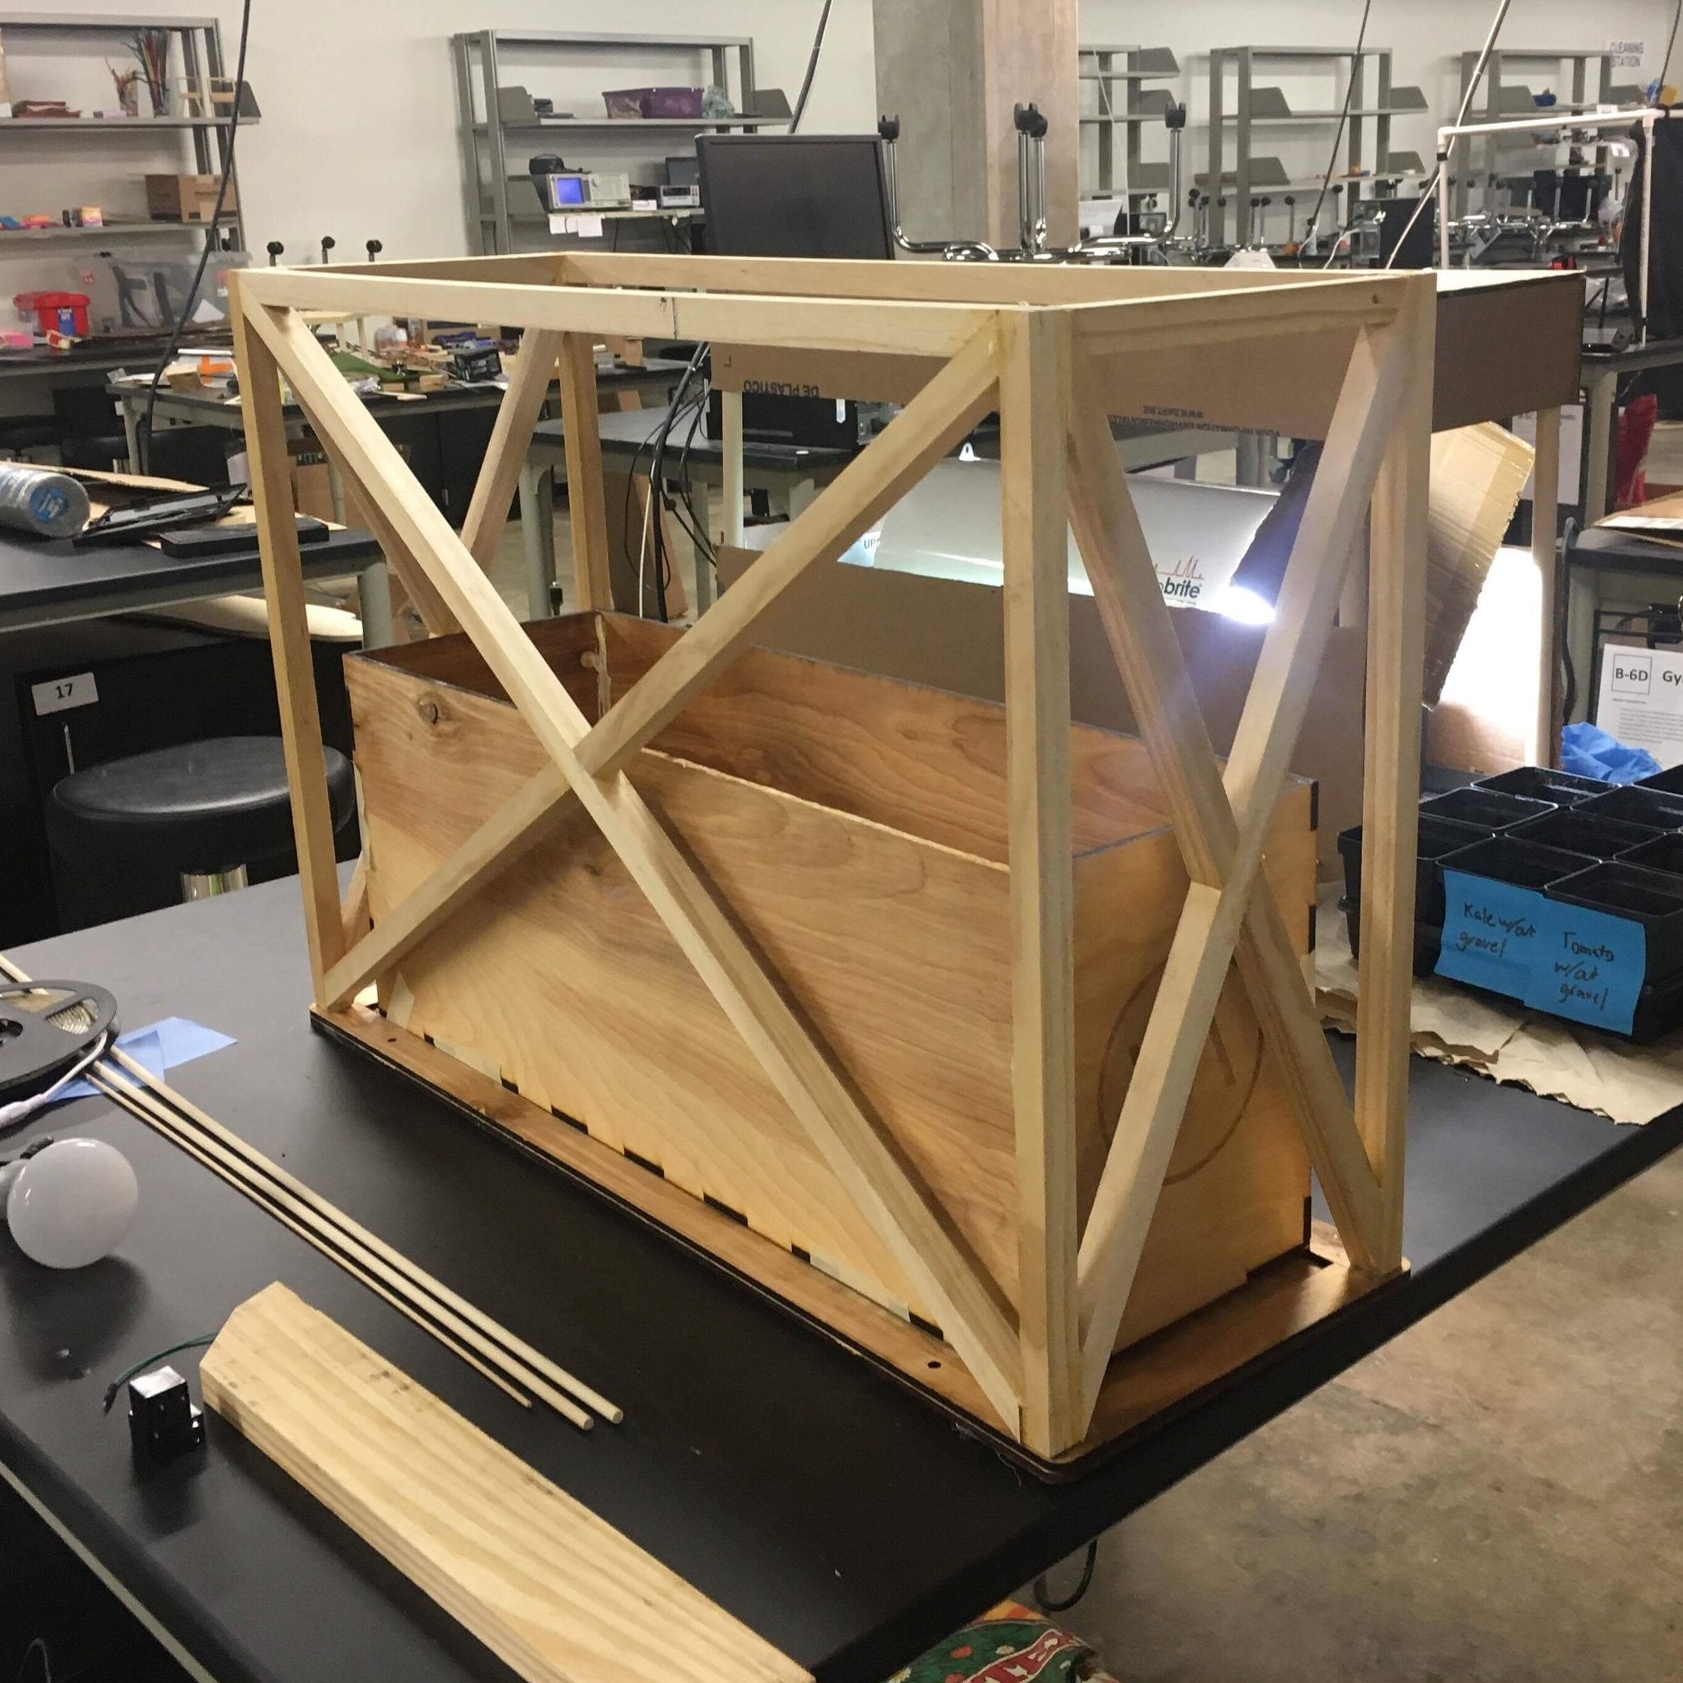
Building began as soon as we had a rough idea of our design. We quickly threw together a full-scale model of our design from pieces of cardboard and some wooden dowels and. This ultra-low fidelity prototype gave us a spatial feel of the intended design.

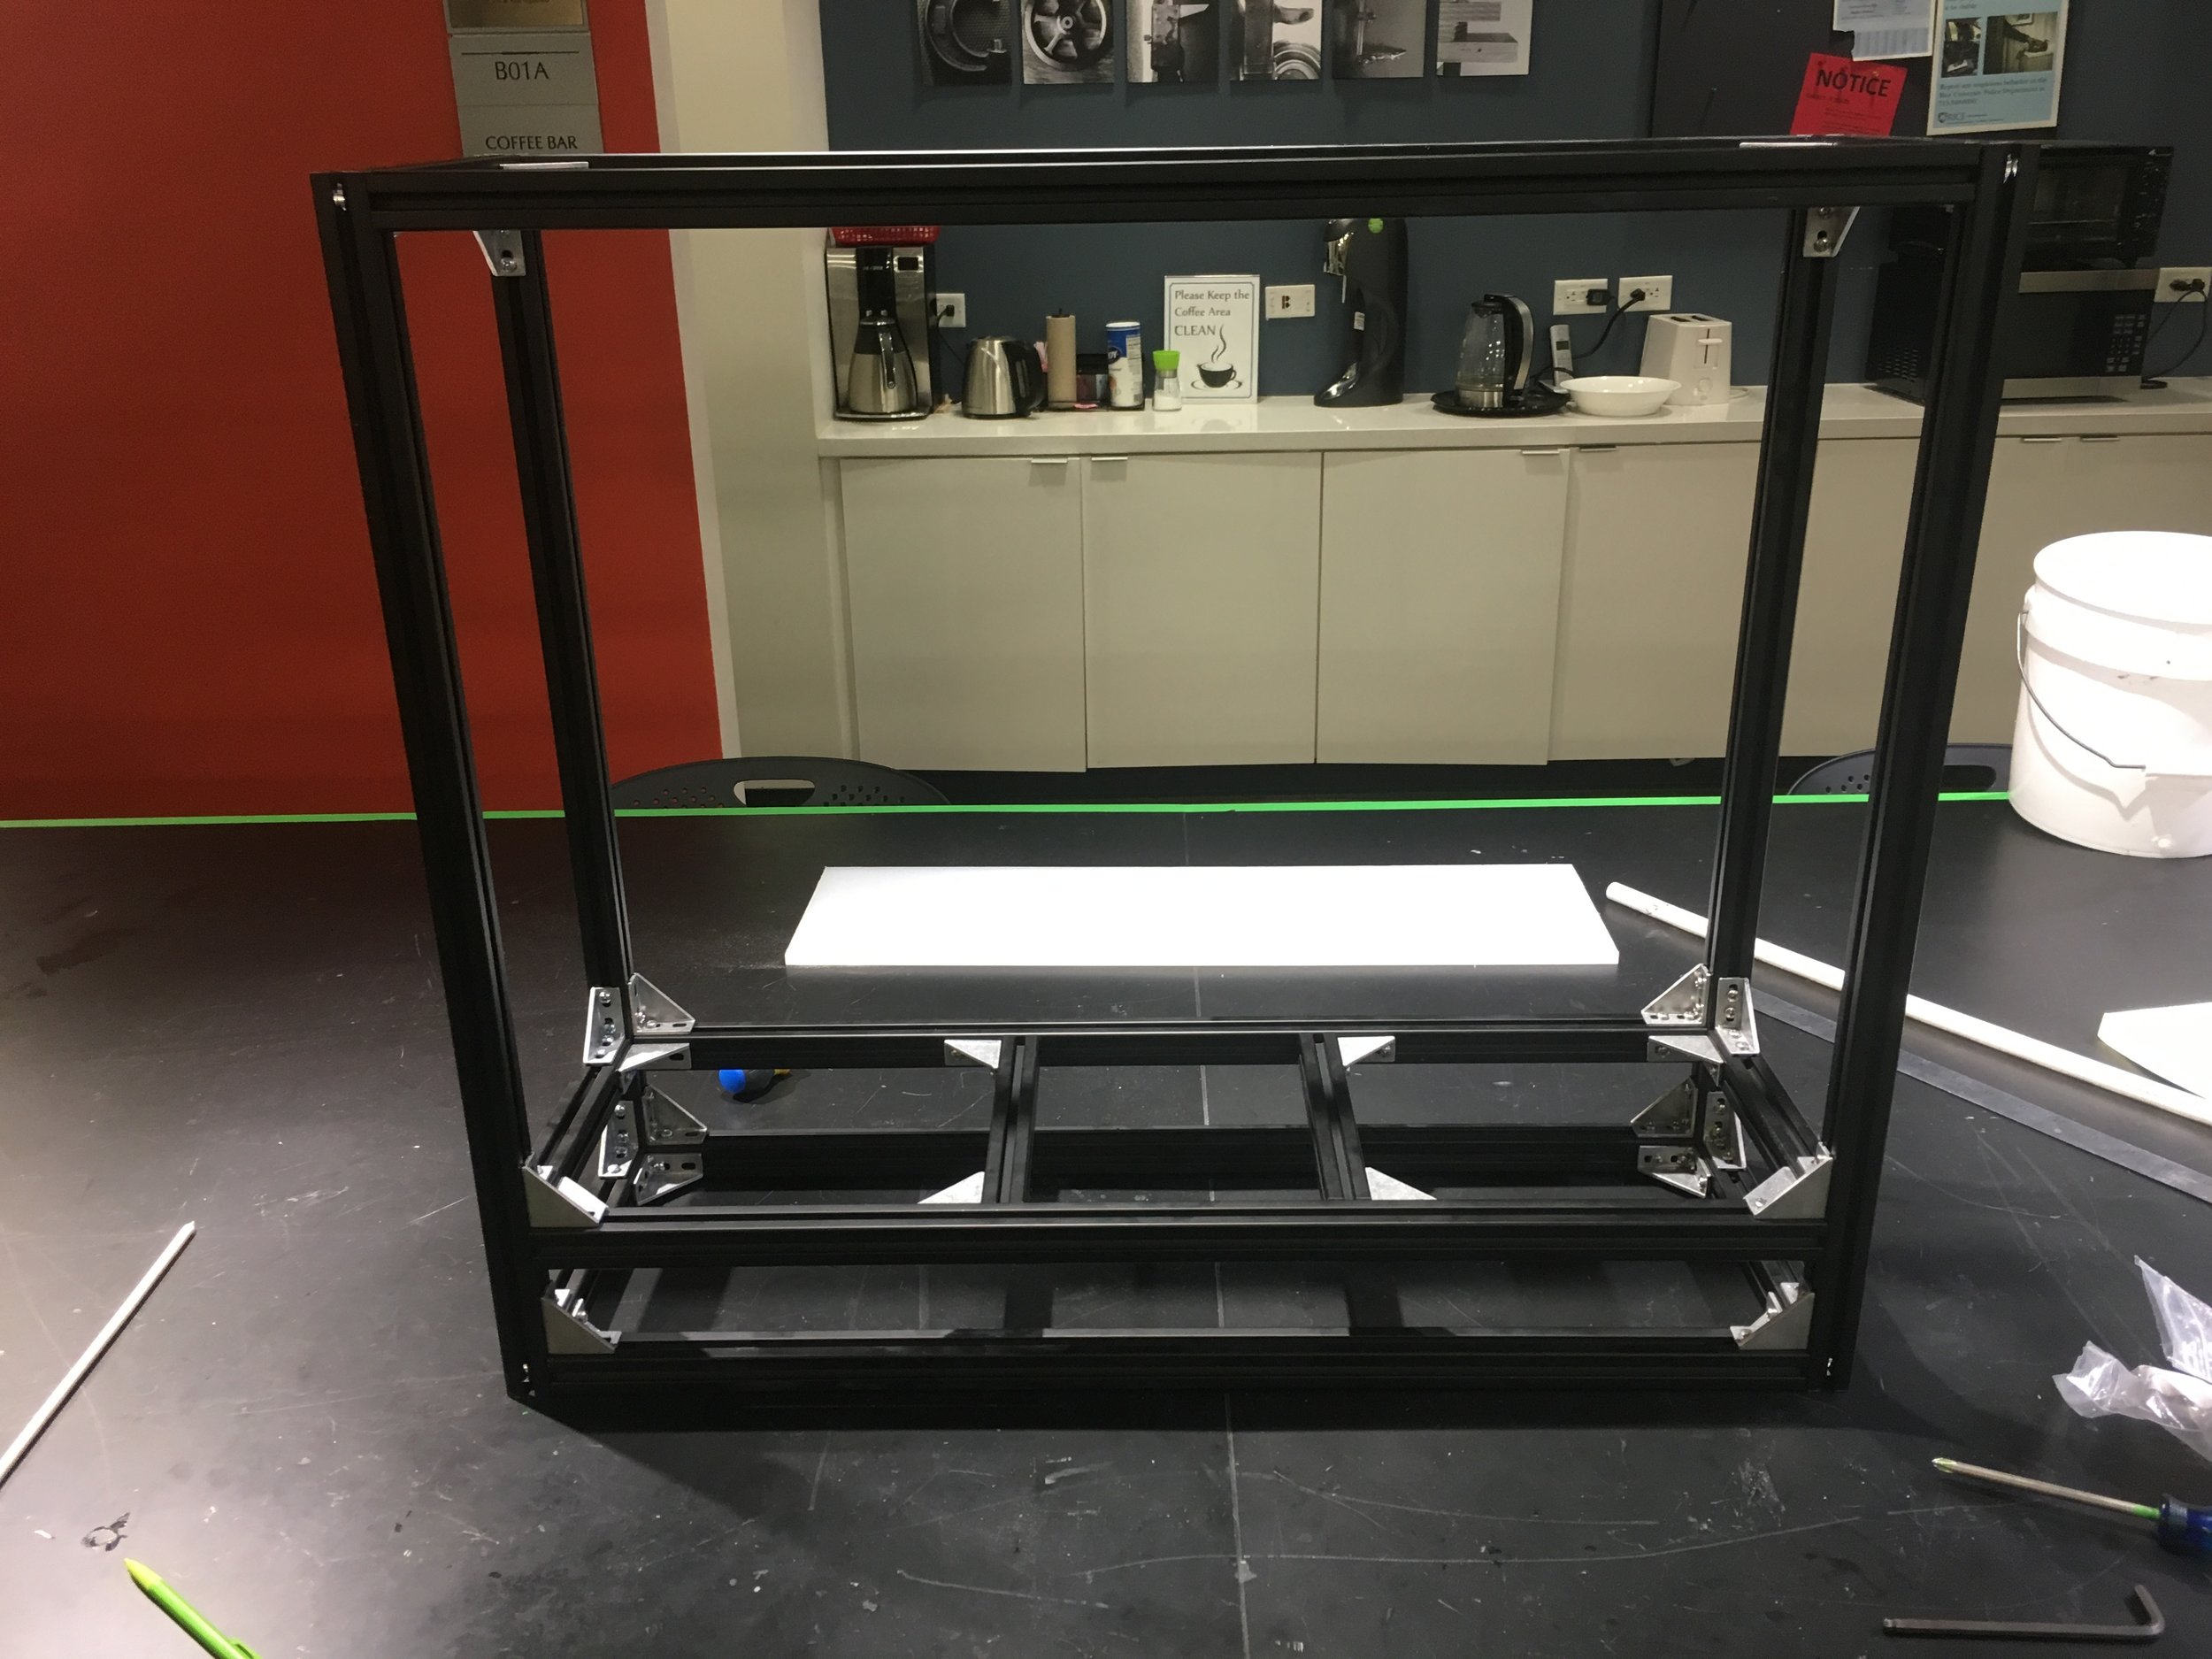
Wooden Prototype
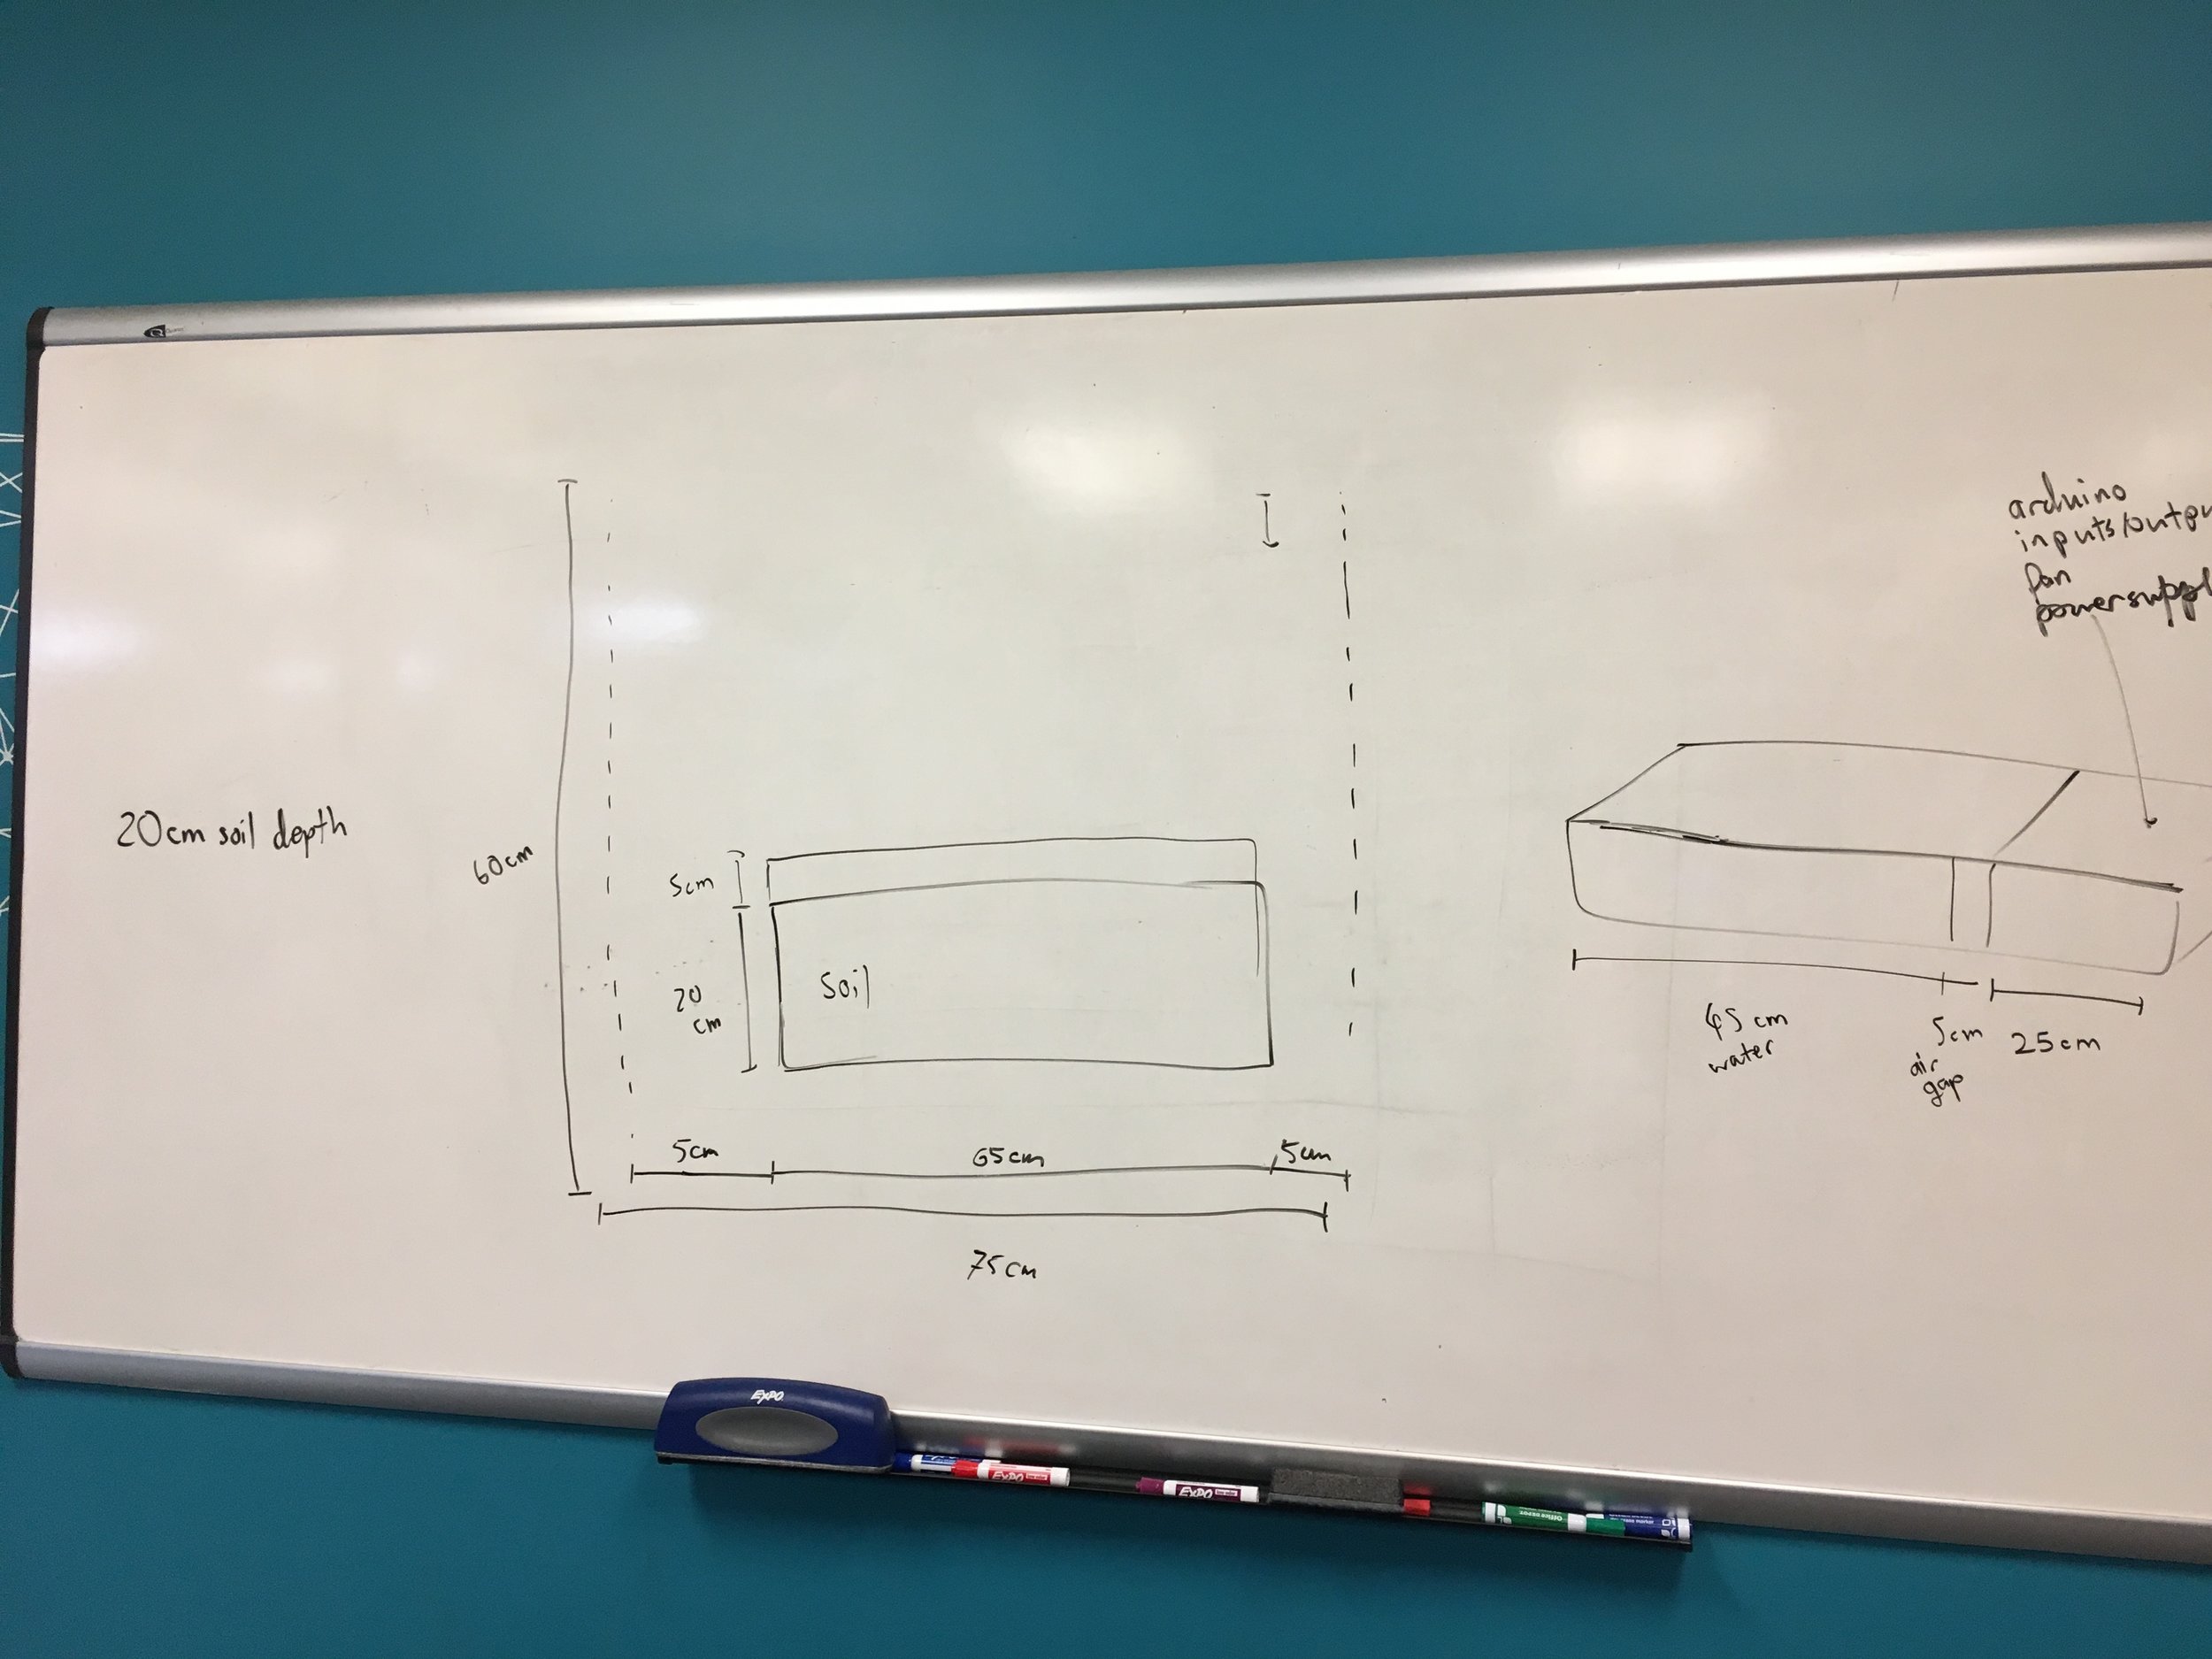
After making changing any dimensions we felt necessary, we set about constructing a more functional wooden prototype. This prototype served two purposes: to begin to understand how all the component systems might fit together and to see what issues might arise. Unsurprisingly, our prototype had many shortcomings.

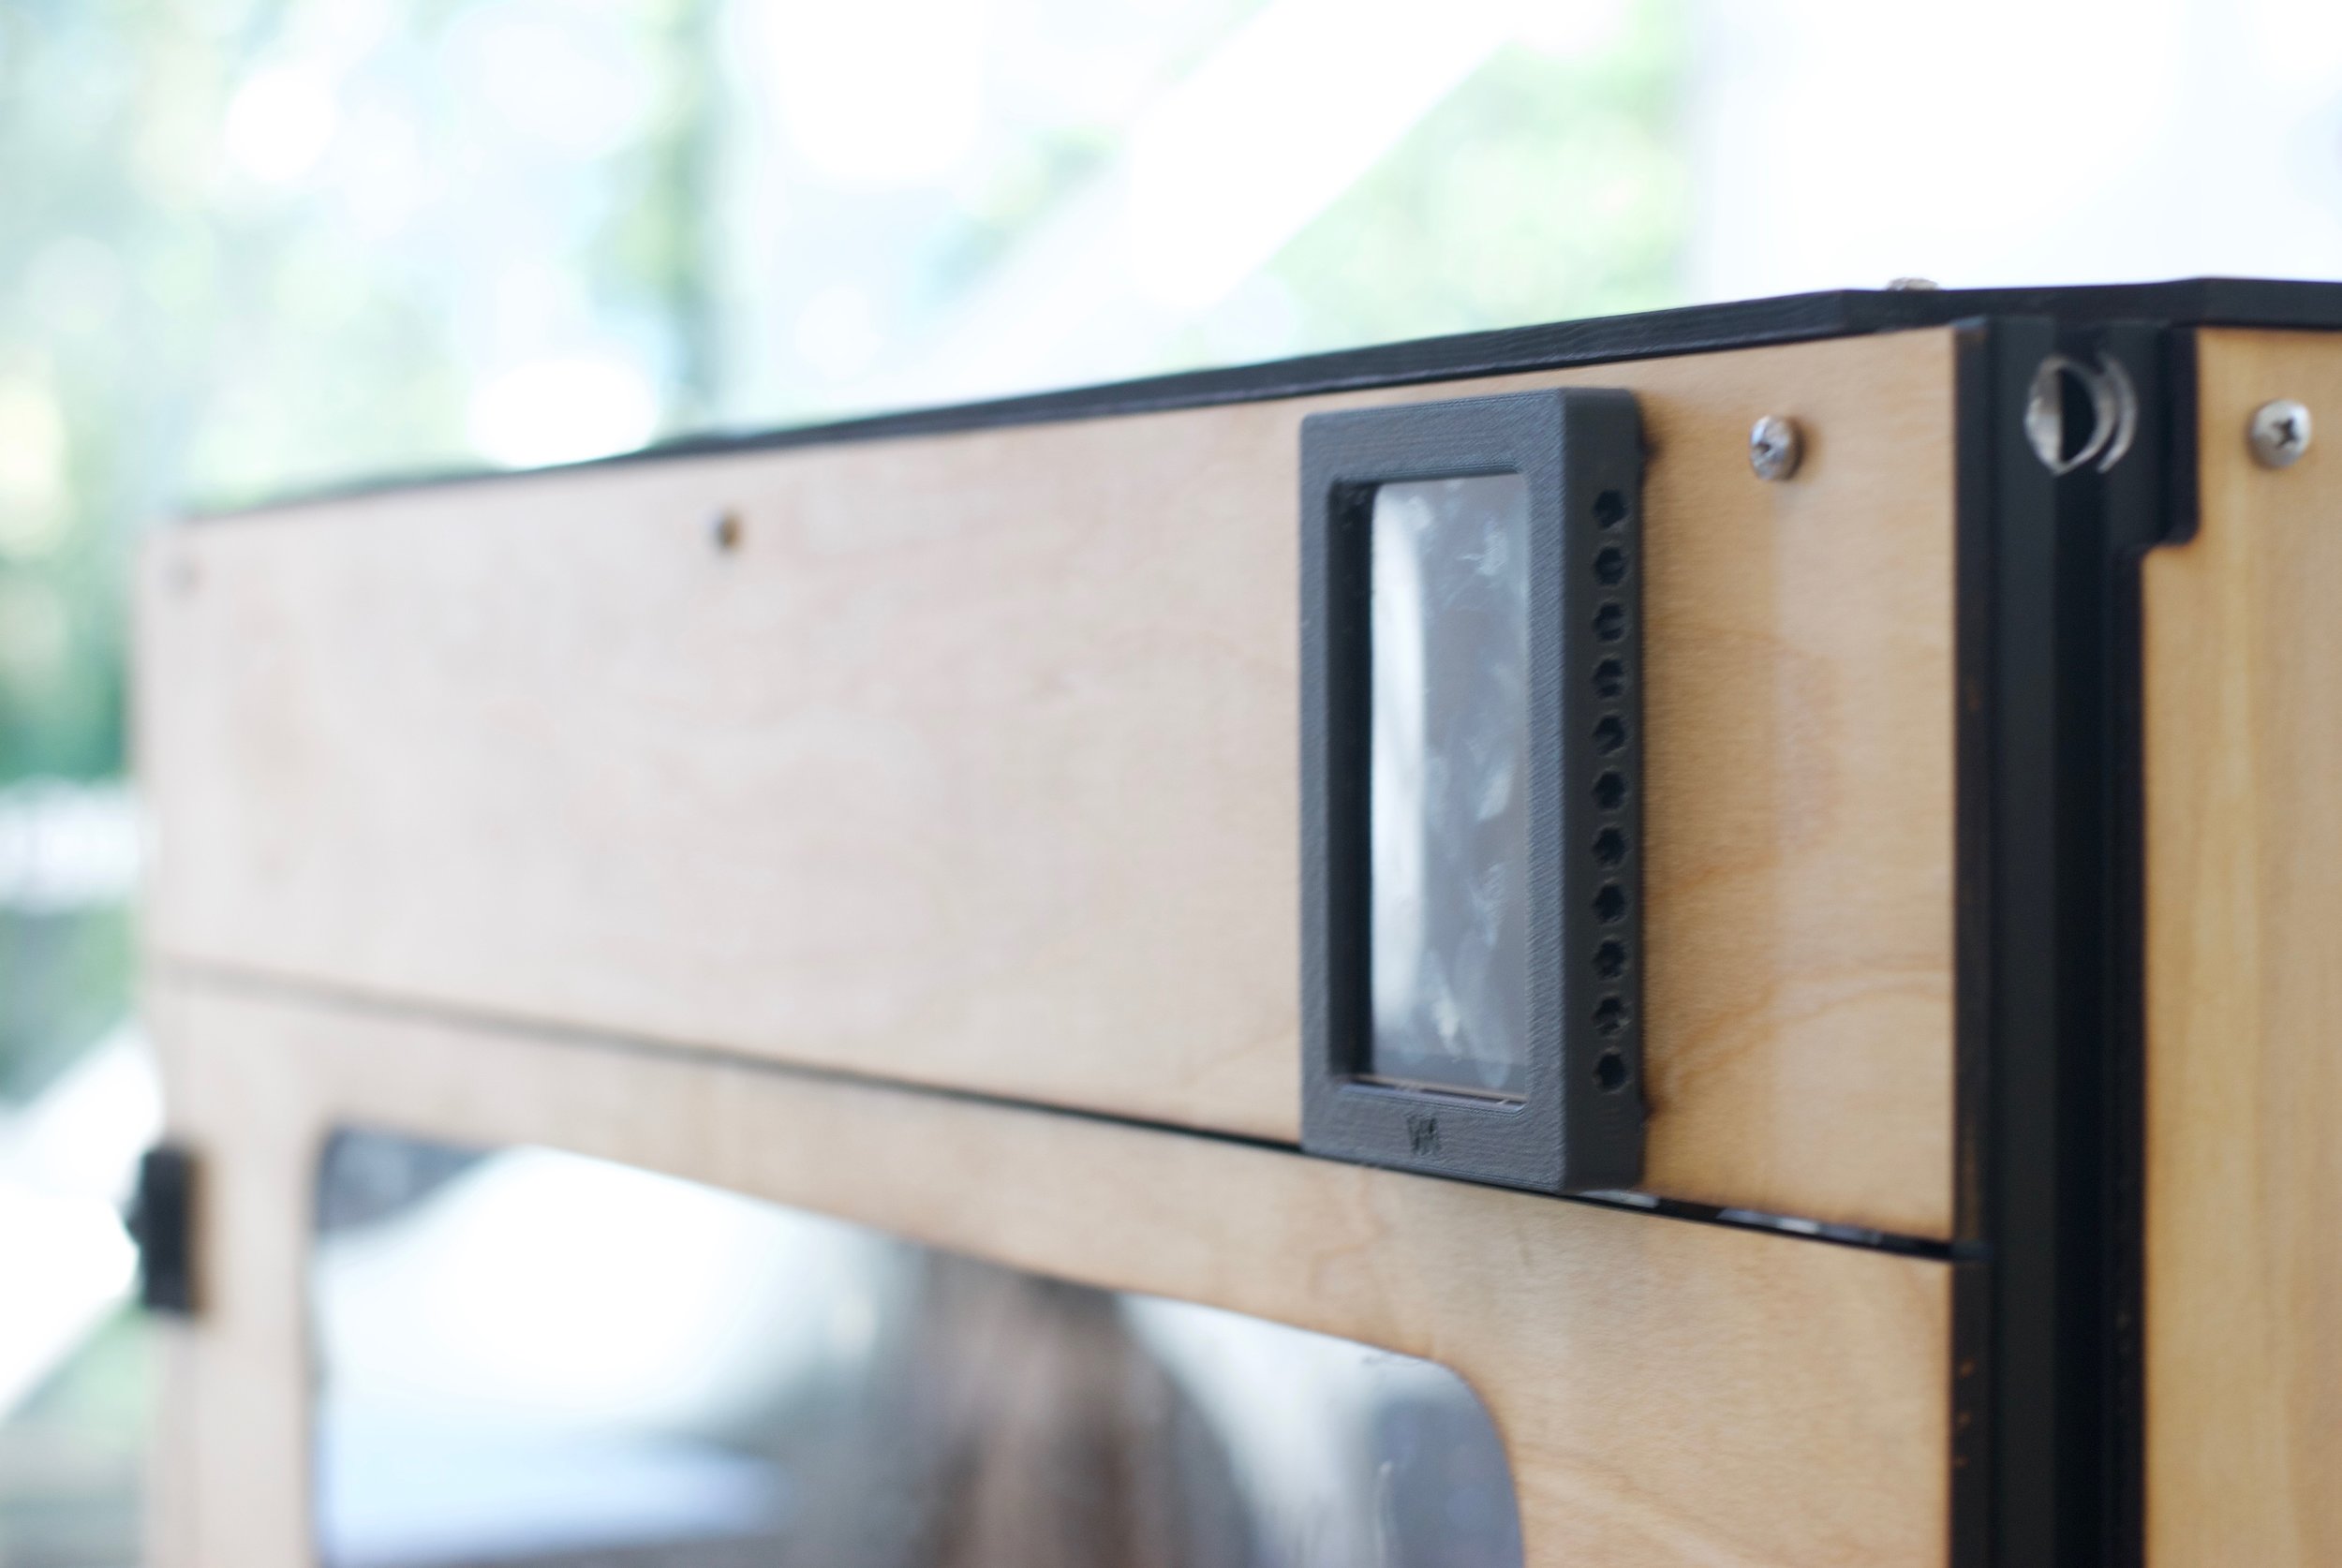
Light Meter recording 104 LFUs at soil level
That the lighting system needed improvement was obvious. Plants need approximately 300 micromoles of photons per square meter per second (which I will call light flux units or LFUs for short) for normal growth. Our system was only outputting about 100 LFUs at soil level.
The water storage and irrigation system needed radical redesign as well. Initial designs tried to minimize electricity consumption and noise by placing the water tank on top. Gravity provided the pressure needed for irrigation with any excess water seeping through the soil being collected by a drip tray. We hypothesized that we would control water well enough that any excess would have time to evaporate before the drip tray overflowed. This idea did not work in practice, and our table was often flooded. Placing the tank at the top also had the danger of making our prototype too top-heavy and therefore unstable.
In addition to these two systems, we also needed to improve the device’s general ergonomics. The planter box in particular needed an update. A fully loaded planter box was well under the max load capacity for an individual. Even so, its design made it difficult for a user to pick up and easily move.
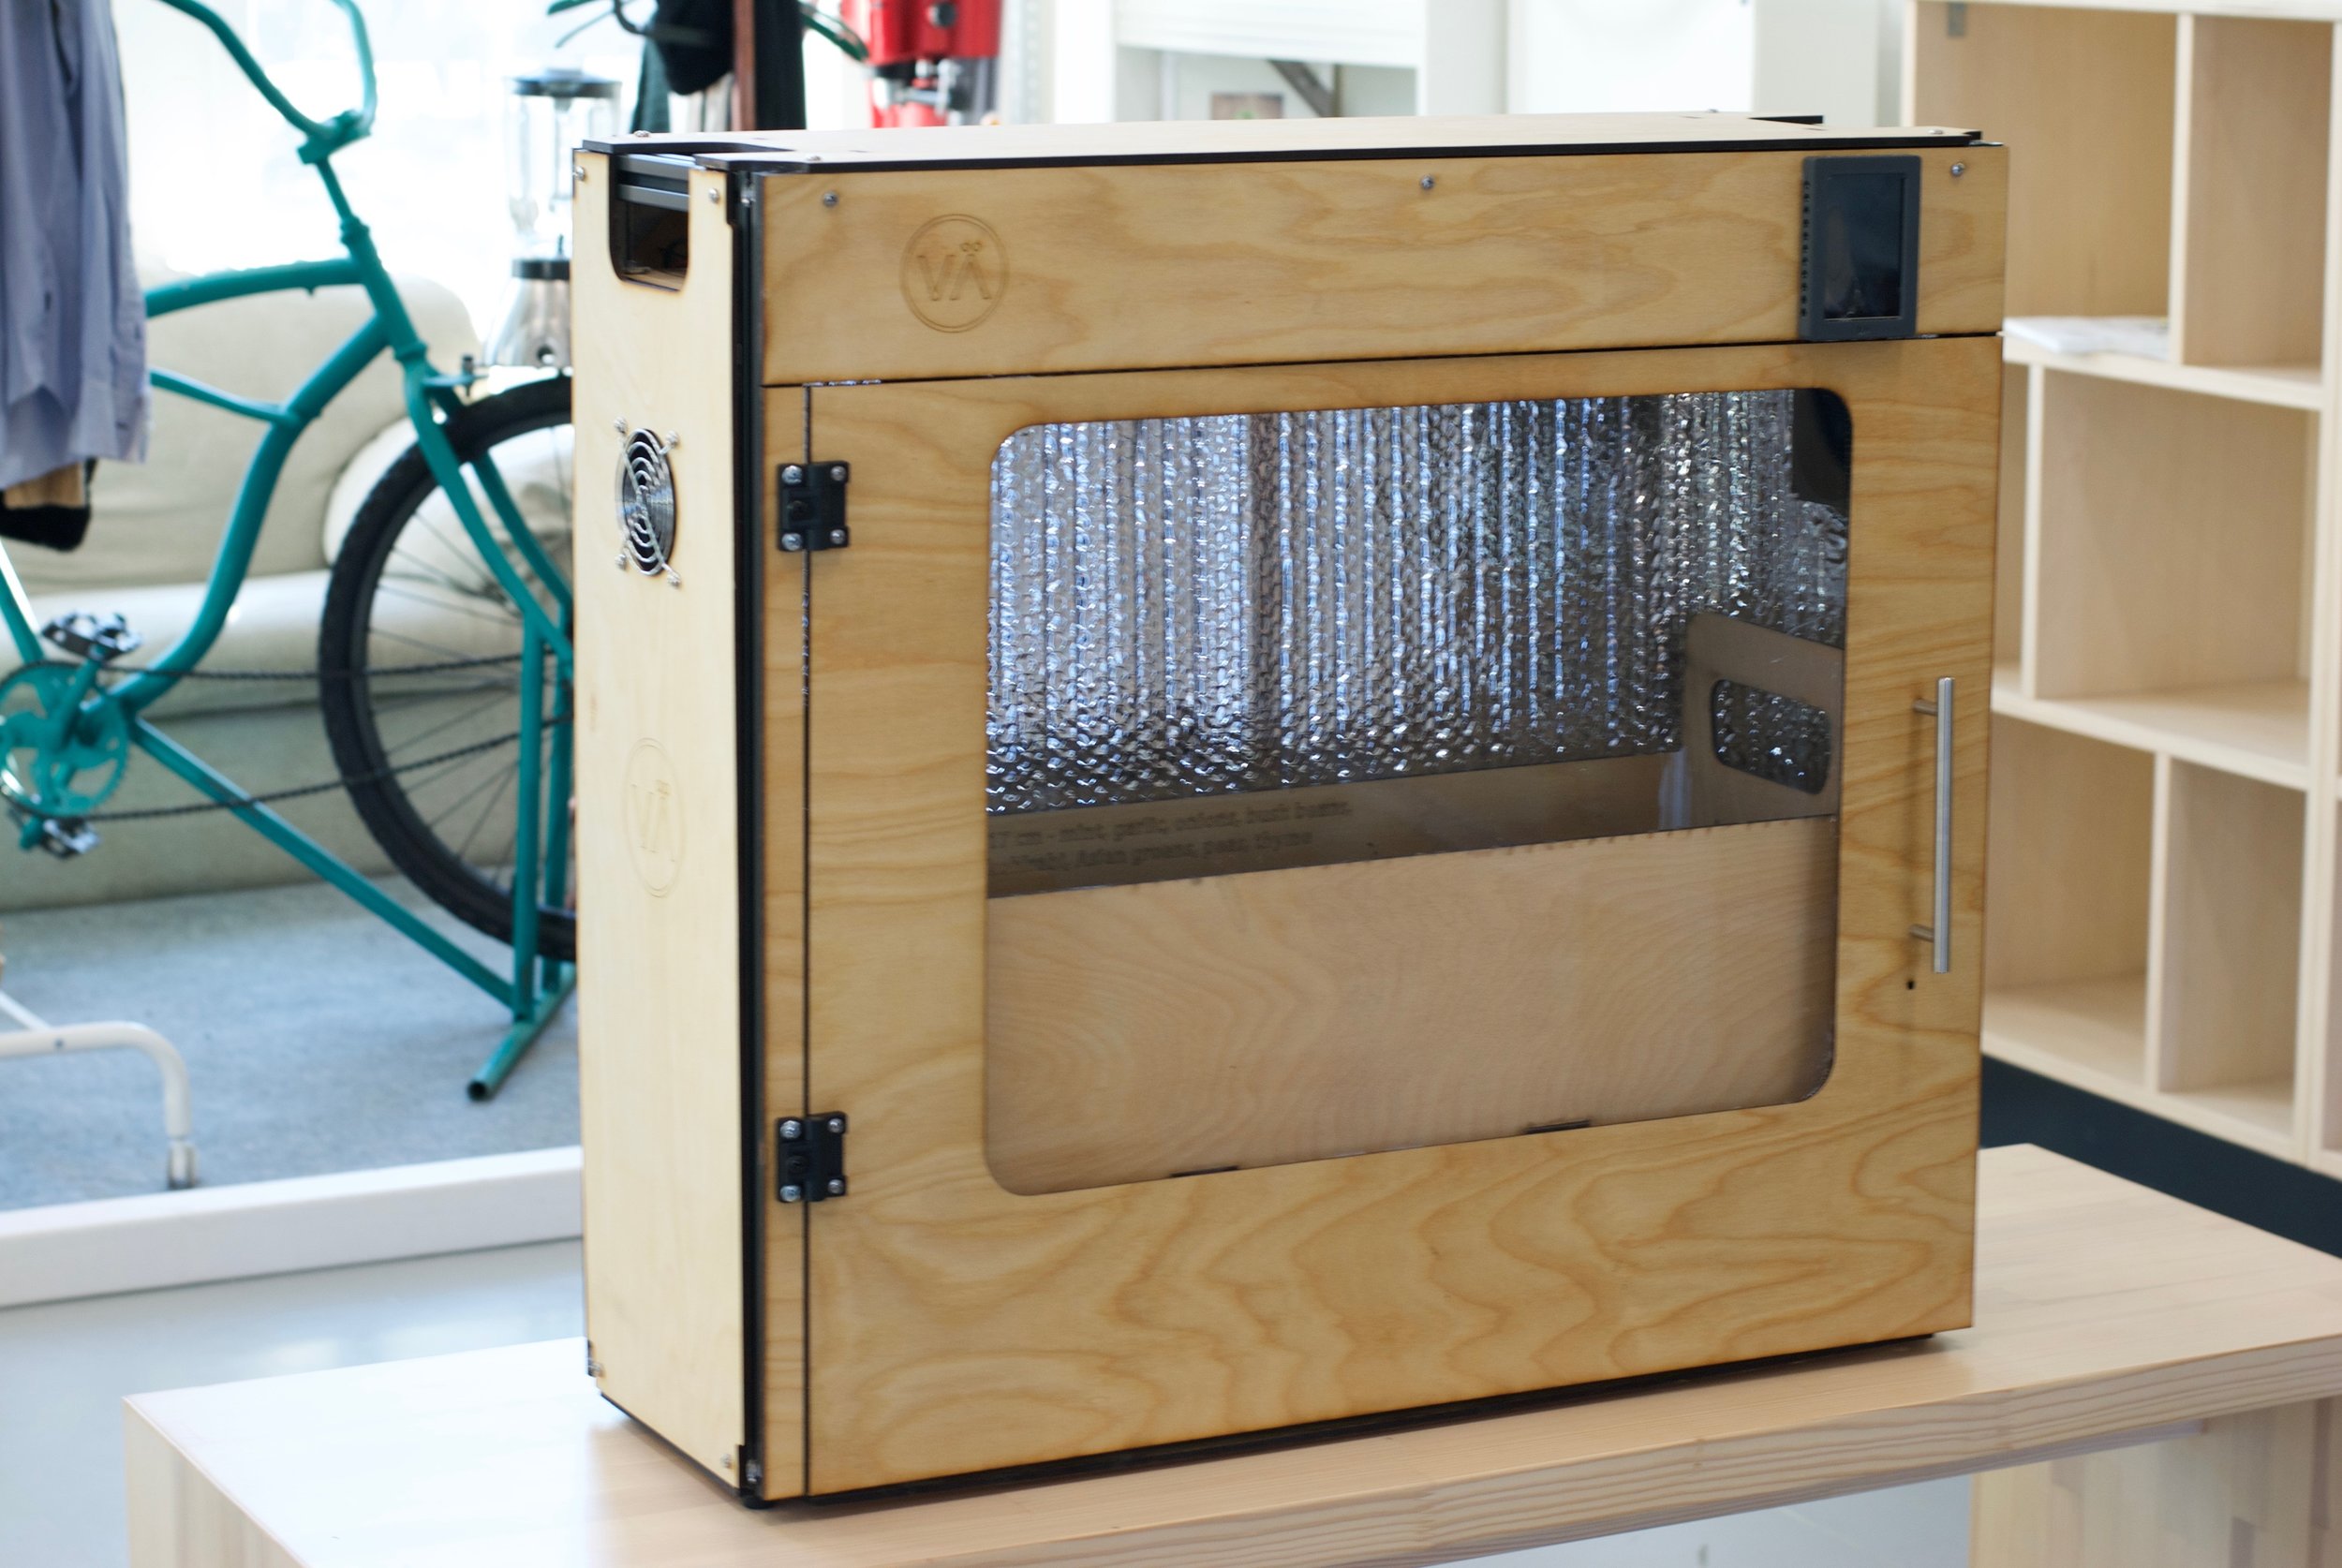
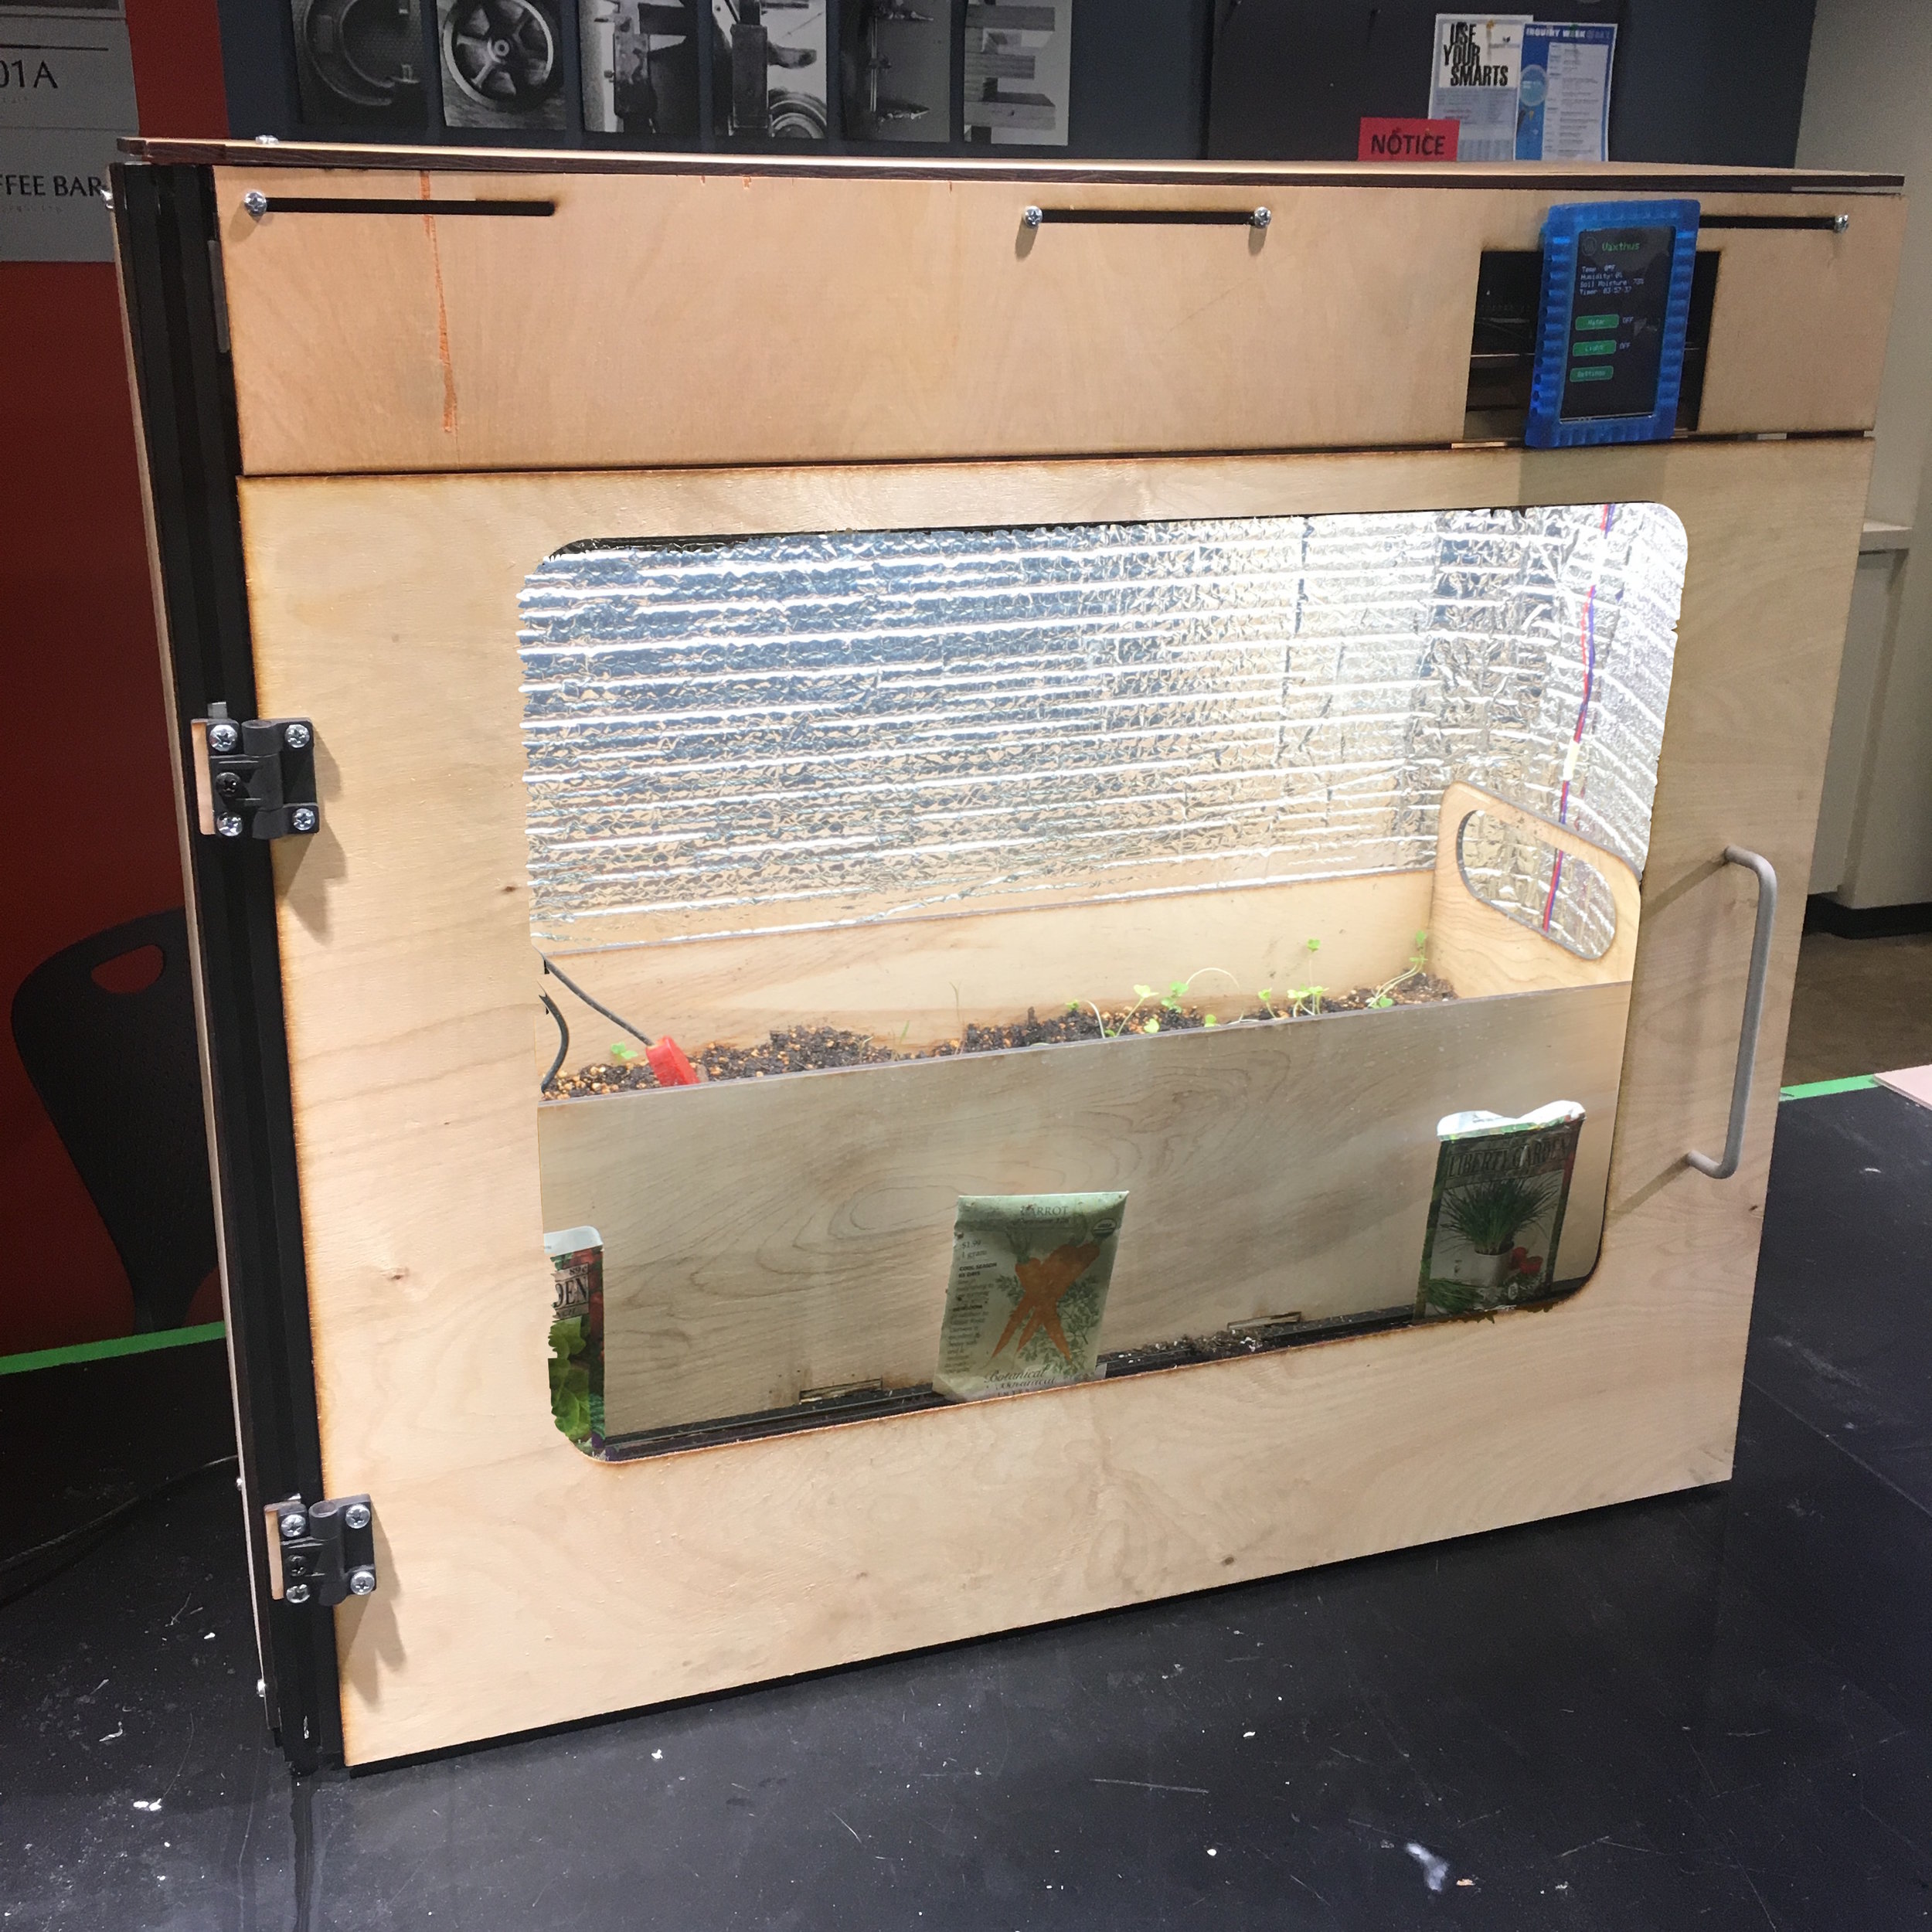
Final Design
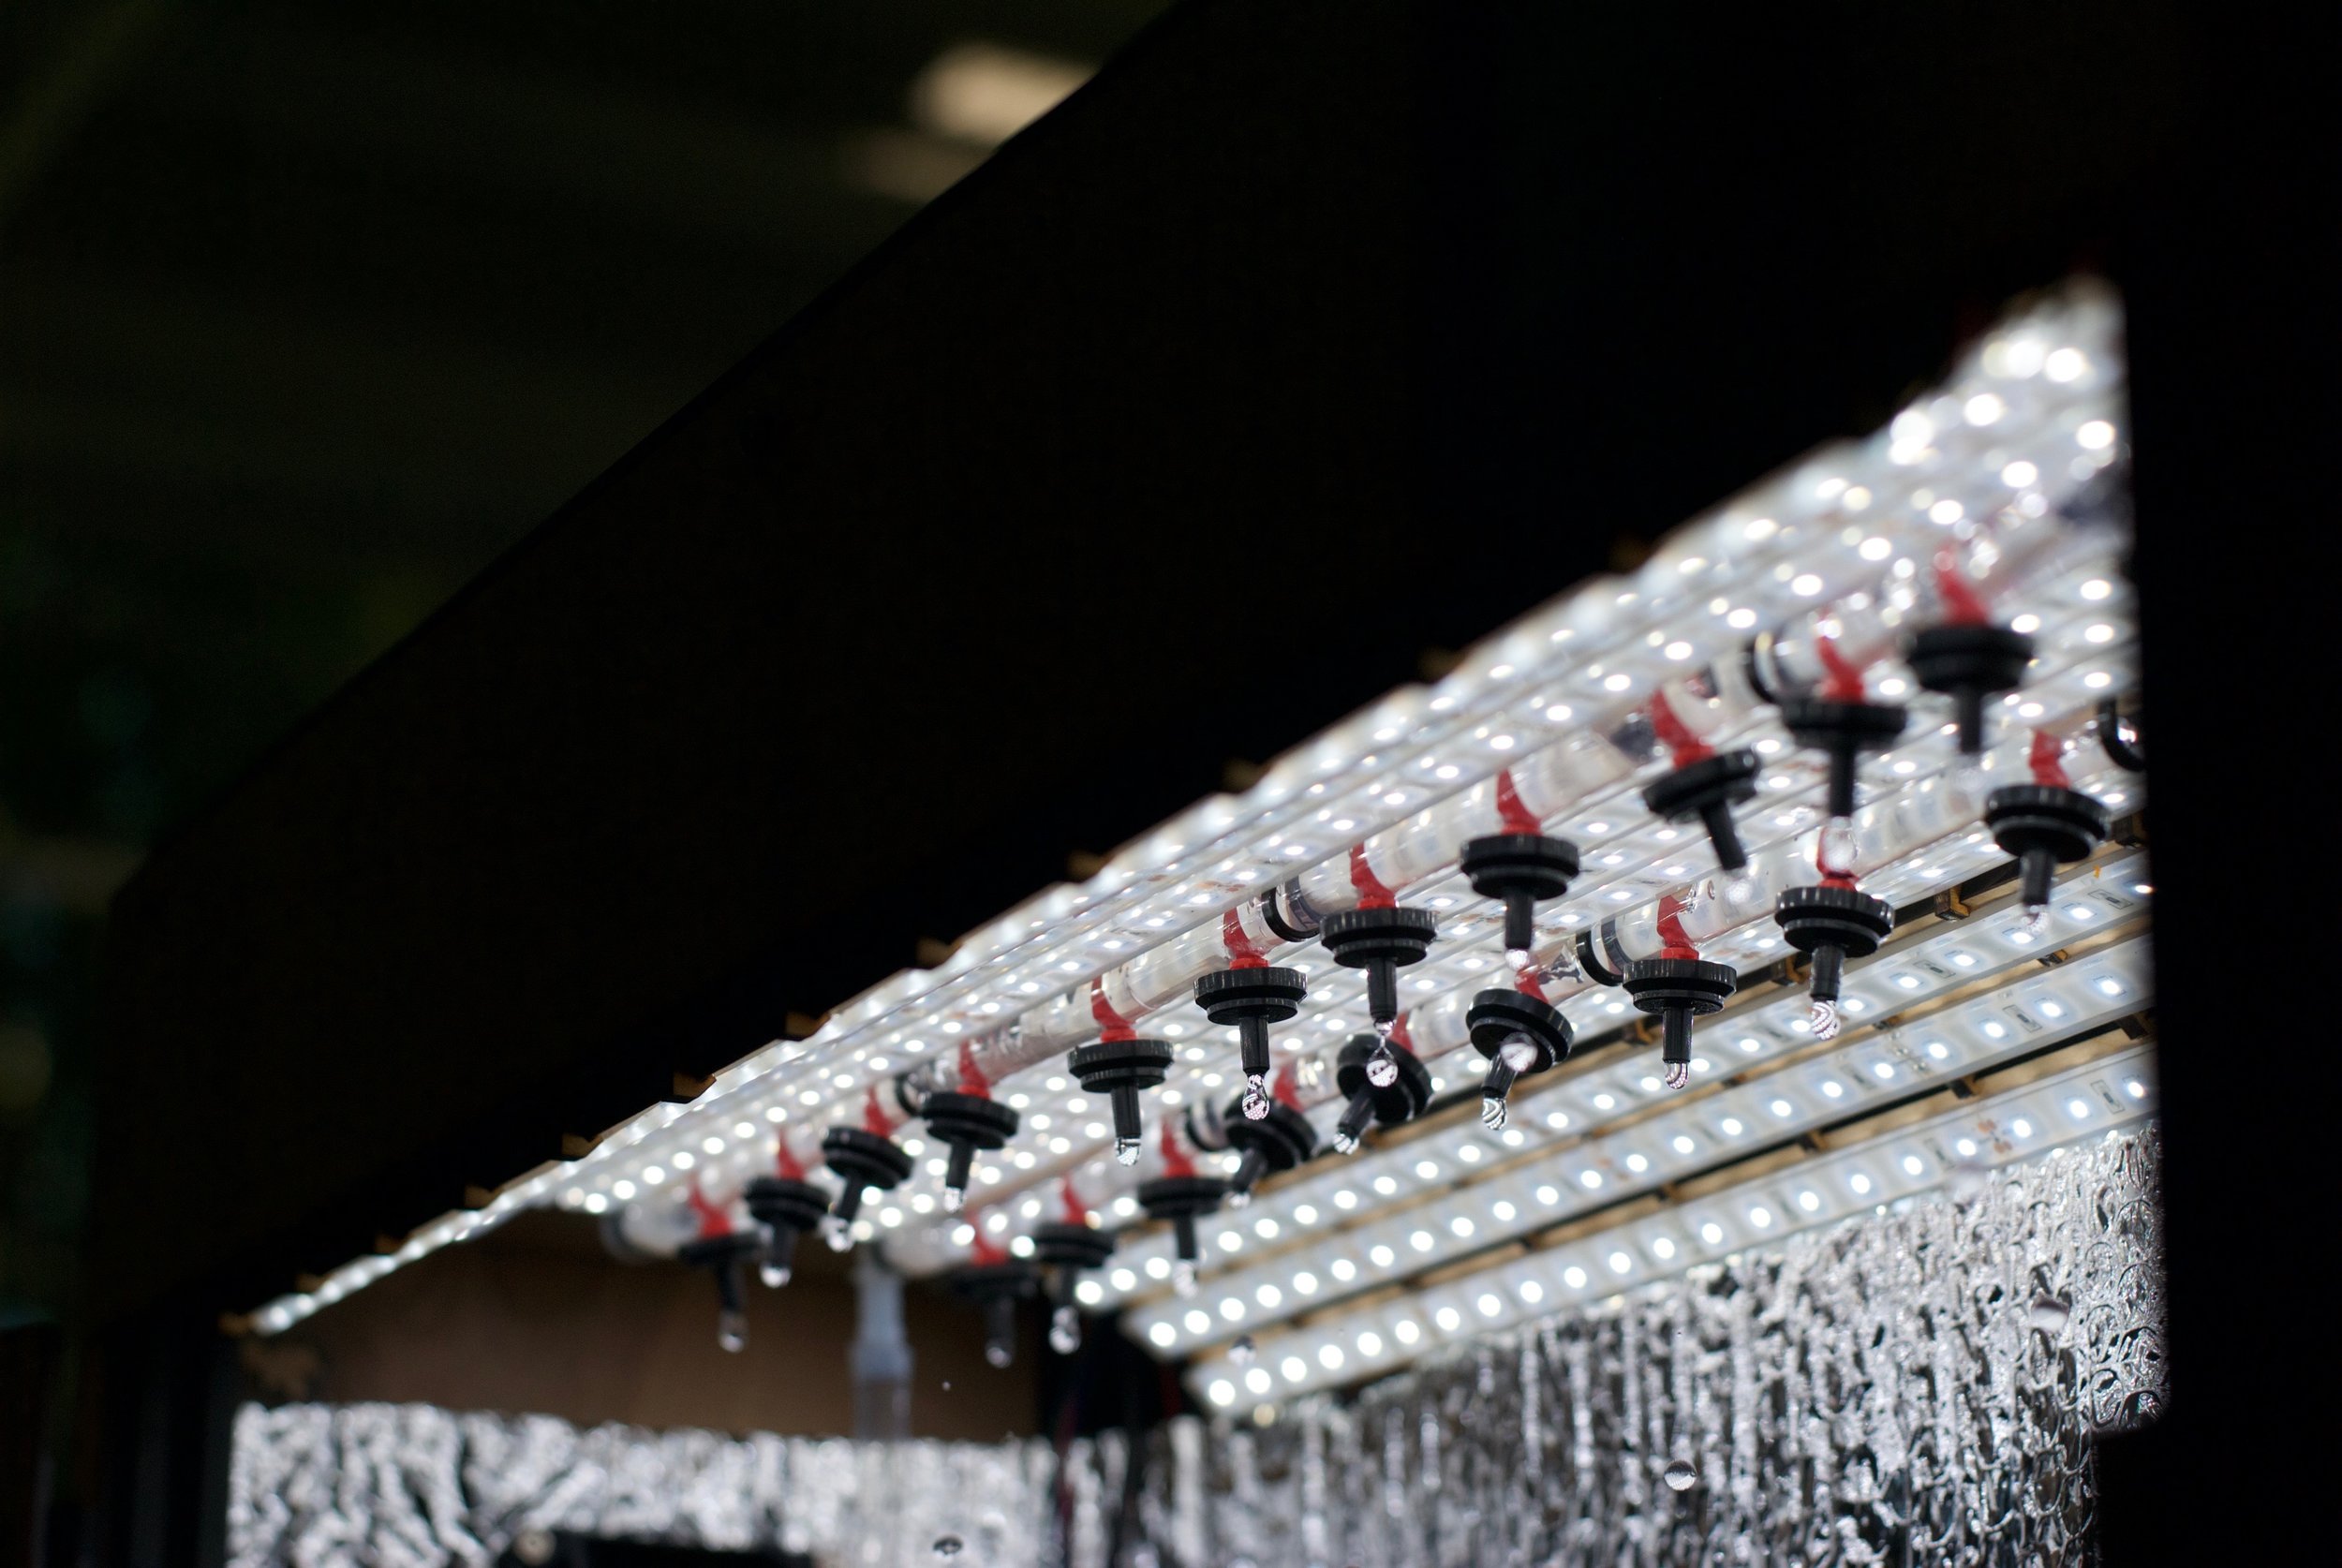
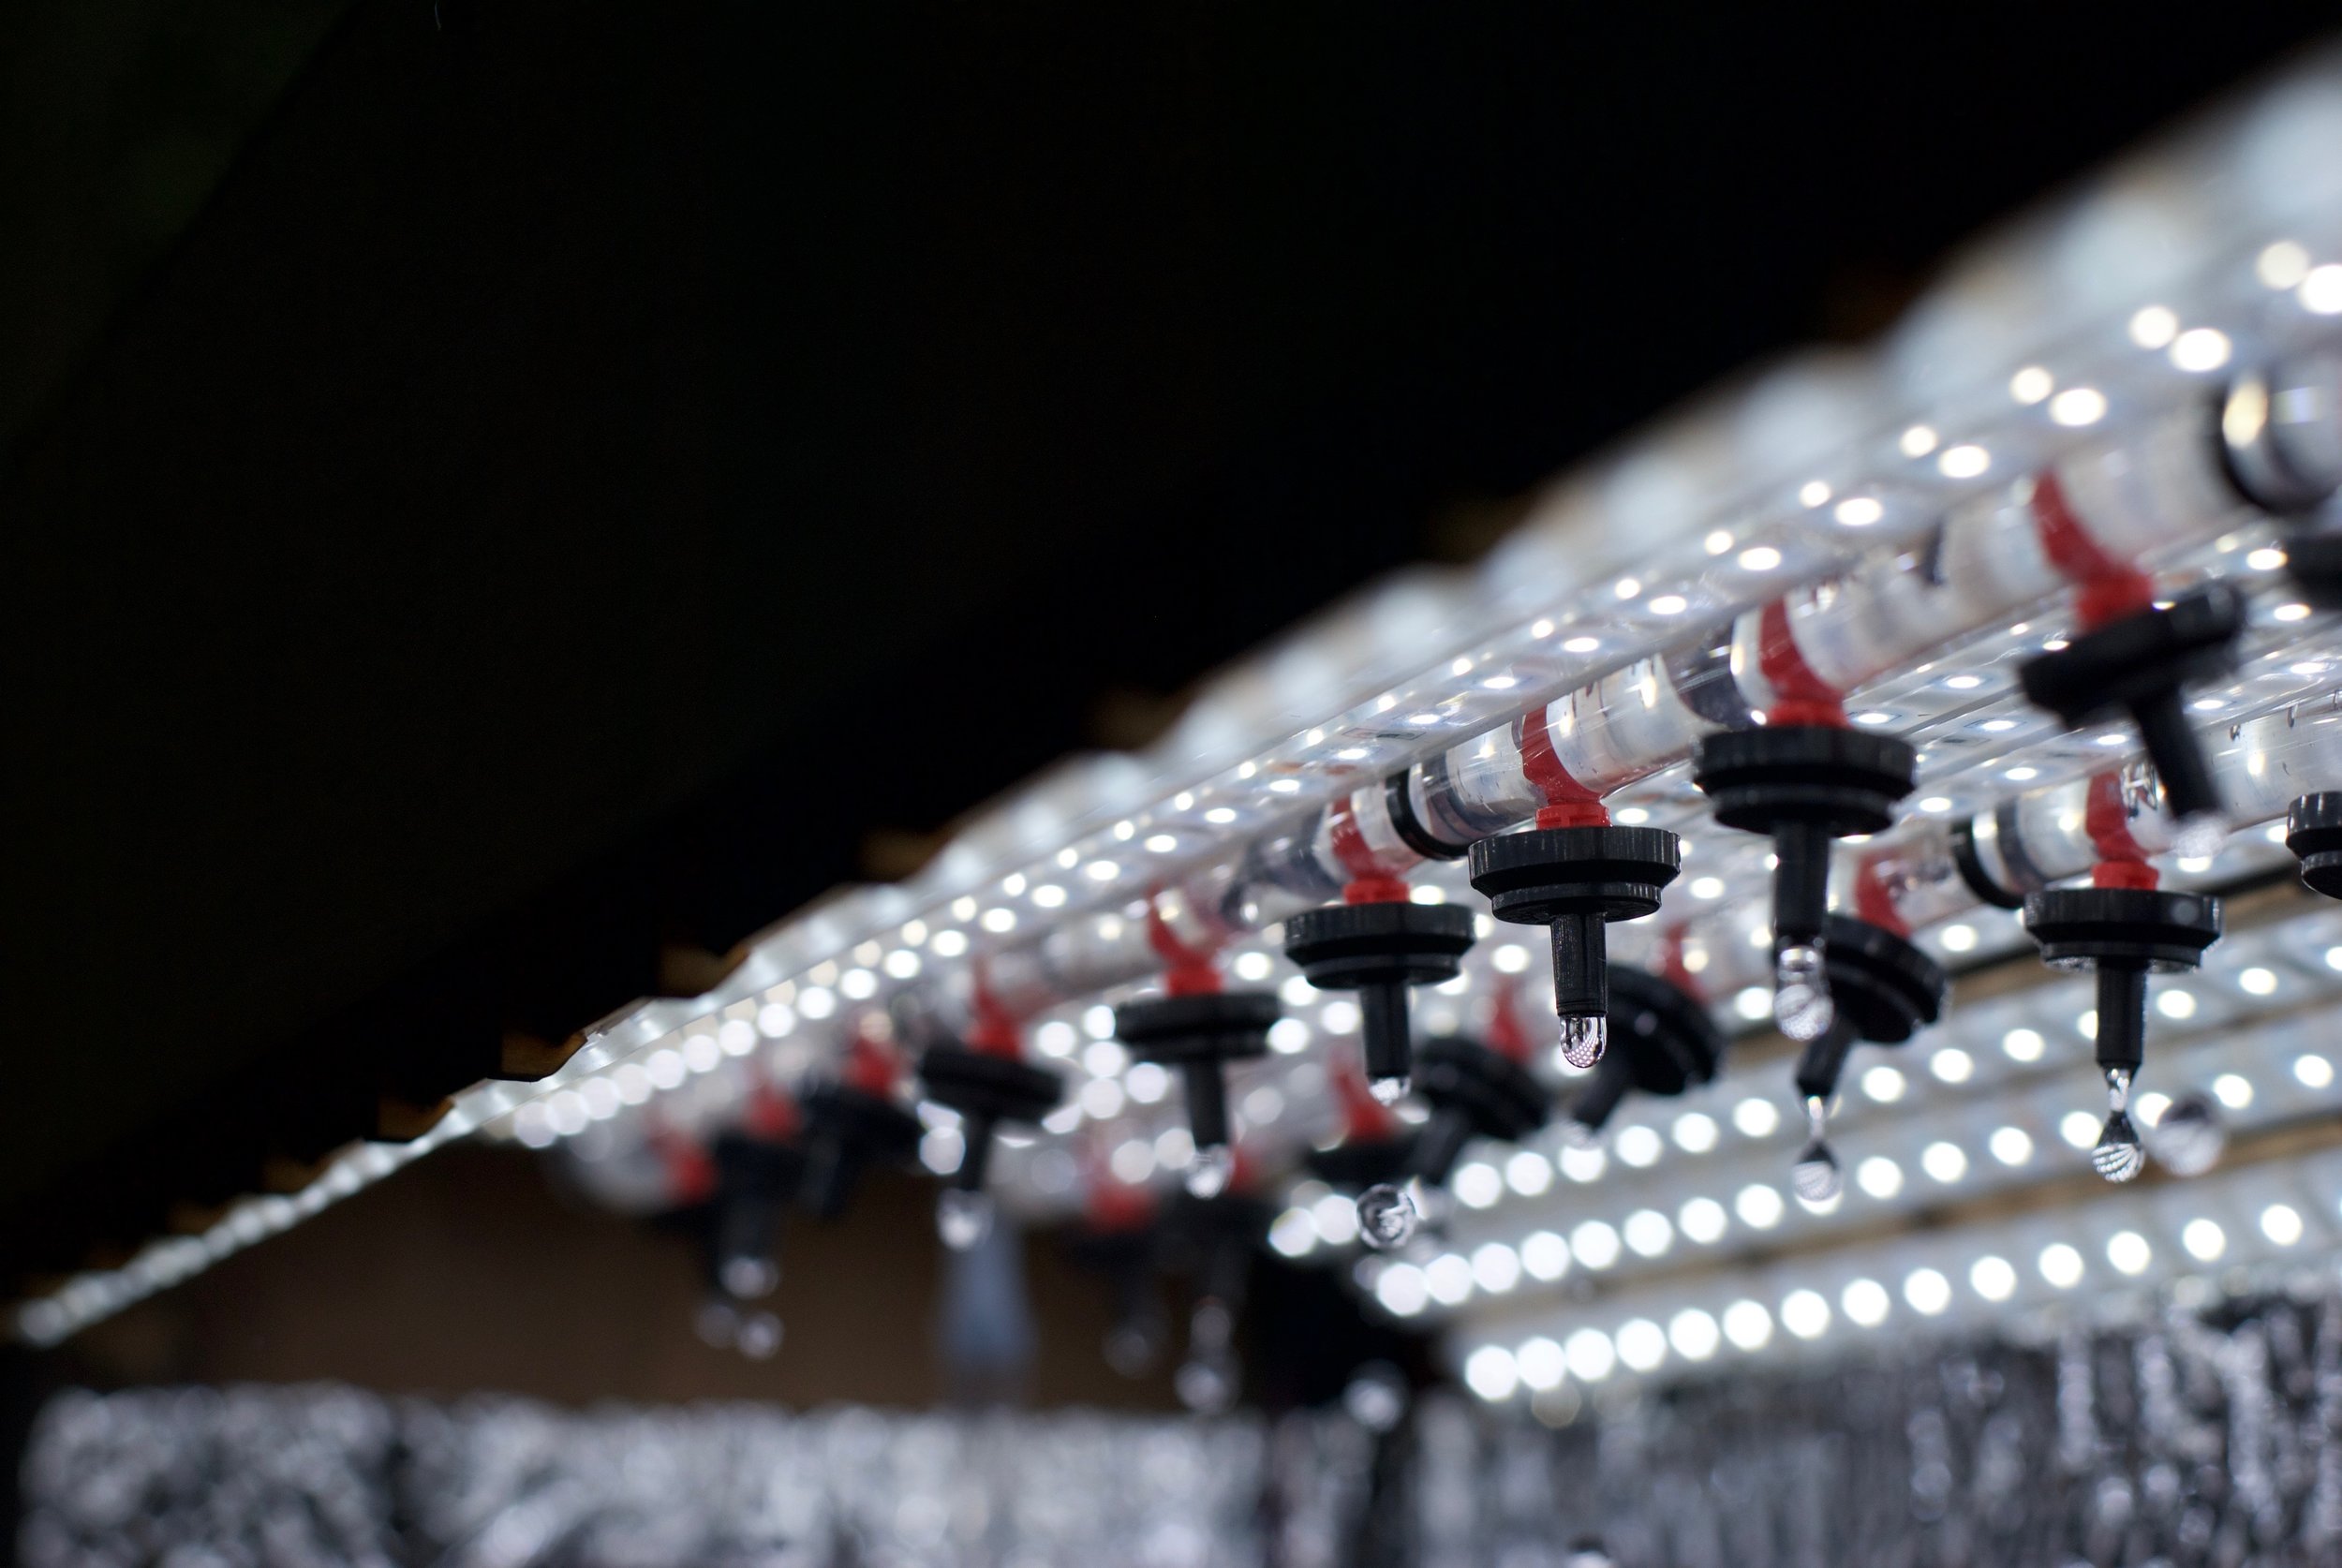
Curved Ceiling, Reflective Insulation, and Pressure Compensating Water Droppers
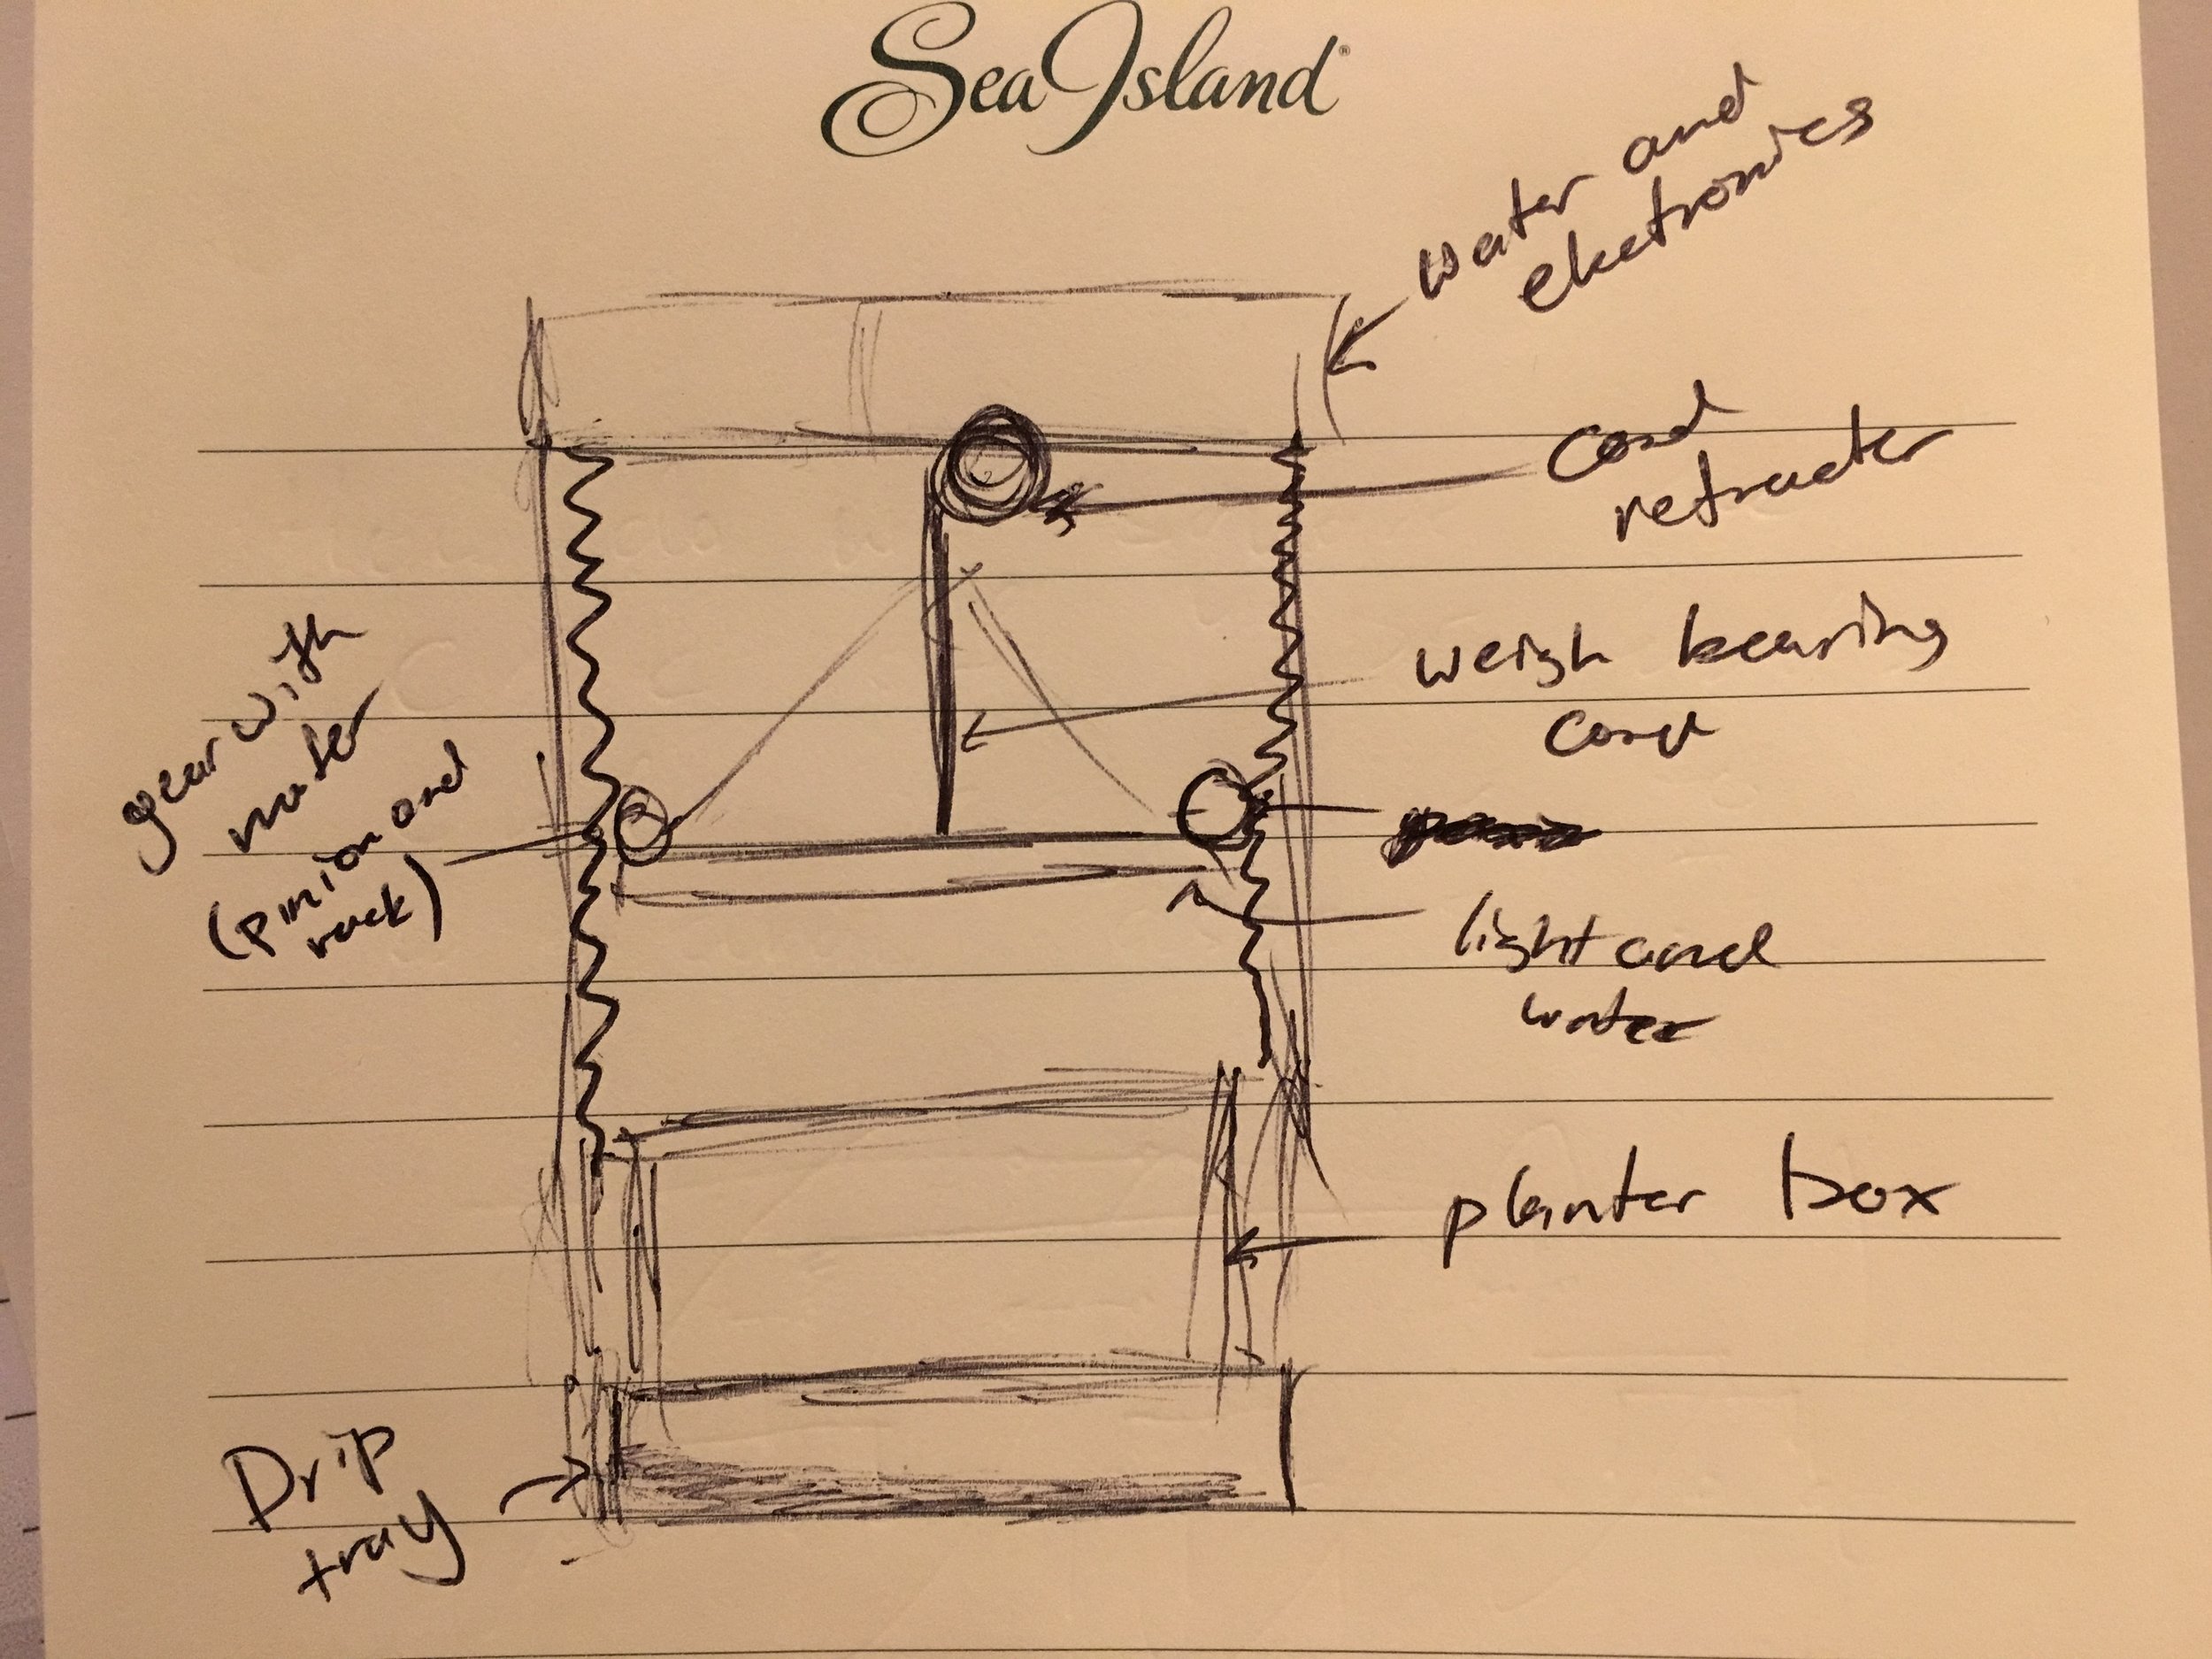
Multiple critical systems needed major changes; we had our work cut out for us. We took a two-pronged approach to increasing the intensity of the light on our plants. The first was simple: we installed more powerful lights. The second involved maximizing the amount of light that actually hit the plants. Previously, the device had a flat ceiling with LED light strips attached. Because the LEDs emitted light in a cone, only a fraction of the light that the LEDs at the edges produced actually reached the plants. The new design had a curved ceiling so that light from LEDs not directly over the planter box would be still aimed toward the plants. A reflective insulation around the sides would reflect back much of the light that still missed.
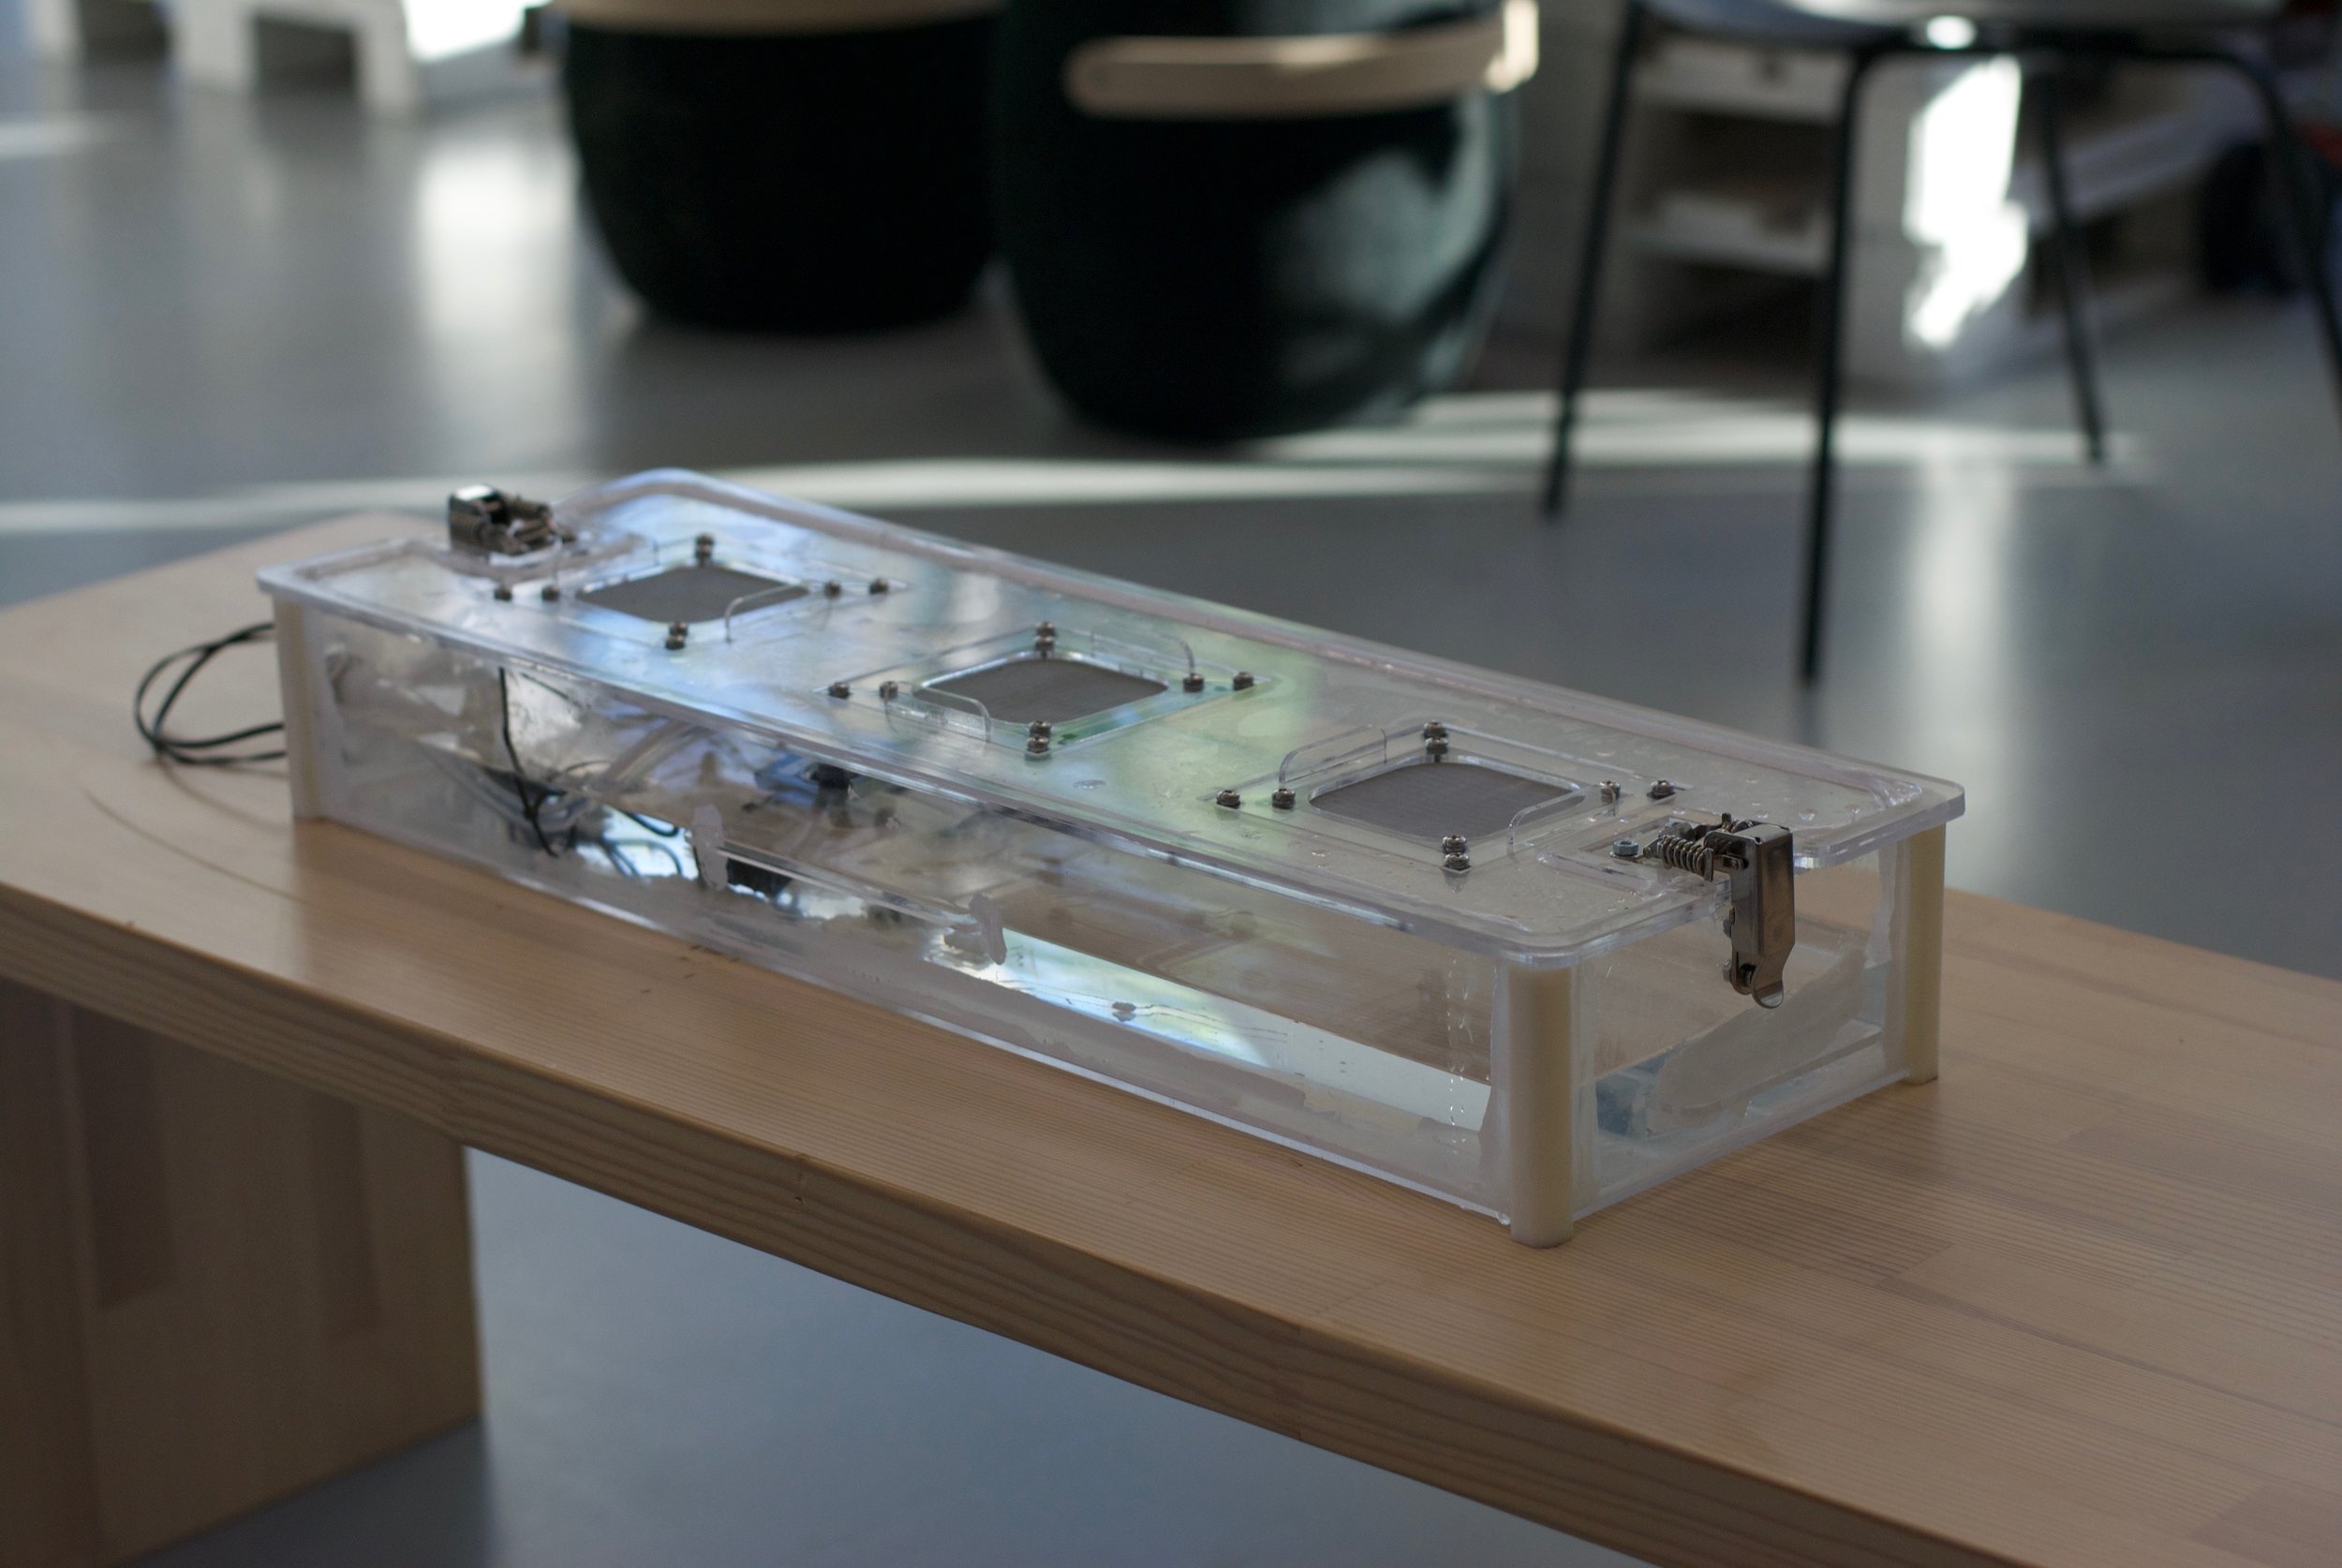
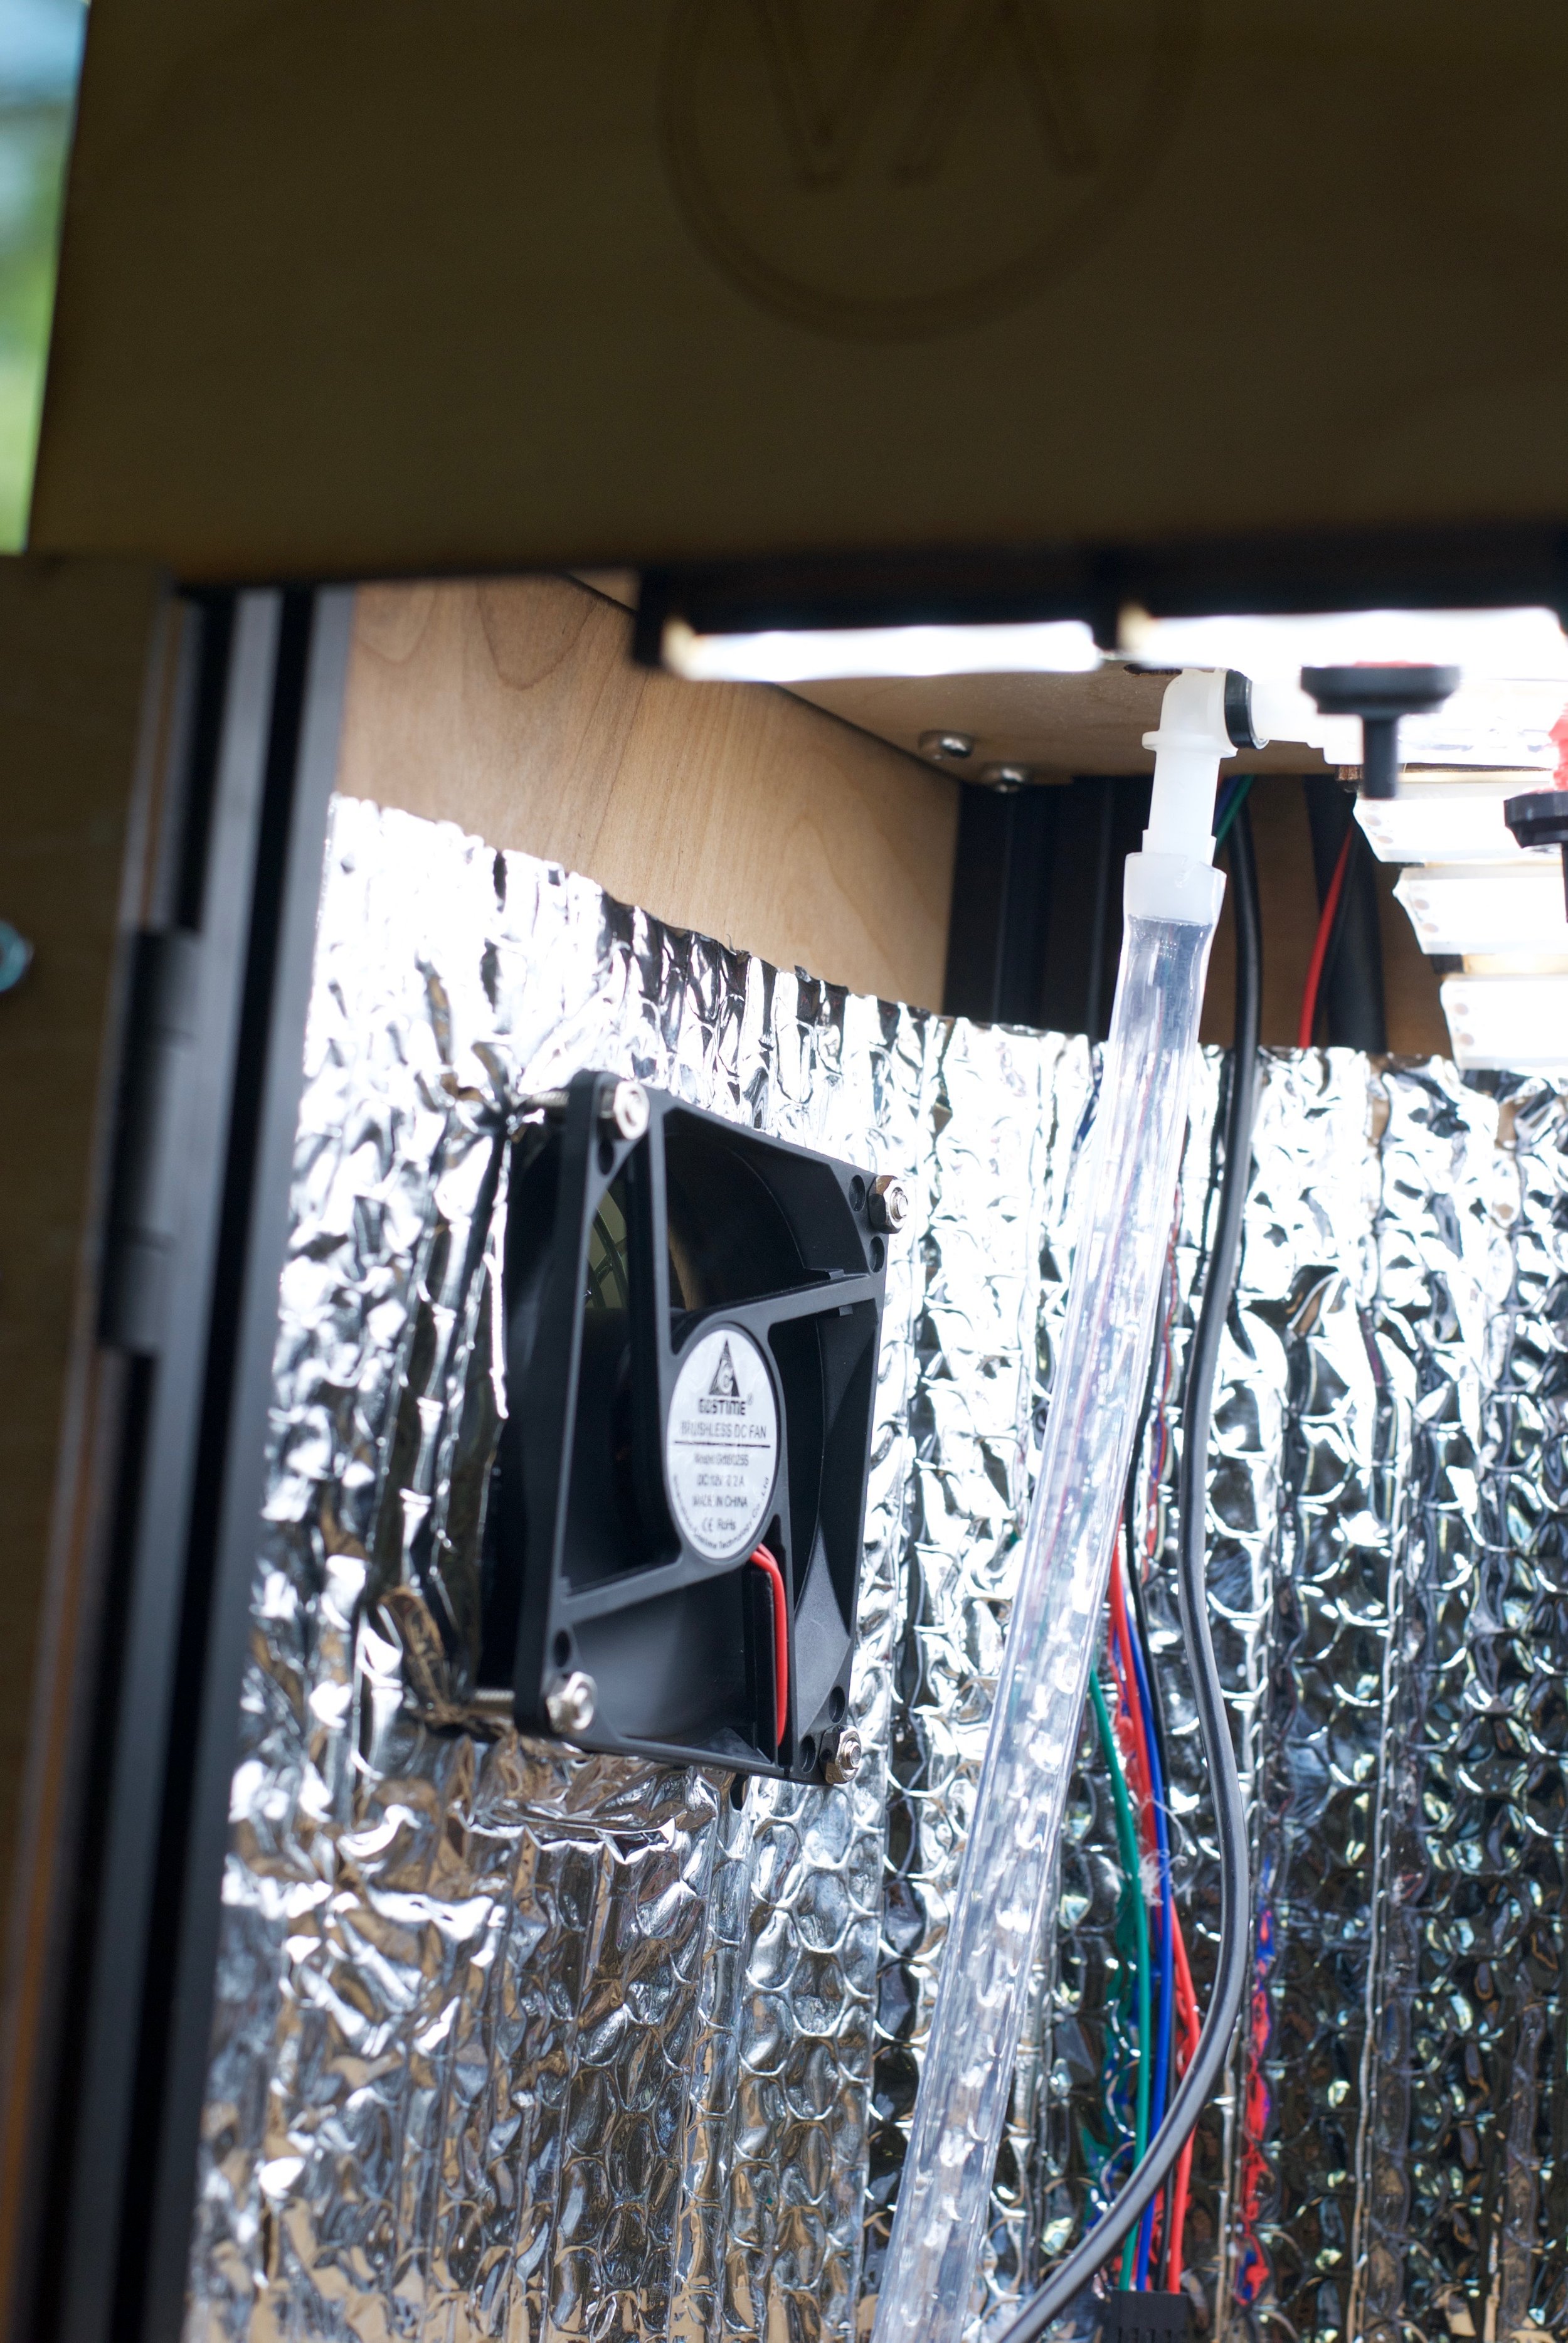
Final Water Tank
The watering system was completely revamped. The gravity-fed system was replaced with a tank at the bottom. An aquarium pump, not gravity, would provide the pressure needed to water the plants. Although I initially advocated keeping our gravity-fed system, my teammates convinced me of the merits of the new approach by explaining that the small size of the pump meant that it was quiet and did not consume much electricity.
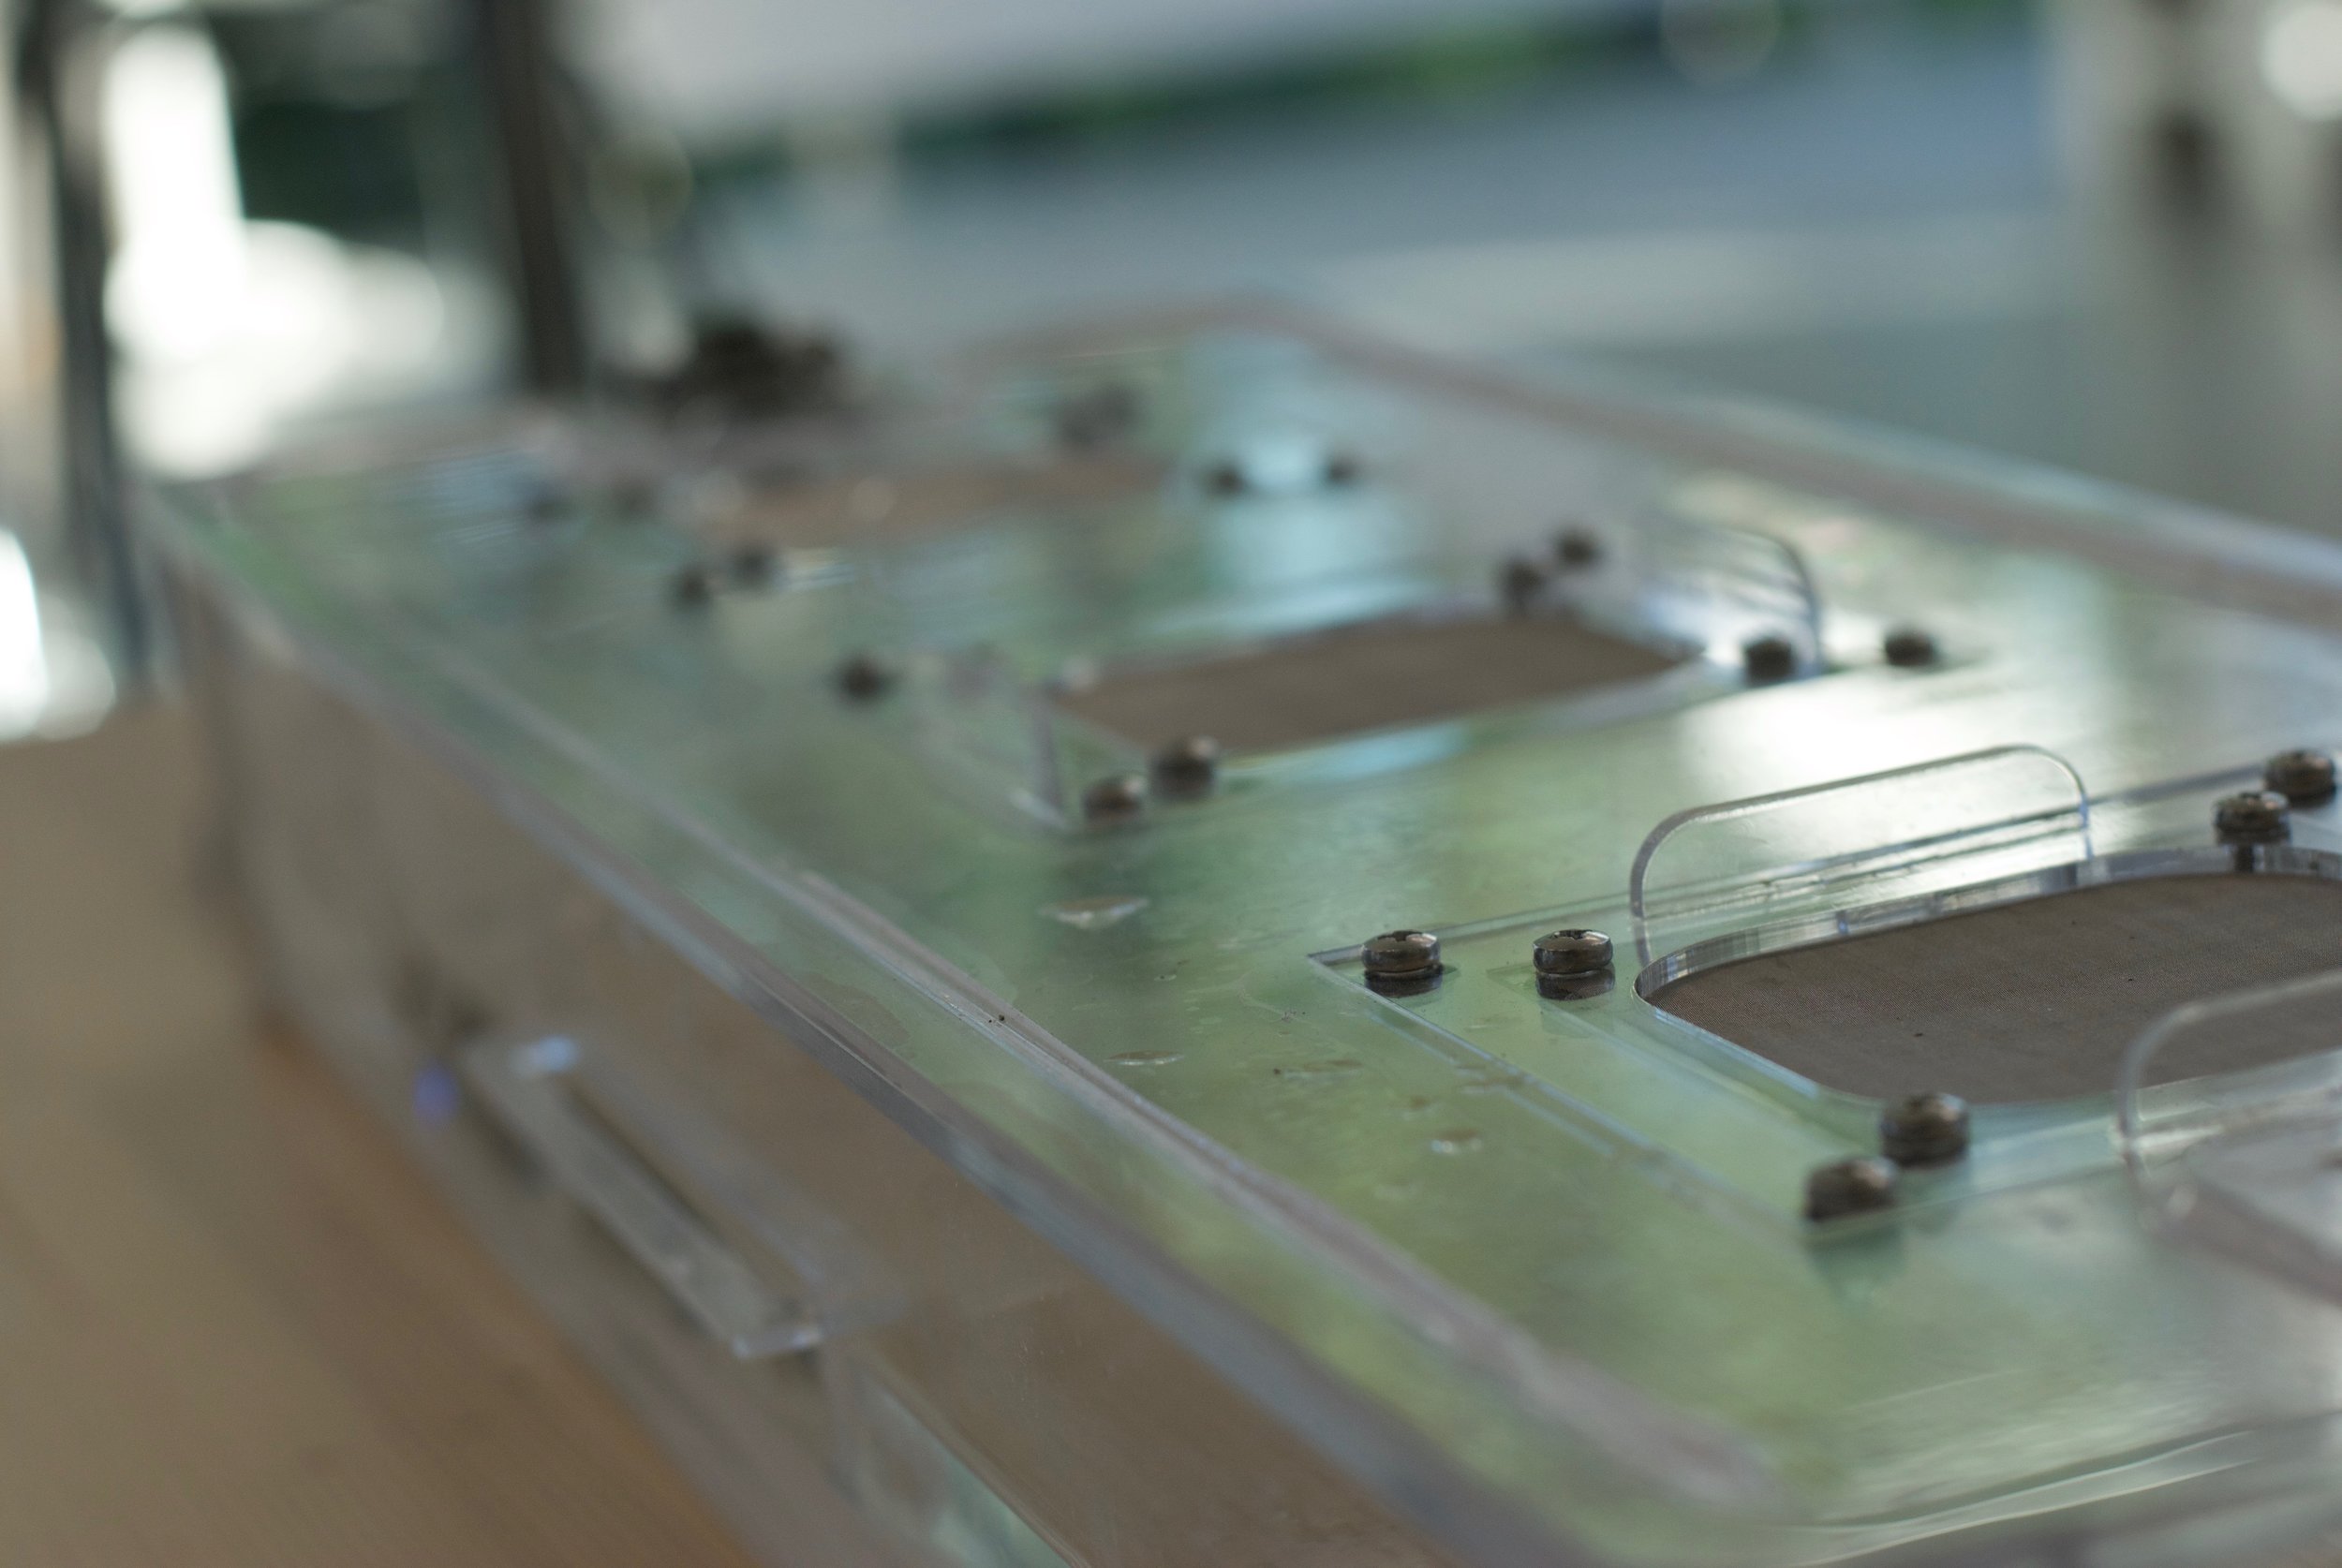
Having the tank at the bottom allowed the drip tray to be combined with the tank and the excess water to be recycled. No off-the-shelf water tanks fit the dimensions we required; however, so we decided to make our own. In final production, this tank would have been injection molded in part to ensure it remained watertight. We lacked this luxury, so we designed and fabricated the water tank from scratch using laser cut acrylic and 3D printed parts. FDM printed parts are not watertight so the parts were made using a polyjet printer. The drip tray also was custom-made using acrylic and included three reusable stainless steel filters to strain any solids out of the water before it entered the tank.
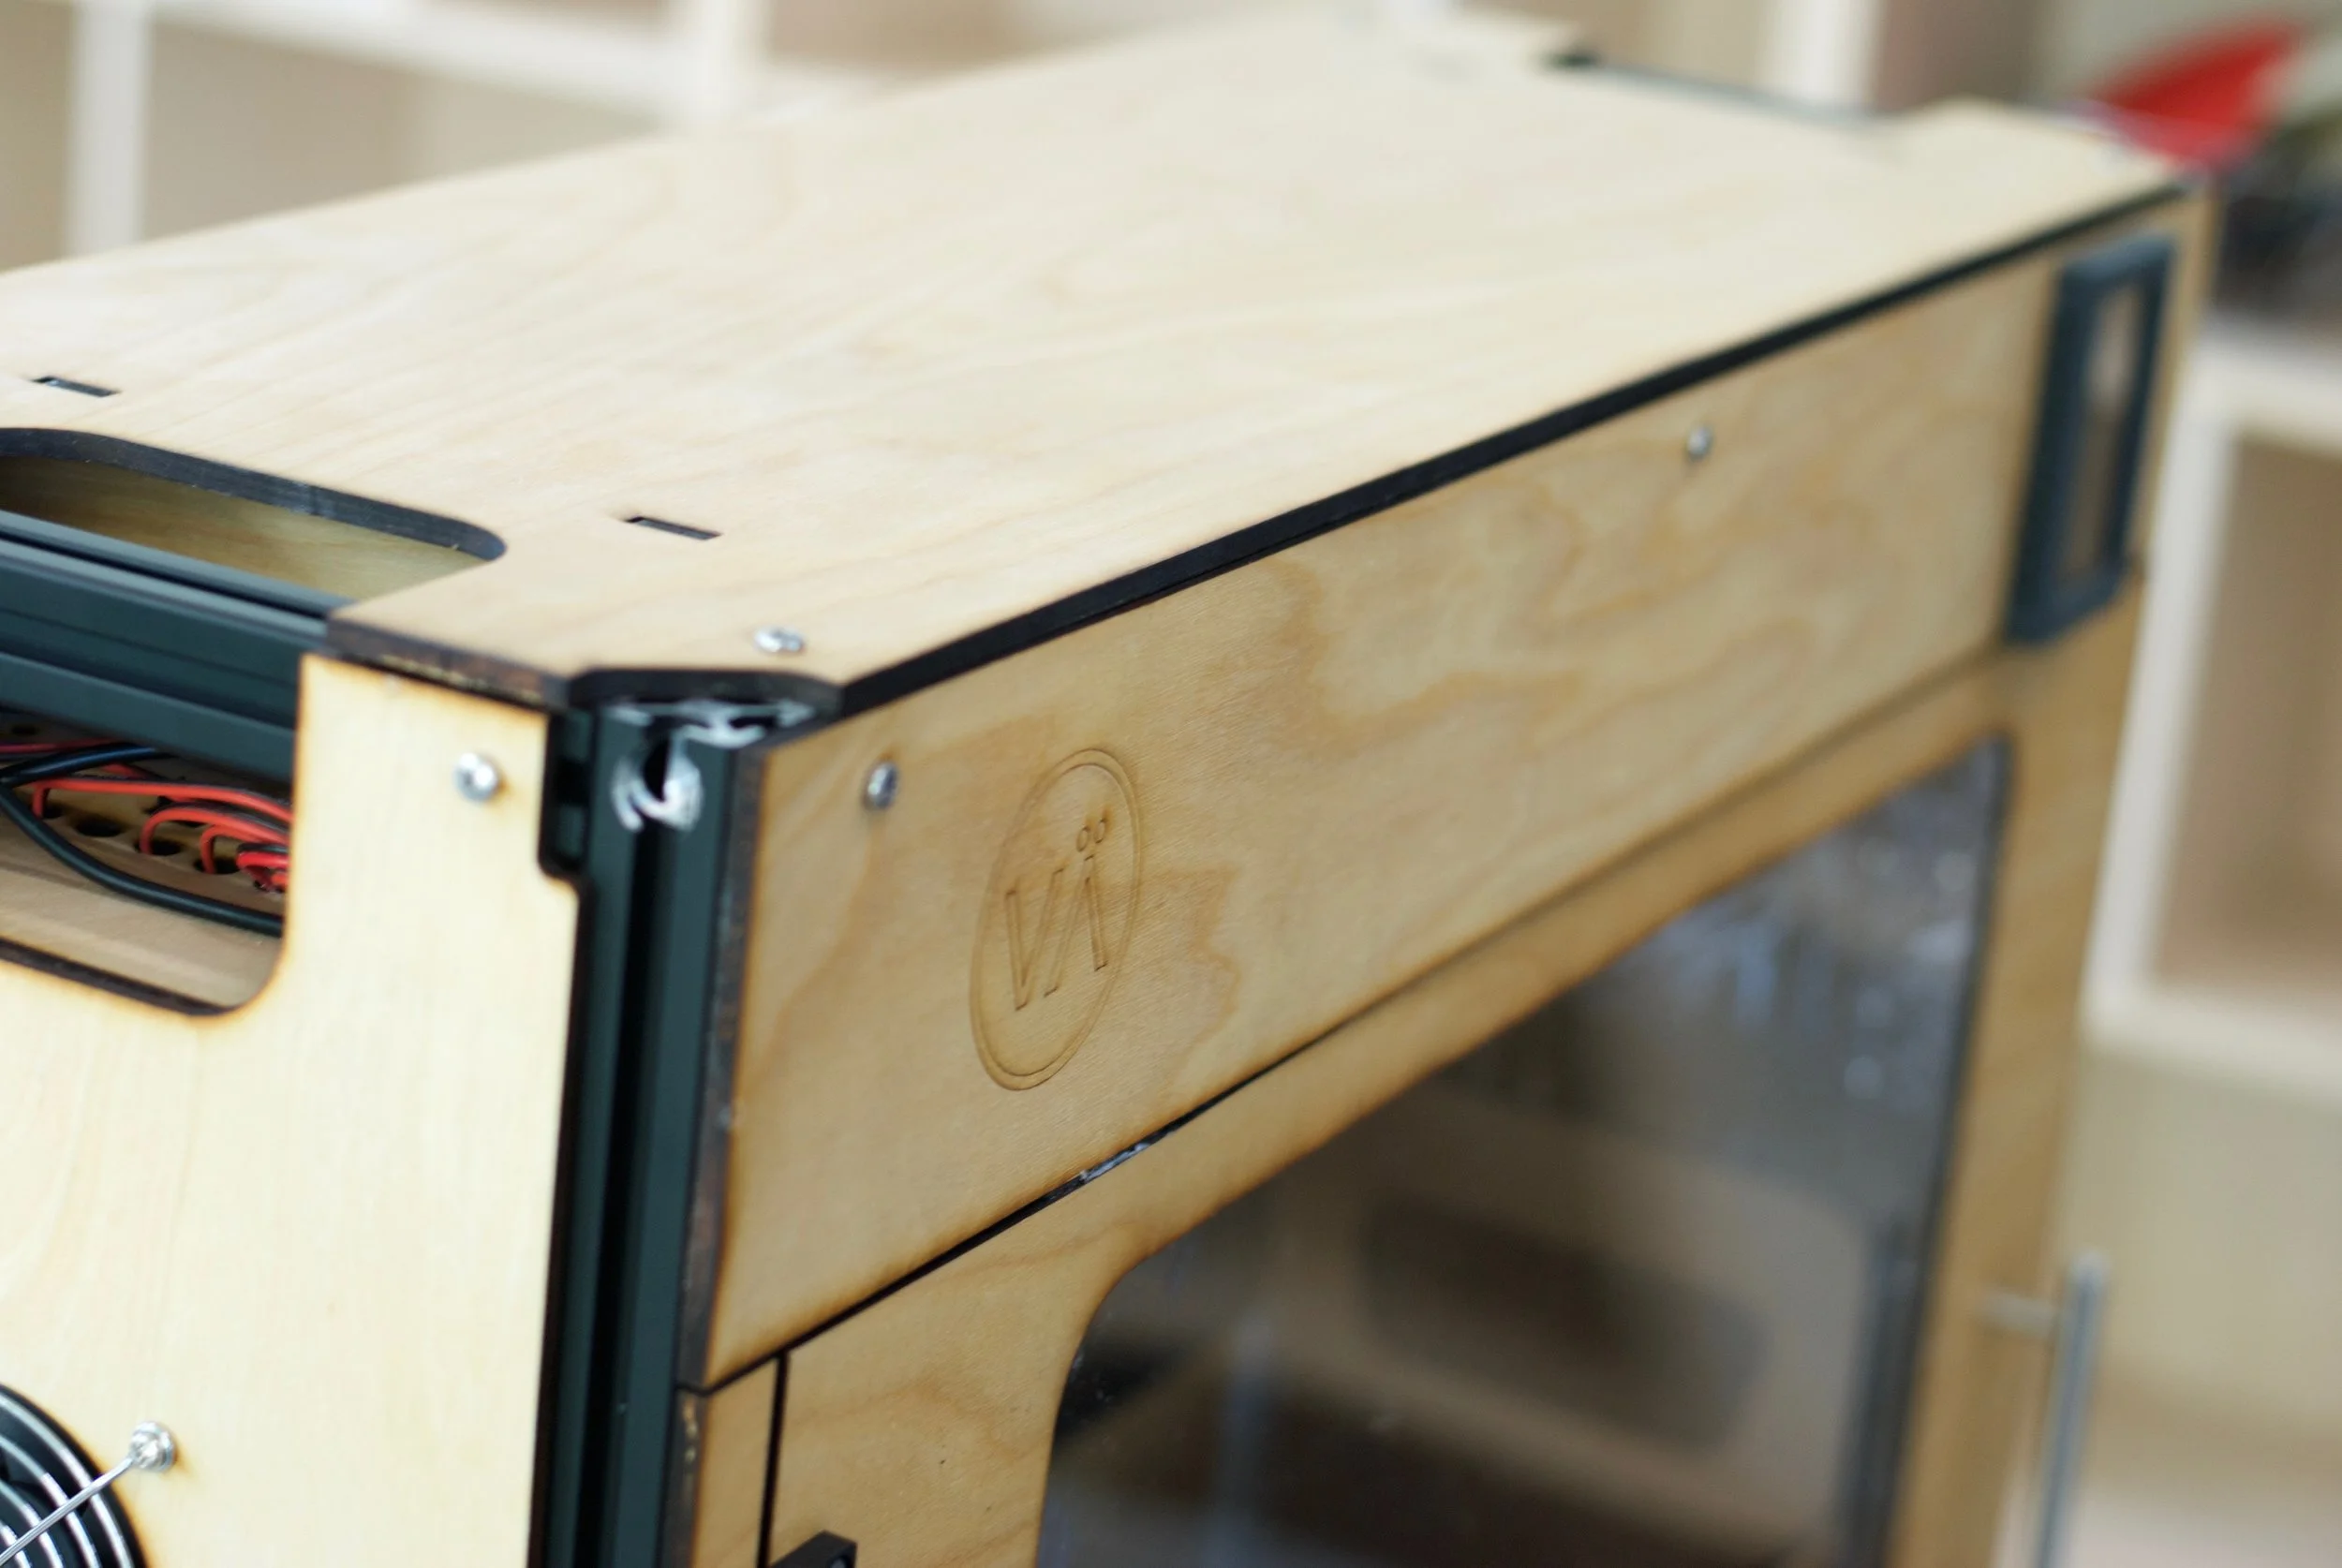
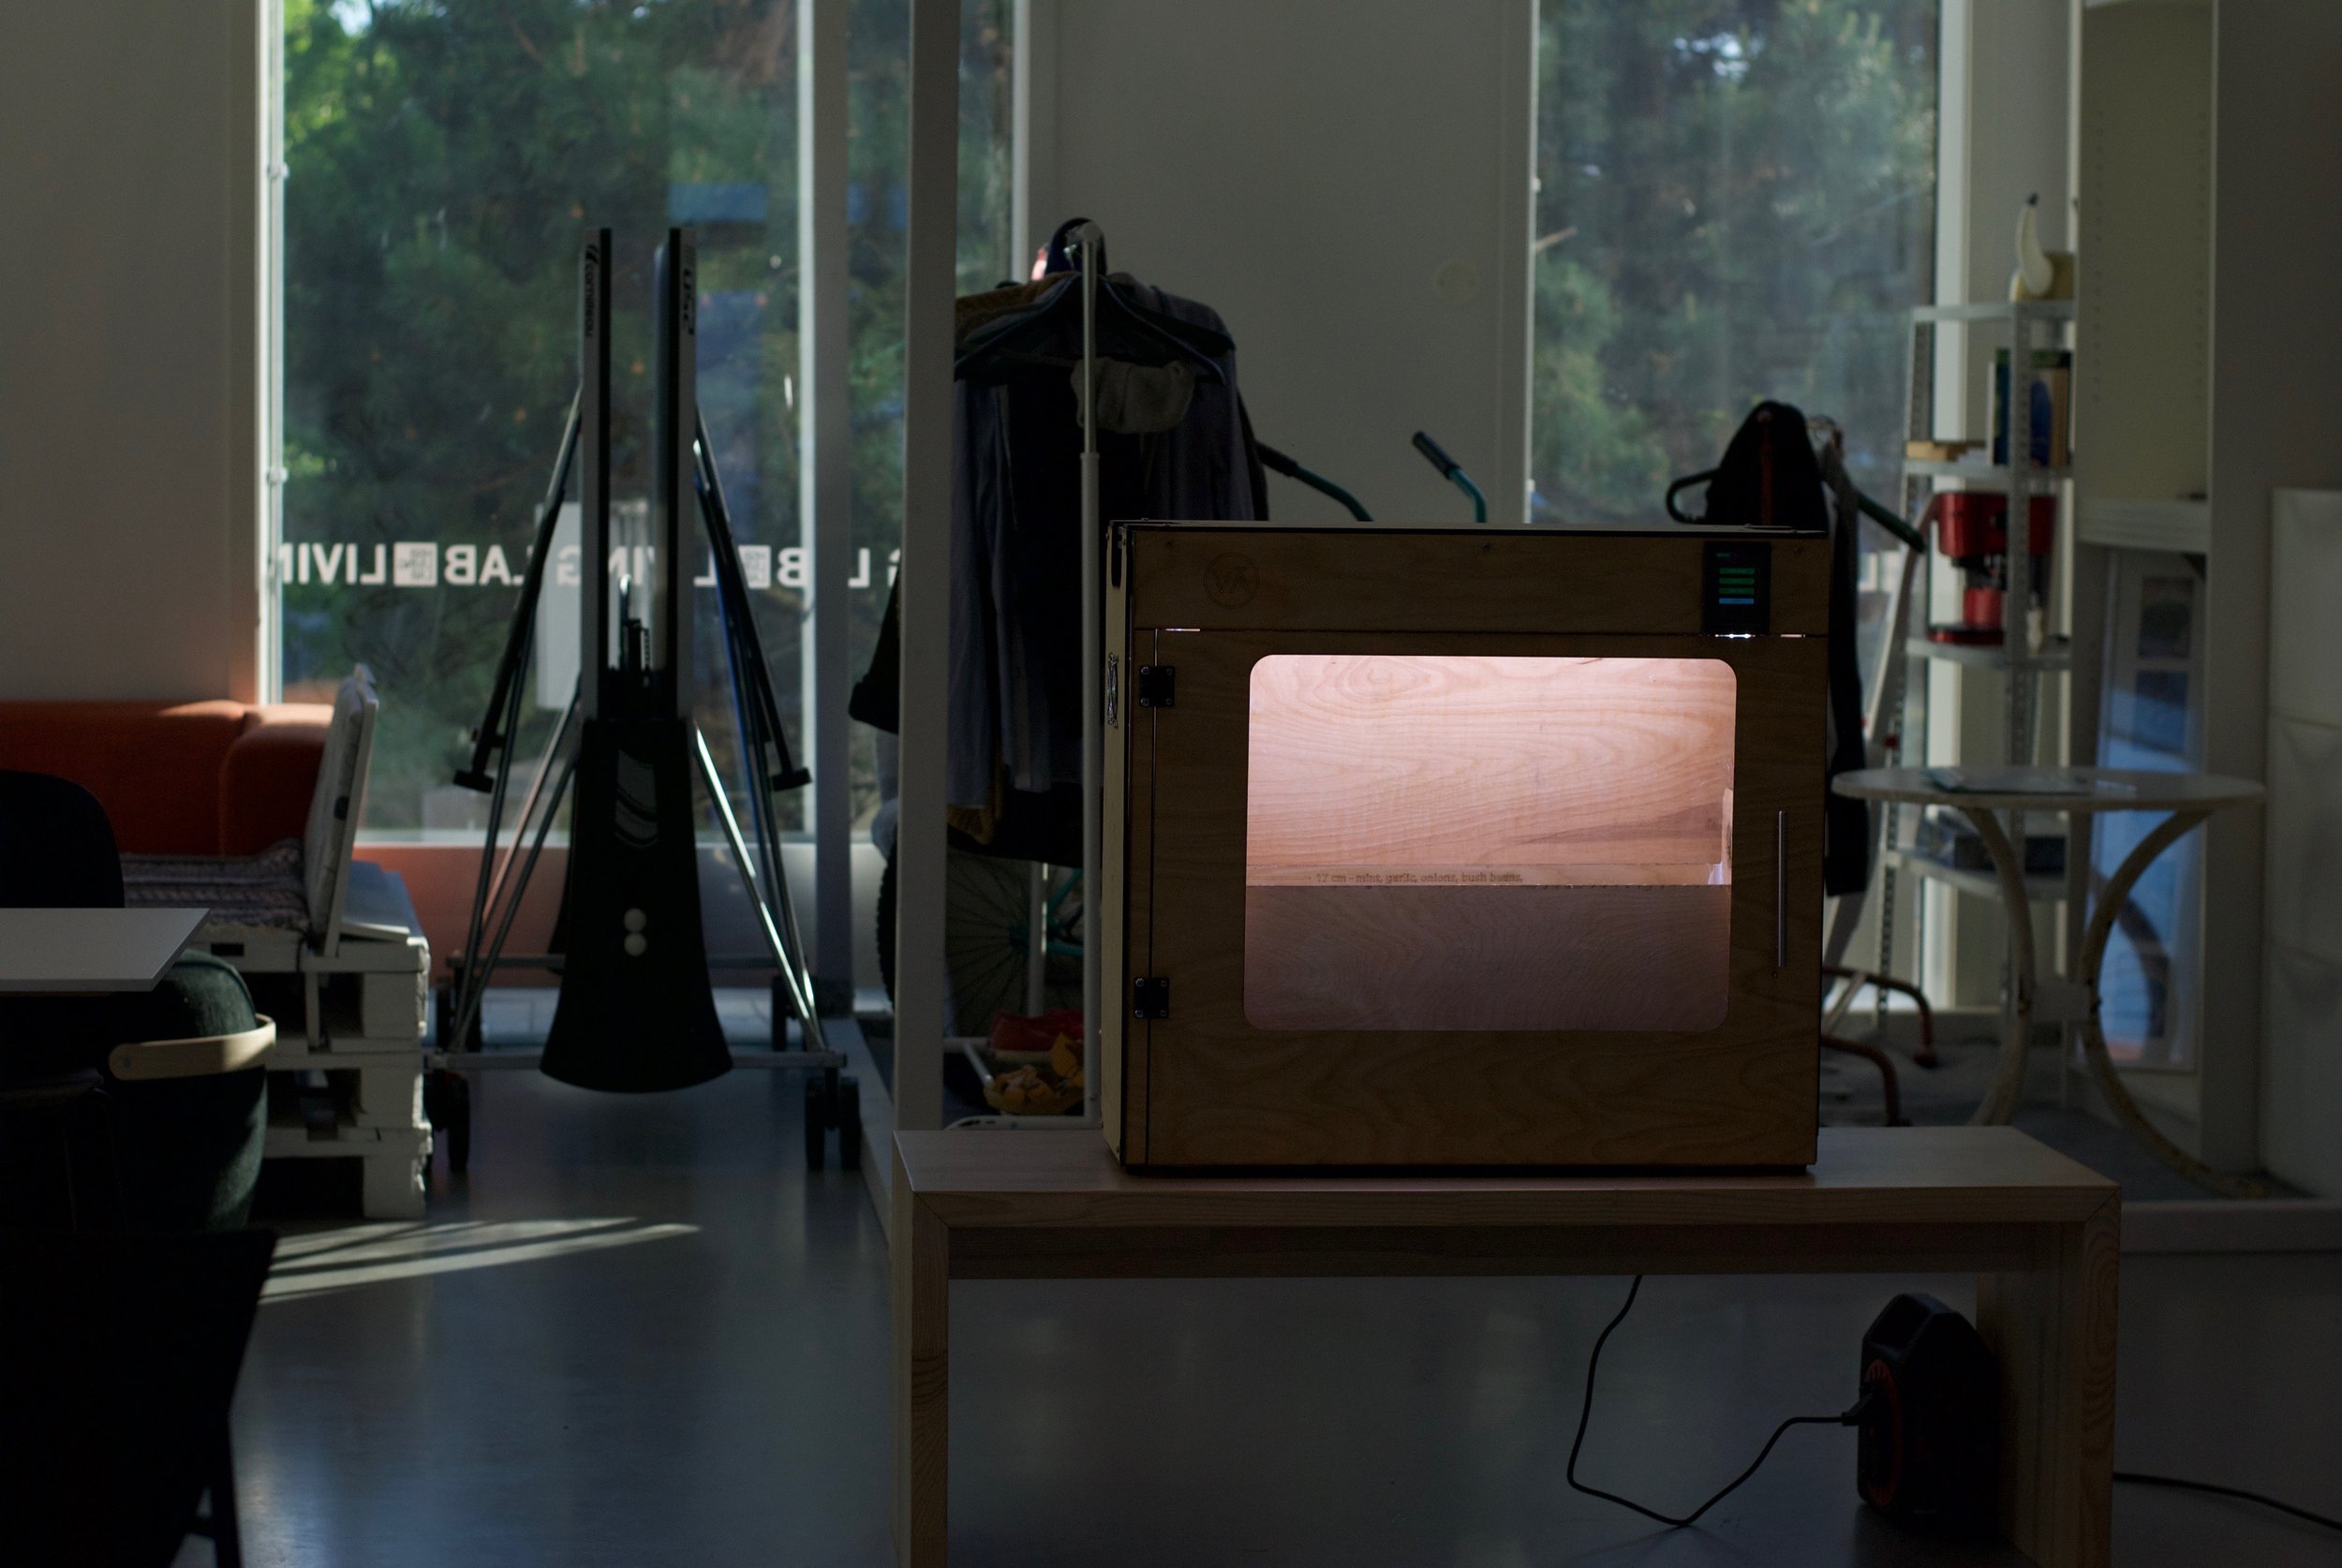
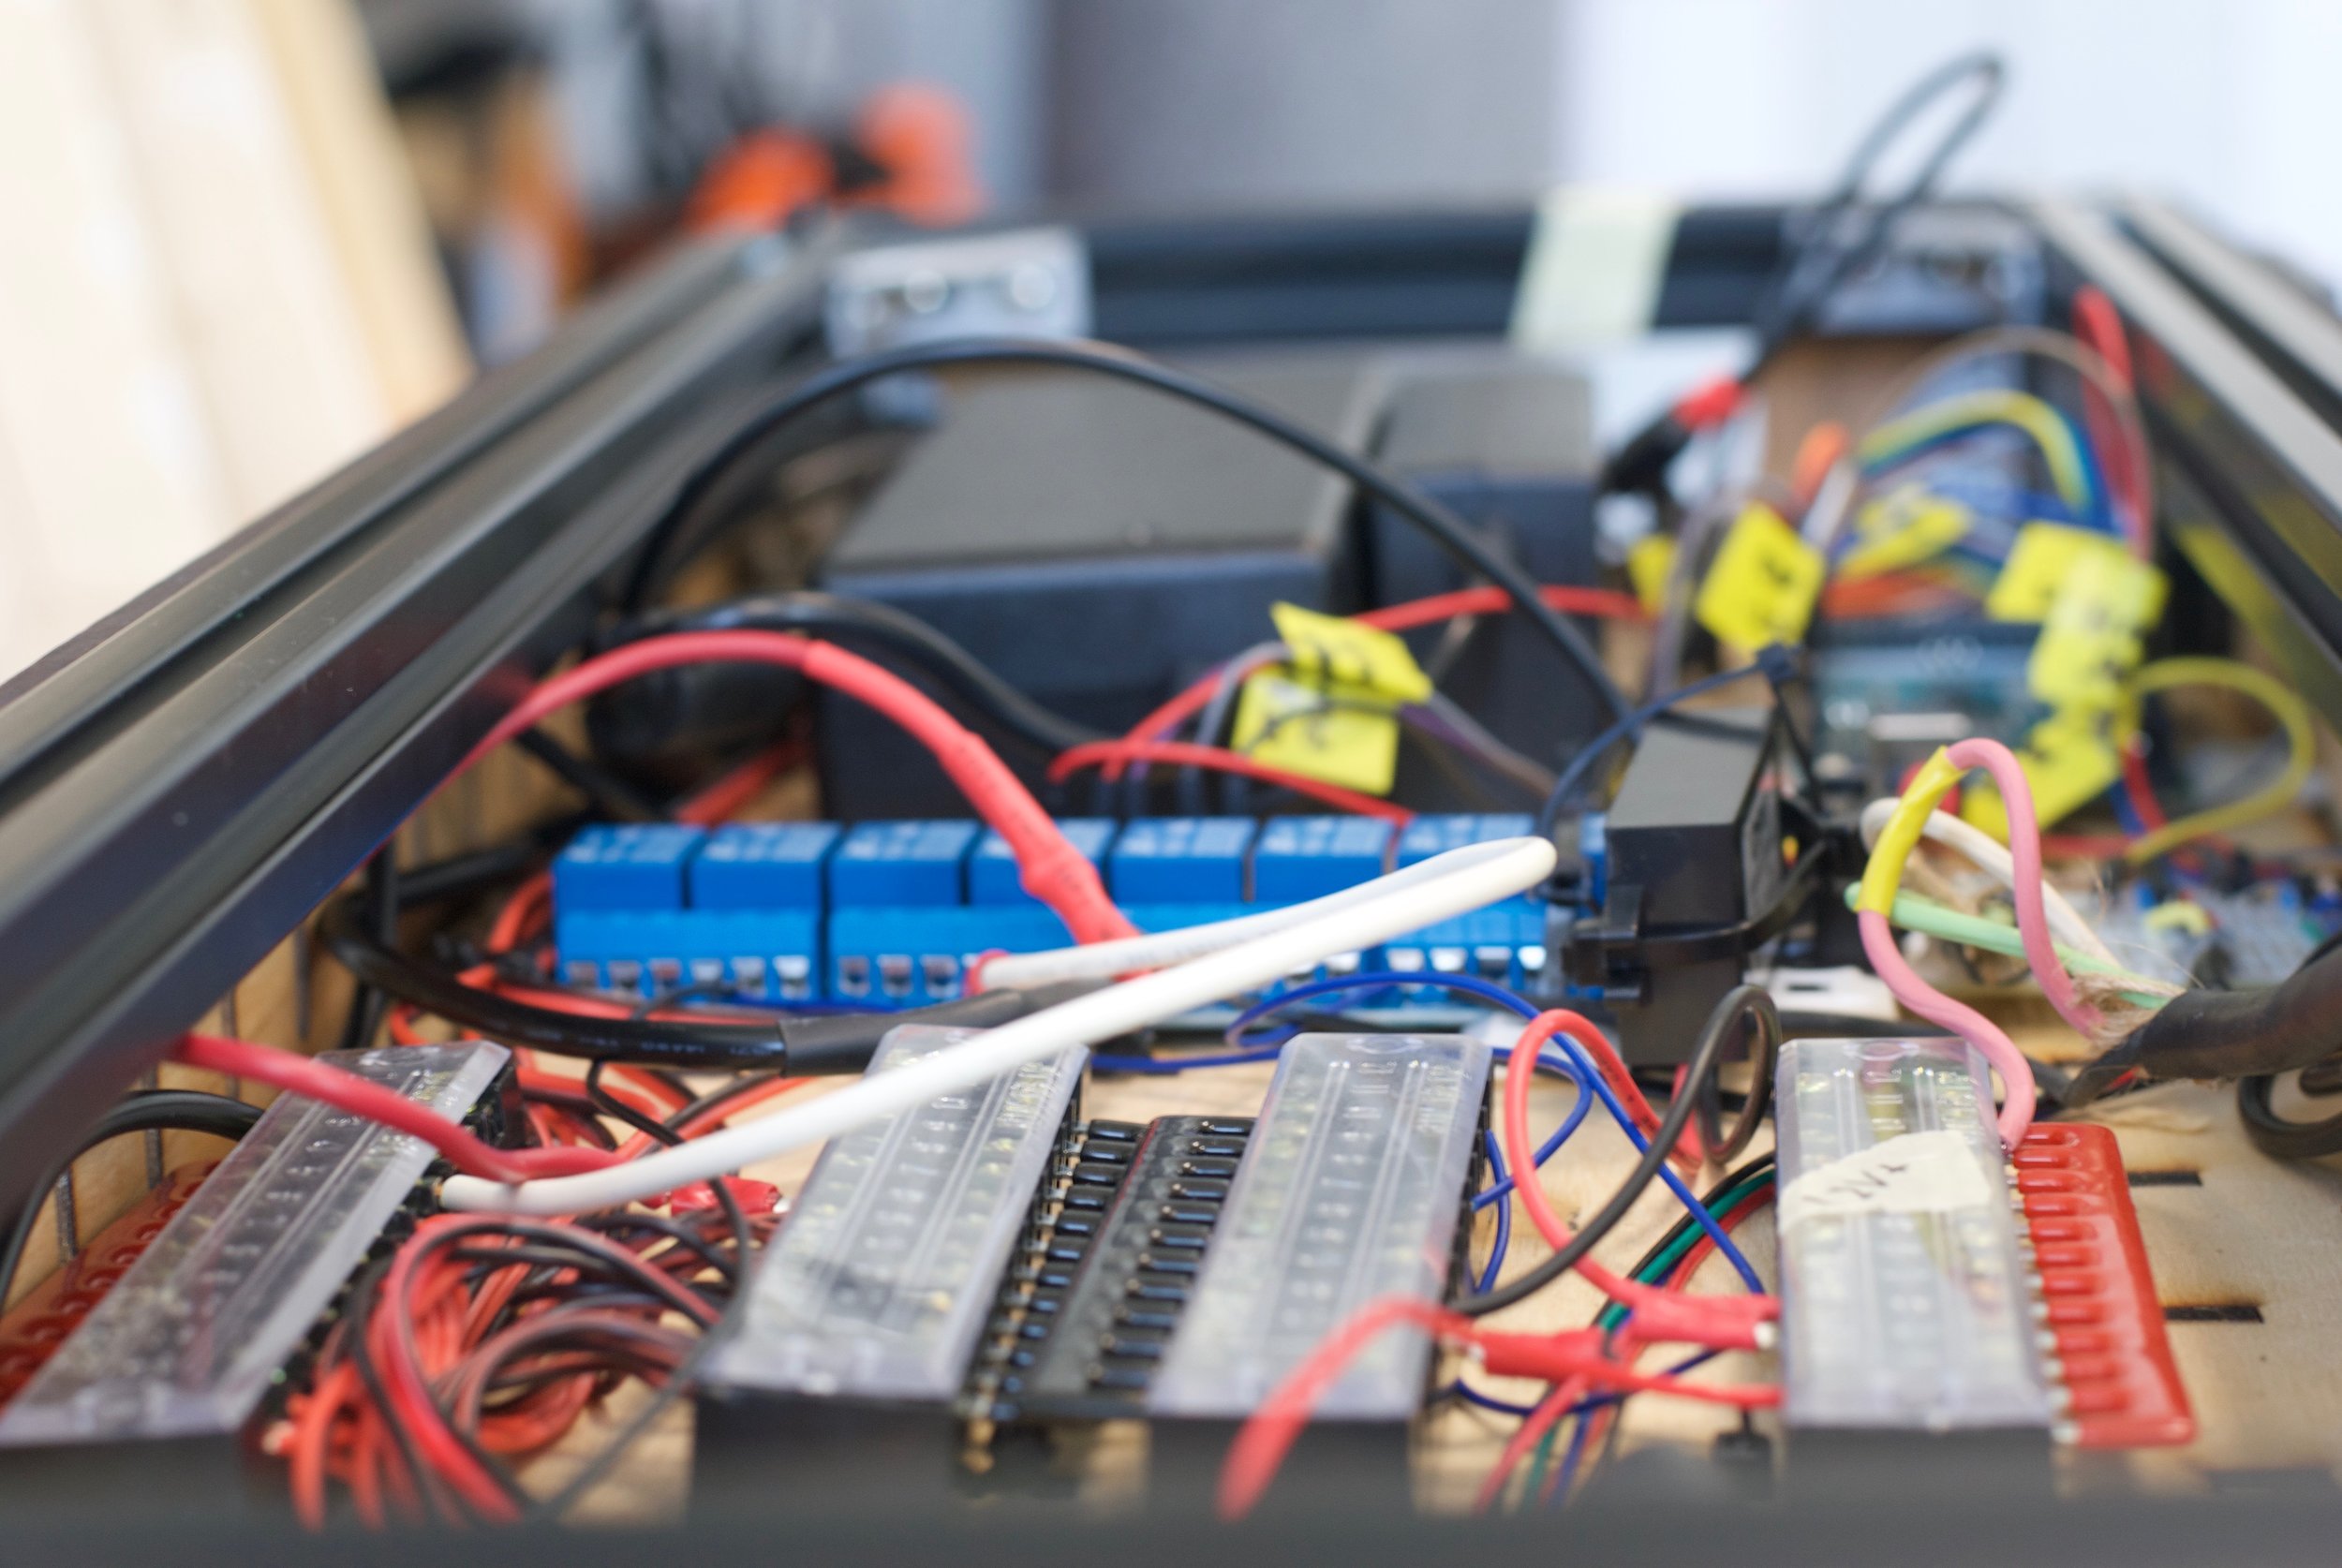
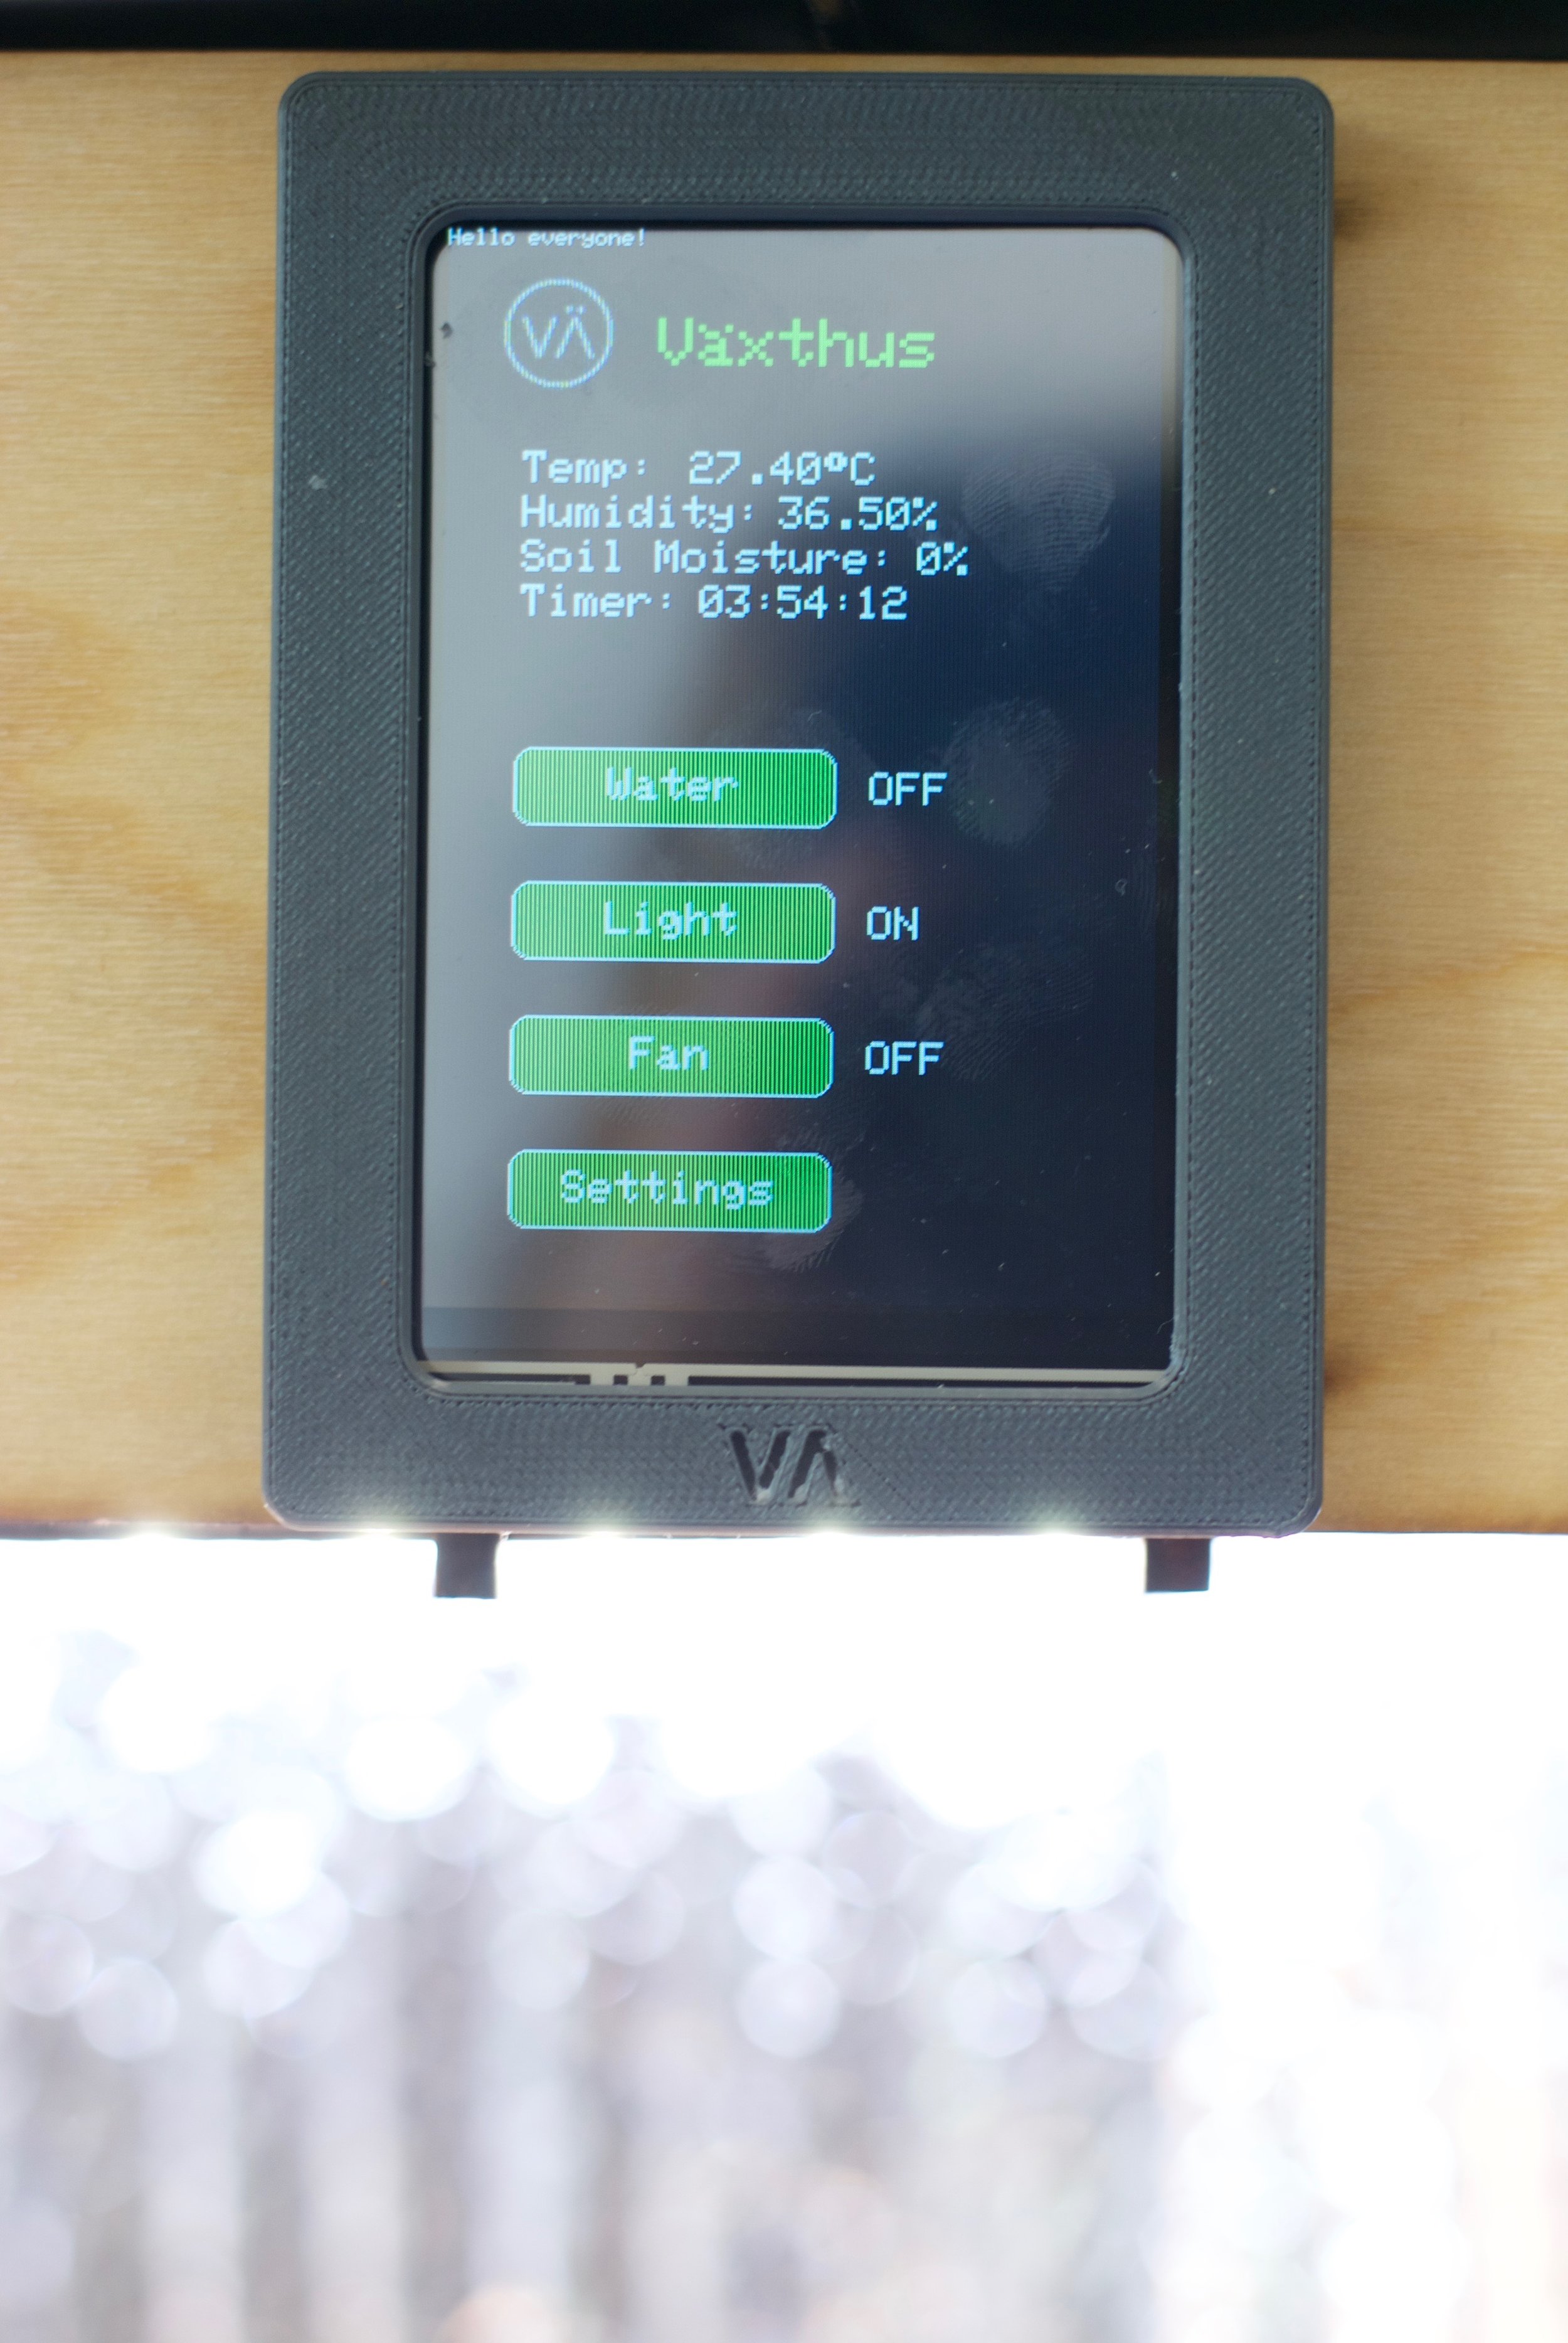
The final prototype saw increased emphasis on user interaction. For example, we designed the structure to make the water tank easily removable for refilling. Quick disconnect cables for the water tubing and electricity supply also aided in this. The planter box was redesigned to include handholds for lifting. A touchscreen user interface was also added, giving the user the ability to easily control the settings of the device.
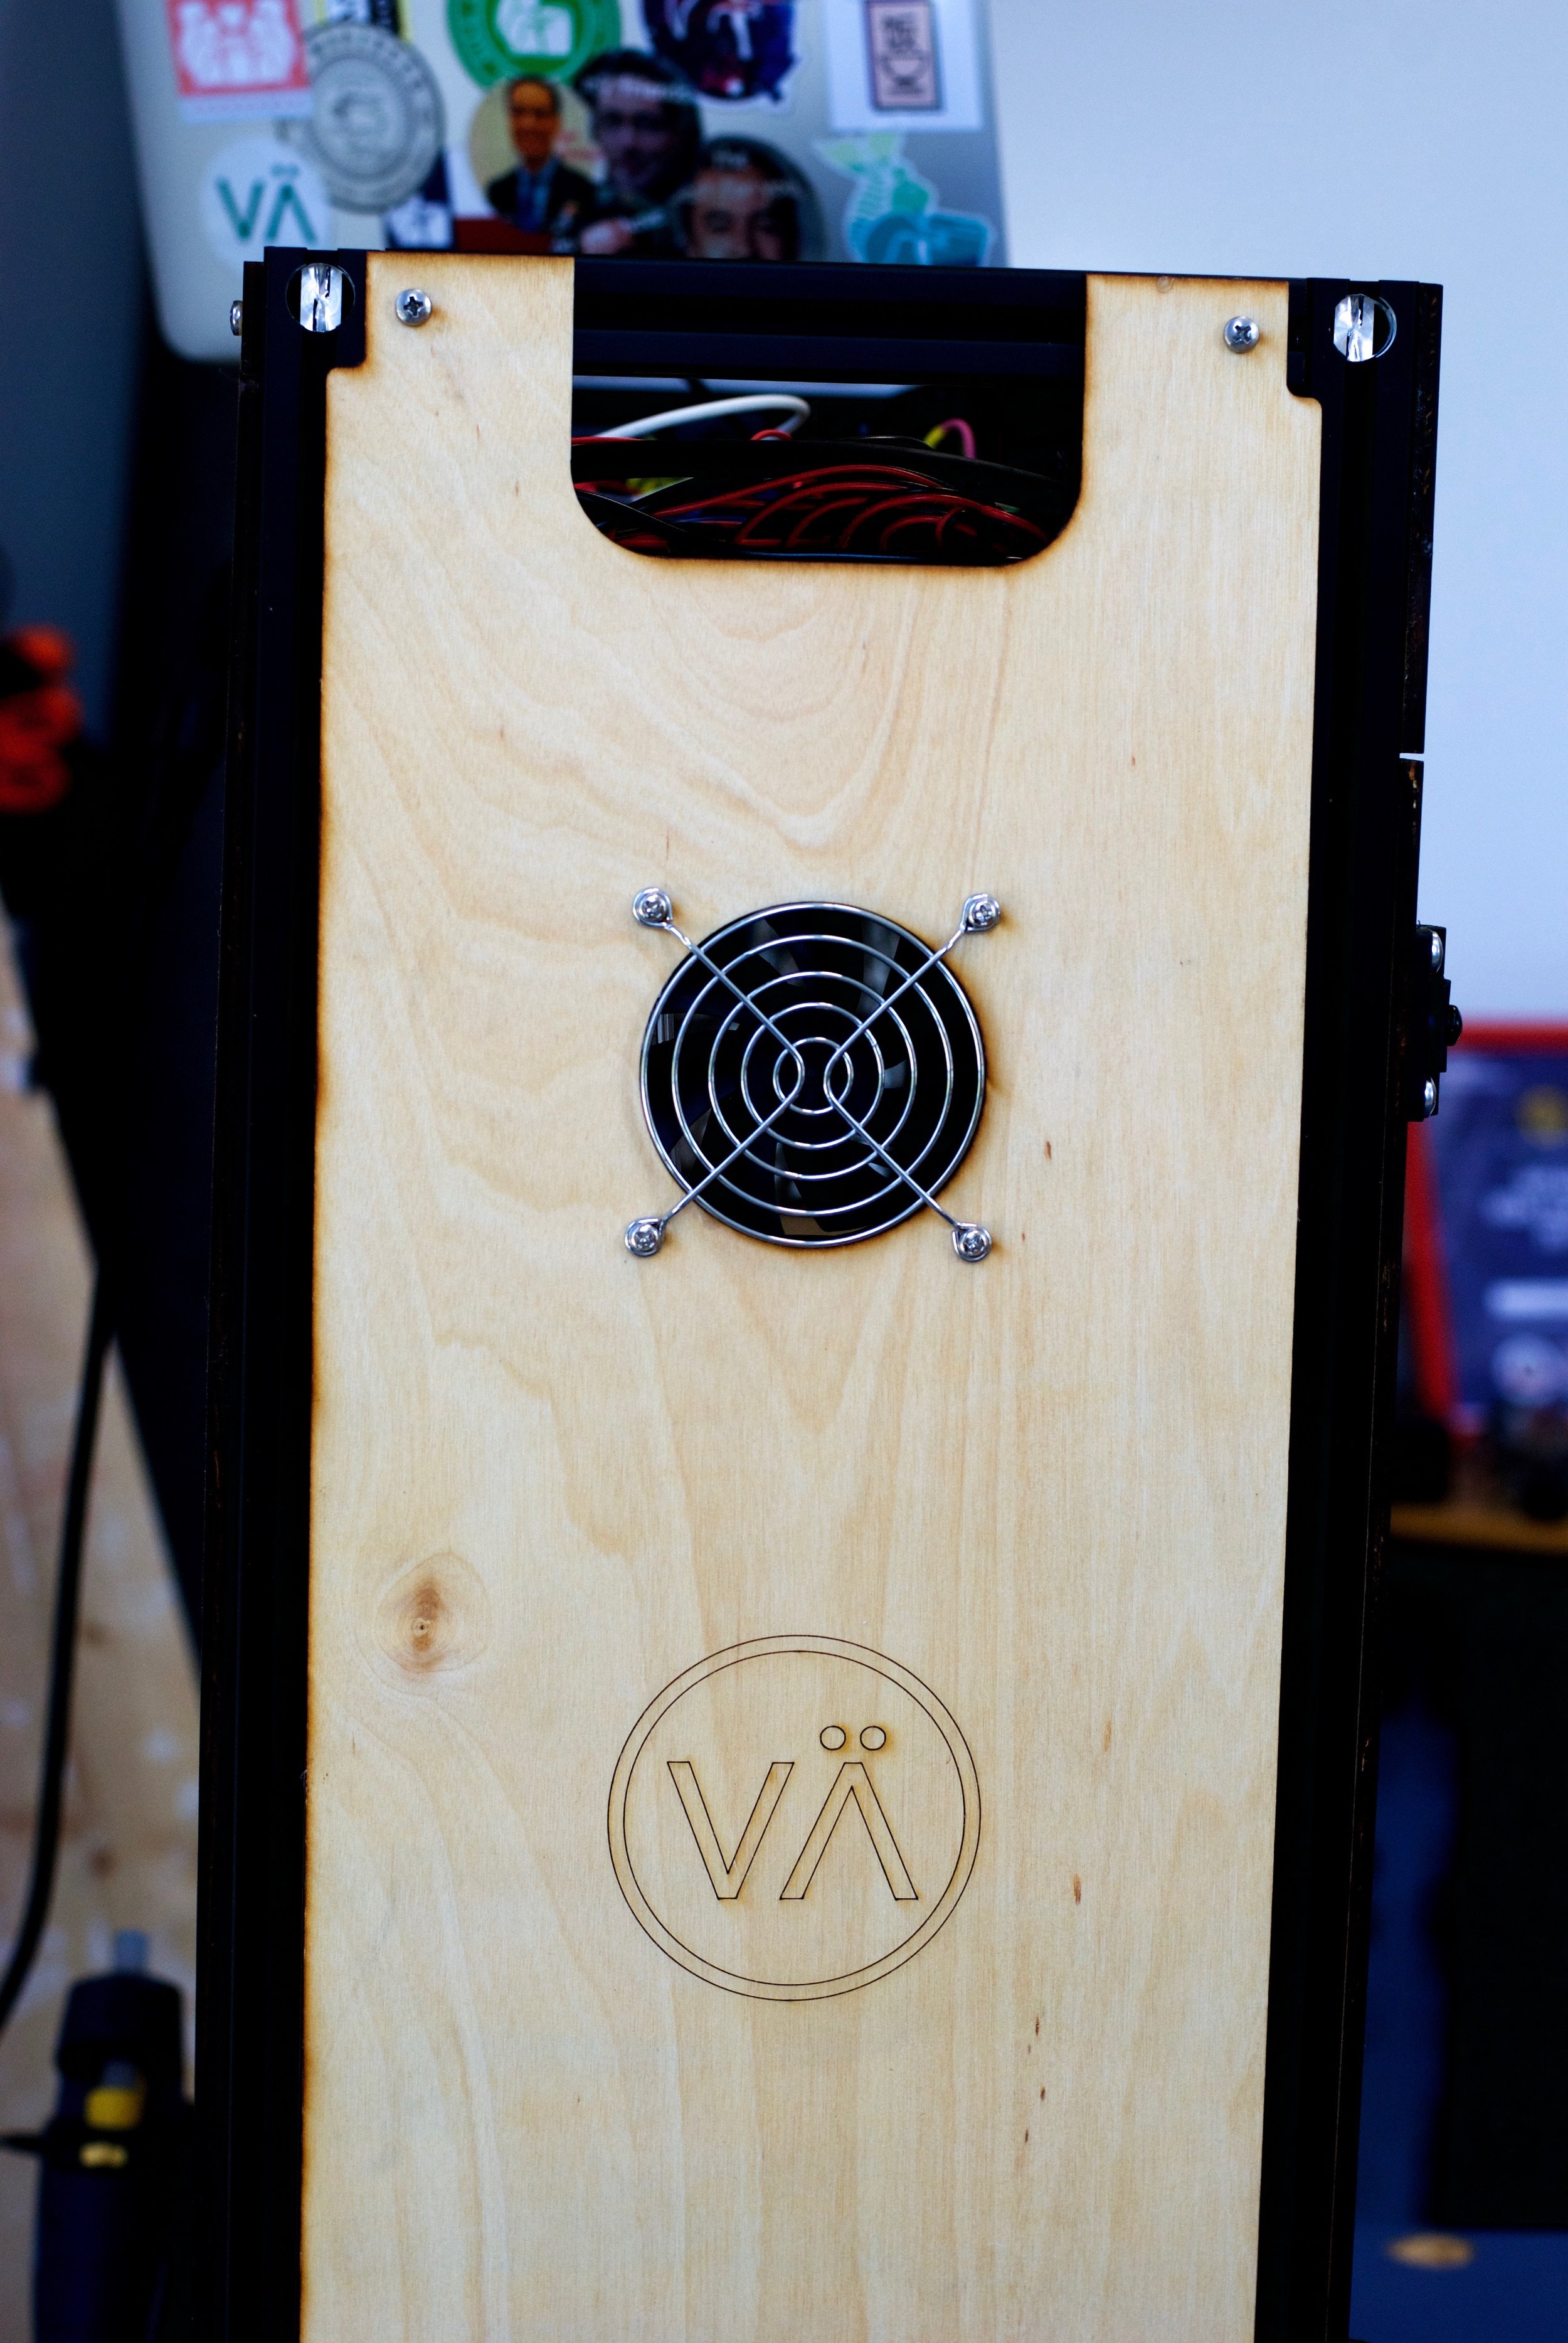
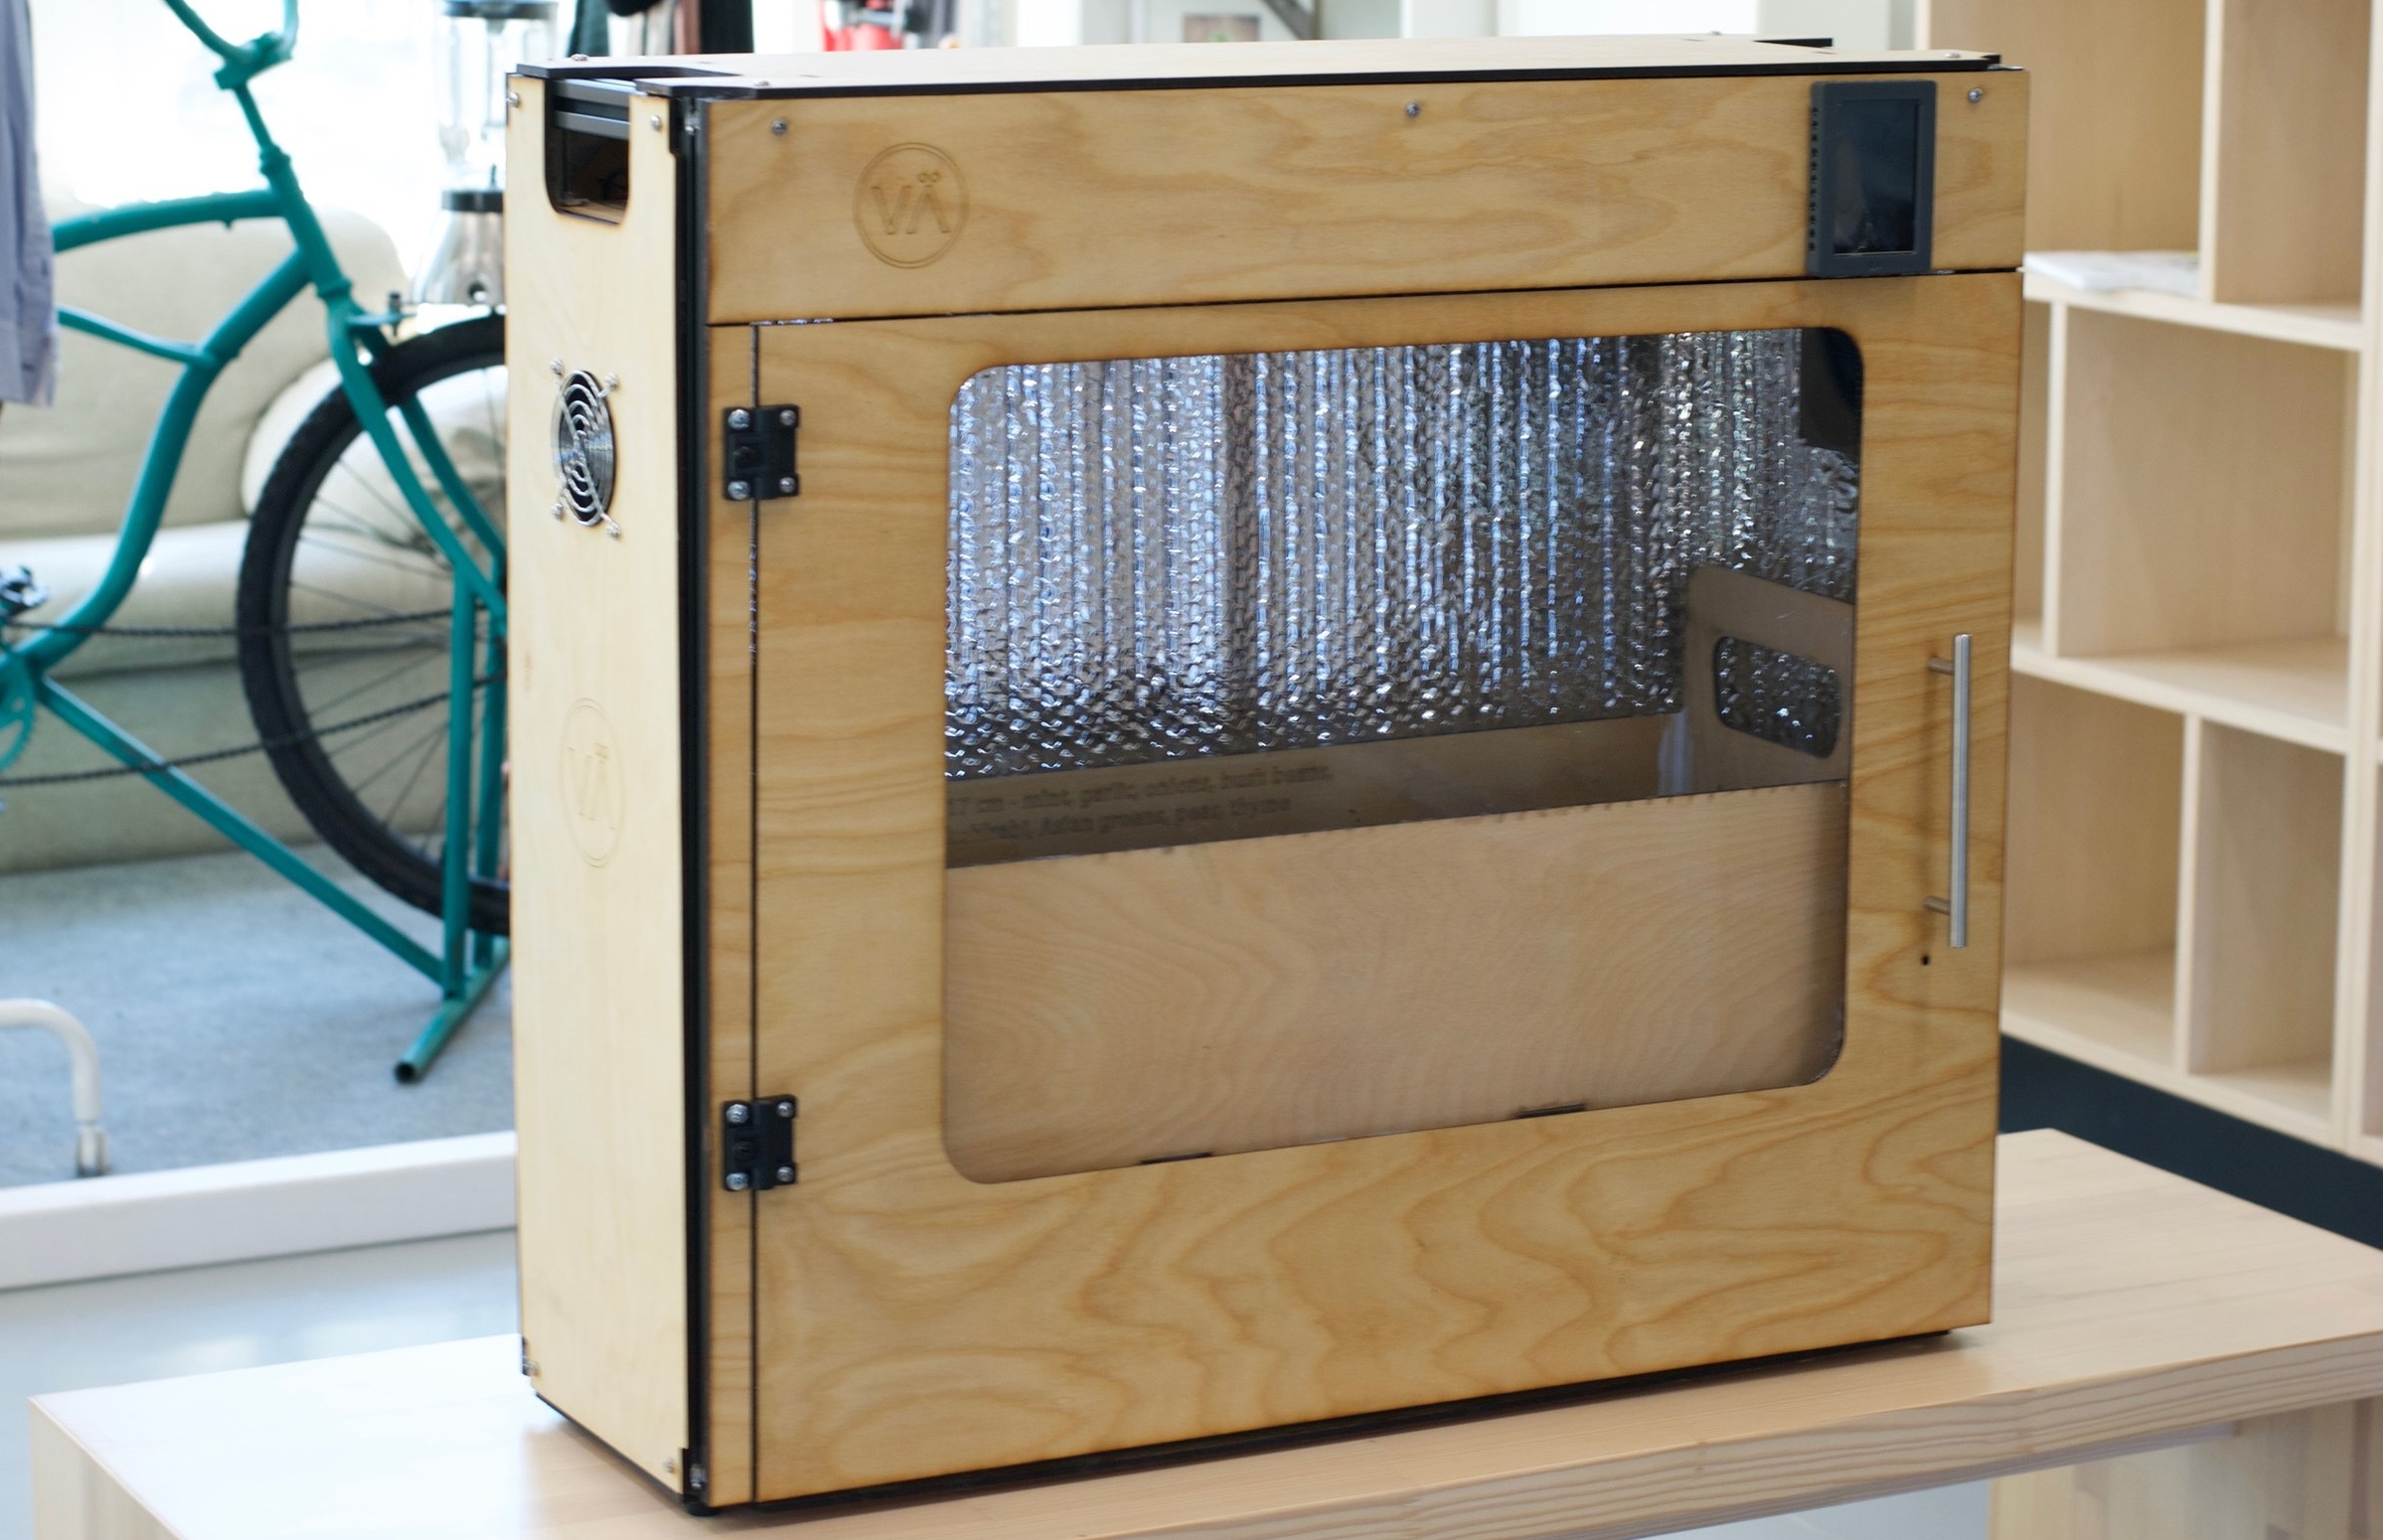
The final touch was the addition of wood paneling and a door. This final feature provided a semi-sealed environment thus transforming our product into a real greenhouse. As an added bonus, the siding hid the device’s aluminum skeleton with the resulting wooden look fitting the natural aesthetic.
Sweden Implementation and Next Steps
As the winners of the HSB Living Lab Shared Spaces Challenge, we took the three prototypes using the final design to the HSB Living Lab at Chalmers University in Gothenburg, Sweden. We had disassembled all three prototypes for travel, so we were somewhat concerned that our suitcases full of electronics and metal parts might get stopped by security. We need not have worried; TSA inspection notices gave the only indication that the bags had been searched.
The next few days were spent assembling the prototypes and debugging any issues that had occurred in transit. Even knowing what we were doing, the process still took longer than any of us had anticipated. That’s Hofstadter’s Law for you.
Our work culminated with a presentation at the Living Lab on the Thursday of that week. And with that, we were done.
Well, almost done. A year of our time went into making this project a success, and none of us wanted that to go to waste. This project should not end with us. To keep the project going, we drew up two research proposals for masters students at Chalmers. The short term proposal is that residents in the living lab use the devices as they wish. Researchers will then analyze the data these users generate to determine if and how the devices change the utilization of various common spaces. The long term proposal is to use the devices to research the effect of various growing conditions on plants. Not much research has been done on indoor agriculture and the automated and programmable nature of our device allows variables such as light or temperature to be controlled.
We also created an instructional video for future users detailing how our device works. The process for recruiting students to use the devices and conduct the research is still ongoing, but the hope is that this project and its benefits has many years remaining.
Teammates on this project were Mary Bao, Lingbo Chen, Mike Hua, and Colin Losey